Showing posts with label cake. Show all posts

Sunday, October 21, 2012

Royal Icing Monster High Skullette Logo

My most-read post is still the Monster High cake from February! Is it any wonder; Monster High is the most freakishly fab phenomenon ever! For those who need some boning up on the subject, the official logo of Monster High is called a Skullette: 

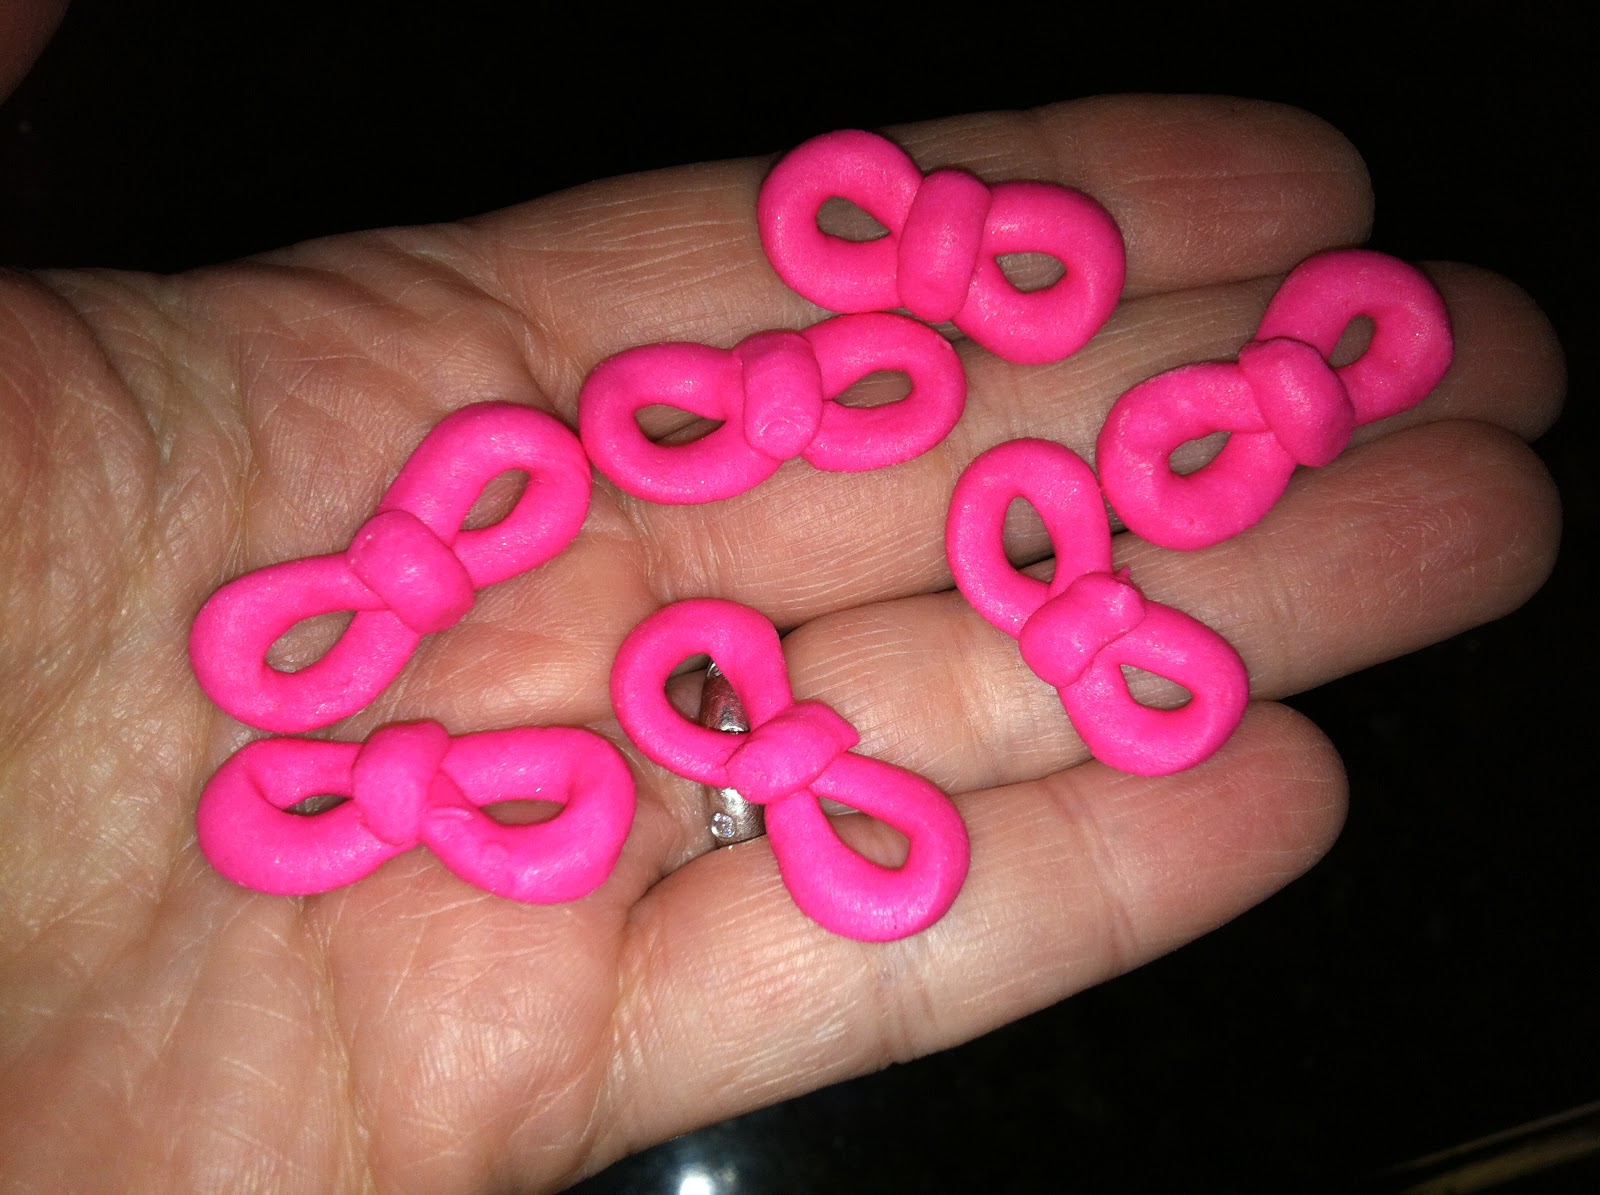
I thought it would be fun to try piping Skullettes out of royal icing, which could then be used to decorate cupcakes, borders on larger cakes, etc. All you'll need are stiff consistency white royal icing, round tip #12, a glue stick, a flower nail, parchment paper squares, a Styrofoam block, a dusting pouch filled with a 50/50 mix of cornstarch and powdered sugar, and a black food-safe marker (like the AmeriColor Gourmet Writer). You'll also need some pre-made royal icing bows in hot pink, piped with an oval #57 tip. 
Start by sticking a parchment square to the flower nail with a dab from the glue stick. 
 Hold the #12 tip just above and at a right angle to the surface and pipe an oval.
 Underneath the oval pipe a slightly curved line…
 …and then pipe a dab about 1/3 the width of the line.
 Liberally dust a fingertip by tapping it to the dusting pouch, and then tap it on the icing to blend it together and fill in the hole in the oval. Allow the icing to dry until the surface is very hard.
 Using the above logo as a guide, draw in the face with the food-safe marker.
 Lastly, glue a bow to the right side of the skull at an angle with a dot of icing. Fangtastic!

Thursday, September 20, 2012

Royal Icing Stonefly

Delaware is the only state to designate an official macroinvertebrate: the stonefly, which was chosen because it's an indicator of the excellent water quality in Delaware (stoneflies are intolerant of water pollution). To pipe stoneflies, you'll need stiff consistency royal icing (there  are 3500 species worldwide in a variety of colors; the photo I was following featured one that was almost black), petal tip #101, round tips #3 and #2, oval tip #57, parchment paper squares, a flower nail, a Styrofoam brick to rest the nail in, a glue stick, and a dusting pouch filled with a 50/50 mix of powdered sugar and cornstarch. Start by sticking a parchment square to the nail with a dab from the glue stick. 
 Pipe the legs first with the #3 tip. They look like three modified W's with an extra straight line in the middle (which the body will be piped on top of).
 Switch to the #57 tip and pipe the body. Allow it to extend about 1/4" beyond one set of legs (the back) and a short distance beyond the other outer set of legs (the front).
 Pipe a ball with the #57 tip at the front for the head.
 Switch to the #2 tip and pipe an eye on each side of the head and two antennae closer to the front. A real stonefly has extremely long antennae. If you tried to replicate them exactly in royal icing, they'd be very likely to break. With the eyes and antennae, hold the #2 tip against the surface, squeeze, stop pressure, and pull the tip away. With the antennae, move the tip away a short distance while you're squeezing.
Finally, switch to the #101 tip to pipe the long wings that run the length of the body. Hold the tip just behind the head with the narrow side of the tip facing outward. Pipe along the body to the opposite end, allow the icing to fan out into a rounded wing shape at the end, then move the tip back up to the base of the head. Touch the dusting pouch and gently blend the ridge between the two wings. Peel away the parchment after the icing has dried. Stoneflies don't make for the cutest creature you could ever hope to pipe, but could be an interesting decoration on a lake-themed (or even Halloween) cake.

Saturday, September 8, 2012

Royal Icing Maple Leaf

Today's project is a leaf off the official state tree of West Virginia (and Vermont, Wisconsin, and New York): the sugar maple. I piped it in green, because that's what they are most of the year, but check out this link; you'll see all the colors of leaves borne by the same sugar maple in the fall! You could pipe piles of these leaves well in advance in every color and have a lot of fun decorating a cake with them for fall (or for any Canadian celebration). All you'll need to pipe maple leaves are stiff consistency royal icing, leaf tip #104, round tip #3, parchment paper squares, a flower nail, a Styrofoam block to rest the nail in, a glue stick, round toothpicks, and a dusting pouch filled with a 50/50 mix of powdered sugar and cornstarch. Start by sticking a parchment square to the flower nail with a dab from the glue stick. 
Lie the #104 tip almost flat against the surface, and pipe two leaves in "V" formation. Note how the "ridge" in the middle of each leaf touches at the bottom to form that V. Dust your fingertips by touching them to the dusting pouch and pinch the ends of the leaves to taper them. 
 Pipe a third, larger leaf in the middle. With a dusted fingertip, tap the edges of it gently where it lies over the first two leaves to blend them all together somewhat.
 Work quickly so the icing won't have a chance to dry. Using a round toothpick, drag out a few points on each leaf. Lie just the pointy tip flat on the surface, press down to the parchment, and drag outwards.
 Wipe the toothpick clean on a paper towel after every few points.
 Switch to a round #3 tip and pipe the stem of the leaf. Allow the leaves to dry thoroughly (you might want to place them under a desk lamp to speed up this process) and then use them to decorate any dessert (particularly maple-flavored ones!).

Wednesday, August 15, 2012

Royal Icing Beavers

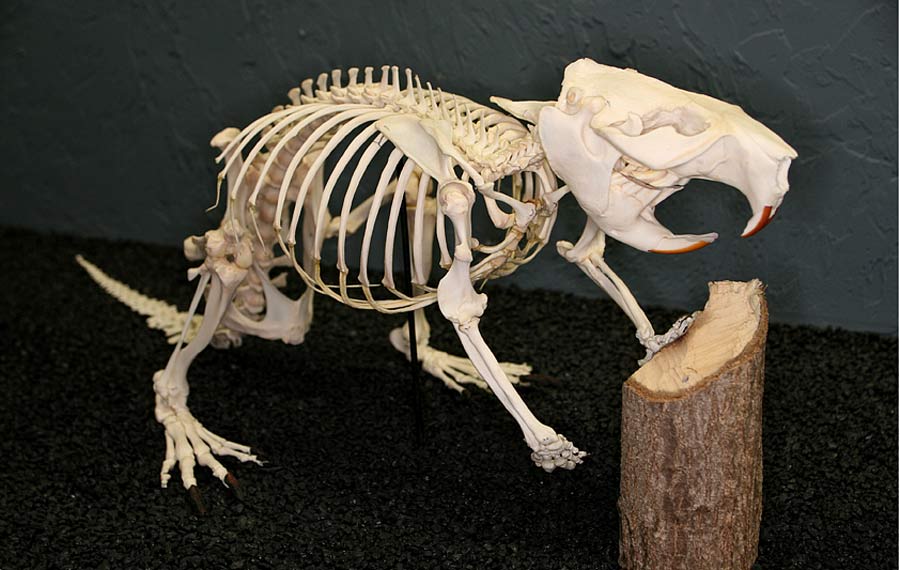
Today's post is a shout out to The Beaver State: Oregon! Beavers already look like balls of icing; just look at a beaver skeleton! This makes them exceptionally easy to render in icing. All you'll need to pipe beavers is stiff consistency brown royal icing, round tips #12 and #5, a glue stick, parchment paper squares, a black food-safe marker like AmeriColor's Gourmet Writers, a flower nail, a Styrofoam block to rest the nail in, and a dusting pouch filled with a 50/50 mix of cornstarch and powdered sugar. Start by sticking a parchment square to the flower nail with a dab from the glue stick. 
 Hold the #12 tip just above the surface and squeeze steadily while slowly moving the tip along for about an inch to form the tail.
 Pipe the body, also with the #12 tip. Start by piping a ball directly on top of the tail shape, then move the tip away at an upward angle while decreasing and then stopping pressure and pulling the tip away. Touch a fingertip to the dusting pouch and tap the icing into this squatty shape. It already looks like a beaver, huh?! Allow it to firm up for a while.
 Switch to the #5 tip to pipe the ears, which are nothing more than dots of icing that you flatten with a fingertip. Pipe four short shots of icing for the legs, gently tapping the ends where they attach to the body with a fingertip to make sure they are firmly adhered.
 The face is basically three black dots from the food-safe marker. If you want to go the extra mile, pipe some yellow teeth with a tiny tip like a round #1. Most photos of beavers don't show huge snarling teeth sticking out, though, and I really wanted this guy to be, just, cute. And his name is Justin.

Sunday, July 29, 2012

Royal Icing Pint Glass

In honor of the London Olympics, I'm finally getting around to a project I've been promising for a while: a tiny little pint glass. This wouldn't even give a hedgehog a buzz! All you'll need are white and black or very dark brown stiff consistency royal icing, a round tip #12, a flower nail, parchment paper squares, a glue stick, a Styrofoam block to rest the nail in, and a dusting pouch filled with a 50/50 blend of powdered sugar and cornstarch. Start by sticking a parchment square to the nail with a dab from the glue stick. 
 Hold the tip just above the surface at a right angle, and squeeze a shape reminiscent of a witch hat. Move the tip up and away, stopping pressure after about an inch.
 Thoroughly dust your thumb and index fingertip against the dusting pouch, hold the nail upside down, and tap the icing into as close an approximation of a pint glass shape as possible. Mine wound up being somewhere between a tulip and a sleever.
 You can place the nail somewhere like on a dish drying rack with the glass shape hanging down between the bars to dry. If you have several flower nails, you can pipe a whole bunch of them at once. When they dry, peel them off the paper…
 …and pipe a tiny little head with the #12 tip and white icing. Hold the tip just above the surface of the glass, squeeze out a very small amount of icing, and swirl the tip off and away. Use these tiny pint glasses to decorate desserts suitable for any adult-oriented occasion (and, of course, St. Patrick's Day).

Sunday, July 15, 2012

Royal Icing Starfish

I'd venture to say the starfish is the easiest royal icing animal you can possibly pipe; it consists of nothing more than stiff consistency royal icing and round tips. I made them in three different sizes using #'s 8, 10 and 12. The tiny dots are piped with a round #2.  Pipe the starfish on a large piece of parchment paper; I cut these to about 4".
Start the first leg by piping a ball, then elongating it in a random sort of fashion. Hold the tip at a 45 degree angle in the center of the parchment, squeeze until a ball forms, then move the tip along as you see fit. End some of the legs with an upturned tip, like this. You can perfect the tips with your fingertips after touching them to a dusting pouch filled with a 50/50 mix of cornstarch and powdered sugar. 
 Pipe each of the five legs by butting the tip up against the base of the leg next to it.
 Make sure to vary the positions of each leg…
 …and don't worry if they aren't all the exact same length.
 Touch a fingertip to the dusting pouch, then tap it against the seams where the legs all join in the center. Do your best to blur the lines while maintaining the overall shape.
 Give the starfish ample time to dry; I placed them on a cookie rack on the stove under the warmth of the hood light (a desk lamp would work well, too).
Pipe little dots all over the starfish, if you like. I used a #2 tip, and made the dots larger in the center, and smaller as I piped dots down the legs. 

Friday, June 22, 2012

Royal Icing Acorns

I’m a big fan of all things to do with the forest; some of the first things I figured out how to pipe with royal icing were pine cones and pine needles. Recently I piped a mouse and before I started adding features to it all I could think of when I looked at the body was how much it looked like an acorn. So, today I tried to pipe an acorn on purpose. All that’s needed to pipe acorns are a bag of green royal icing with a round #12 tip, brown icing with a round #3 tip, a dusting pouch filled with a 50/50 mix of cornstarch and powdered sugar, a flower nail, a glue stick, parchment paper squares, and a Styrofoam block to rest the nail in. 
Start by piping a short, squatty teardrop on a parchment square with the green icing (you could use brown, too). Hold the tip at a 45 degree angle, squeeze until you build up a ball, then pull away while decreasing and stopping pressure. Touch your fingertips to the dusting pouch then pinch the tip to neaten it up if need be. 

 Allow this part to firm up for a while (you can speed up the process by placing it under a desk lamp). Dab the glue stick to the flower nail, then stick the parchment square to it (being careful not to squish or otherwise disturb the icing).
 Pipe a cluster of #3 dots, then flatten them slightly with a dusted fingertip, to form the cap.
 Pipe a short stem, also with the #3 tip. Hold the tip against the acorn's cap, and squeeze while pulling away for a few millimeters. Stop the pressure and pull the tip away. If the end of the stem has an unsightly peak, tap it flat with your fingertip.
 Acorns are a perennial favorite in fall decorating, which is upon us if the massive autumnal floral display at Michael's is any indication (of course it's only June at the time I'm writing this). Take a tip from the hoarding habits of the squirrels and start piping acorns NOW; you'll be ready for all the fall and forest-themed cakes you might get called upon to decorate!