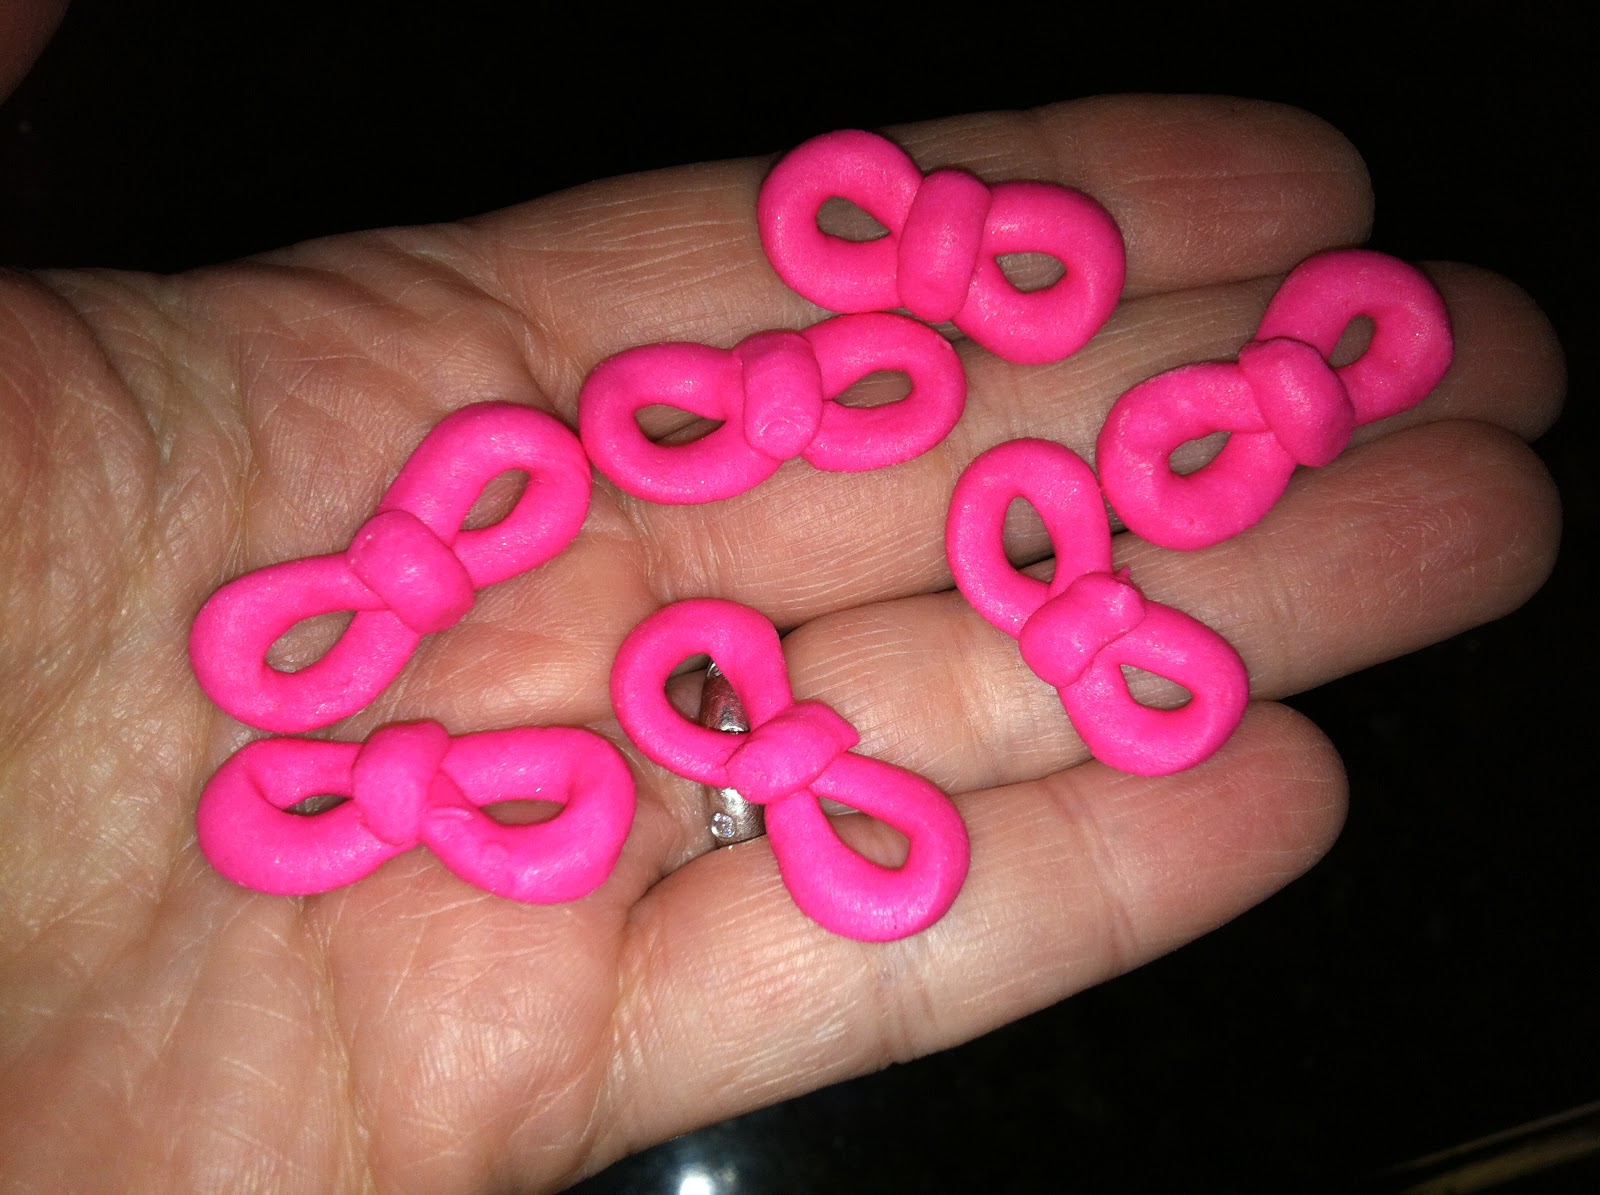
Showing posts with label tip #57. Show all posts

Thursday, December 20, 2012

Royal Icing Loopy Bow

Loopy fondant bows are easy to make, and loopy royal icing bows are even easier! All you'll need is stiff consistency royal icing in any color, oval tip #57, round tip #12, a cookie sheet lined with parchment paper, a flower nail, parchment paper squares, a glue stick, and a Styrofoam block to rest the nail on. Start by taping a sheet of parchment paper to the cookie sheet. 
 Pipe dozens of 1/2" "teardrops" with the tip #57. Allow them to firm up for an hour or two.
They're ready for action when they can be removed easily from the paper by sliding an offset spatula underneath them. 
 
Stick a parchment square to the flower nail with a dab from the glue stick.
 Switch to the #12 tip and pipe a spiral of icing about 1/2" wide and a little over 1/2" tall.
 Quickly, before the icing has  chance to dry, stick as many loops into the icing as you can. Angle them in all different directions. Work from the base up. I was able to fit 6 loops around the base and then tucked in another 8 above.
 Peel away the parchment square when the icing is dry, and use this loopy bow to instantly add more height and festivity to any cupcake, Rice Krispy Treat, brownie, etc!

Saturday, November 17, 2012

Royal Icing Origami Crane

Tonight's post is a little tricky because it requires the stiffest consistency royal icing imaginable to make all the little parts stand up correctly (otherwise they all flatten out and look like a pile of mush; that's what happened first. I would have posted a photo of my failure, but I destroyed the evidence). You'll need round tip #10, leaf tip #352, oval tip #57, a flower nail, a glue stick, parchment paper squares, a Styrofoam block to rest the nail in, and a dusting pouch filled with a 50/50 mix of powdered sugar and cornstarch. Start by sticking a parchment square to the nail with a dab from the glue stick. 
 Hold the #10 tip just above and at a right angle to the surface. Squeeze out a ball for the body, moving the tip upwards for just under half an inch as you go. Stop pressure and pull the tip away. Touch a fingertip to the dusting pouch and tap down the peak that remains.
 Switch to the #57 tip and pipe the neck and head. Hold the tip almost straight up, pipe so the icing anchors to the body, pull the tip upwards while piping, then stop pressure and pull the tip away after about half an inch. The head might just curve over like this, otherwise coax it gently with a dusted fingertip. If it stands up straight…
 …consider making it the tail, which is the next step.
 Switch to the #352 leaf tip to pipe the wings. Bury the tip in the body at a 45 degree angle, squeeze briefly while moving the tip outward, then stop pressure and pull the tip away. Coax the wings upward, if need be, with a dusted fingertip. This post is dedicated to my friends at The Paper Crane in Half Moon Bay, one of the only reasons to visit Main Street.

Sunday, October 21, 2012

Royal Icing Monster High Skullette Logo

My most-read post is still the Monster High cake from February! Is it any wonder; Monster High is the most freakishly fab phenomenon ever! For those who need some boning up on the subject, the official logo of Monster High is called a Skullette: 

I thought it would be fun to try piping Skullettes out of royal icing, which could then be used to decorate cupcakes, borders on larger cakes, etc. All you'll need are stiff consistency white royal icing, round tip #12, a glue stick, a flower nail, parchment paper squares, a Styrofoam block, a dusting pouch filled with a 50/50 mix of cornstarch and powdered sugar, and a black food-safe marker (like the AmeriColor Gourmet Writer). You'll also need some pre-made royal icing bows in hot pink, piped with an oval #57 tip. 
Start by sticking a parchment square to the flower nail with a dab from the glue stick. 
 Hold the #12 tip just above and at a right angle to the surface and pipe an oval.
 Underneath the oval pipe a slightly curved line…
 …and then pipe a dab about 1/3 the width of the line.
 Liberally dust a fingertip by tapping it to the dusting pouch, and then tap it on the icing to blend it together and fill in the hole in the oval. Allow the icing to dry until the surface is very hard.
 Using the above logo as a guide, draw in the face with the food-safe marker.
 Lastly, glue a bow to the right side of the skull at an angle with a dot of icing. Fangtastic!

Saturday, October 20, 2012

Royal Icing Spider Cupcake

Tonight's tiny little spider cupcake was inspired by the one that comes with the Monster High Coffin Bean playset:
It's made in a similar way to the royal icing blueberry muffin. Stick a parchment square to a flower nail with a dab from a glue stick, pipe a dollop of stiff consistency royal icing in any color with a #199 star tip, stop pressure and pull the tip away… 
 …then tap the peak flat with a fingertip after touching it to a dusting pouch filled with a 50/50 mix of powdered sugar and cornstarch.
 Pipe as many as you can on the same parchment square. When they're completely firmed up, peel away the parchment.
Now it's time for the spider part! Pipe a ball of stiff consistency royal icing in any color with a #12 round tip. 
 Allow it to firm up for a while, then pipe four legs on one side with a #3 round tip. Hold the tip against the surface, squeeze while pulling the tip away for a few millimeters, then stop pressure and pull the tip away. Repeat on the other side.
 Pipe the eyes with an oval #57 tip. Hold the tip slightly off the surface, squeeze out an oval-shaped dot of icing, stop pressure and pull the tip away. Tap down a peak, if it remains, with a dusted fingertip.
 When the eyes are dry, give them some pupils with a food-safe marker like AmeriColor Gourmet Writers. These would look really cute in a scene inside a "panoramic egg" eyeball!

Tuesday, October 16, 2012

Royal Icing Fuzzy Spider

Here's a cupcake topper that would be perfect for Halloween, and is a great way to use up whichever icing color you have the most of. The further you can get away from reality, the better! You'll need three colors of stiff consistency royal icing (one for the body, one for the legs, and one for the eyes), round tips #12, #3, and #4, oval tip #57, a flower nail, a Styrofoam block to rest the nail in, parchment paper squares, a glue stick, round toothpicks, AmeriColor Soft Gel Paste in Super Black, and a dusting pouch filled with a 50/50 mix of cornstarch and powdered sugar. Start by sticking a parchment square to the nail with a dab from the glue stick. 
 Hold the #57 oval tip almost flat against the surface, and pipe eight legs. Stop pressure, rotate the nail, and restart pressure to form the L-shaped crook of the legs.
 When you get to the end of the leg, stop pressure and pull the tip away, allowing the peak to remain.
 Pipe the body with the #12 tip. Hold it just above and at a right angle to the center. Squeeze out a ball, then stop pressure and pull the tip away. Touch a fingertip to the dusting pouch and tap the body into shape.
 Use the #4 tip to pipe two balls for eyes…
 …and the #3 tip to pipe the "fur." Hold the tip almost against the surface, squeeze to anchor the icing to it, move the tip away for a couple of millimeters, then stop pressure and pull the tip away.
 Lastly, smash the pointy tip of a round toothpick against the counter, dip it into the Super Black, and dab in the eyeballs. Pipe a web over a cake and give these critters a good home!


Saturday, September 22, 2012

Royal Icing Armadillo

The nine-banded armadillo is the official state small mammal of Texas (the large mammal is the Texas longhorn, which would have been tricky to pipe). All you'll need to pipe these little critters is stiff consistency royal icing in gray and black, a flower nail, parchment paper squares, a Styrofoam brick to rest the nail in, round toothpicks, a dusting pouch filled with a 50/50 mix of powdered sugar and cornstarch, round tip #12,#8, and #2, and oval tips #55 and #57. Start by sticking a parchment square to the flower nail with a dab from the glue stick. 
 Holding the #12 tip at less than a 45 degree angle to and just above the surface, pipe the body. Start by piping a ball, then pulse the tip a number of times to create the bands (no one will scold you if you don't make 9 exactly), then stop pulsing and squeeze just a little more to finish the front of the body. Stop pressure and pull the tip away. Touch your fingertips to the dusting pouch, then gently tap the end with your forefinger to round it (the right side, in this photo)…
 …and use your forefinger and thumb to gently pinch the rear to taper it slightly.
 Switch to the #57 tip to pipe the tail. I probably should have used a smaller tip like the #55, but I'm always worried those little appendages are going to break off.
 Pipe 4 short legs with the #57 tip, and use the tip of a round toothpick to separate each dab of icing into toes (touch the toothpick to the dusting pouch and then press it briefly into the icing; lift it straight up and away).
 Switch to the #8 round tip to pipe the head. Start by piping a ball, then elongate it downwards, almost to the feet. Stop pressure and pull the tip away. Use your dusted fingertips to pinch off any excess, and to form the head into a sort of elongated egg. Tap the front of the head gently to flatten in.
 Switch to the #55 tip to pipe the ears, which are just tiny dabs of icing. Leave the peaks that form as you pull away the tip.
 Lastly, pipe two tiny black eyes with the #2 tip. Hold the tip almost against the surface, squeeze for an instant, then pull the tip away. Flatten the peaks with a fingertip, if you need to.
 Remember that scene from Steel Magnolias about the armadillo groom's cake? You could make these to decorate red velvet cupcakes as an alternative to having a huge armadillo cake hogging all the attention.