Showing posts with label decoration. Show all posts

Sunday, August 5, 2012

Royal Icing London Underground Sign

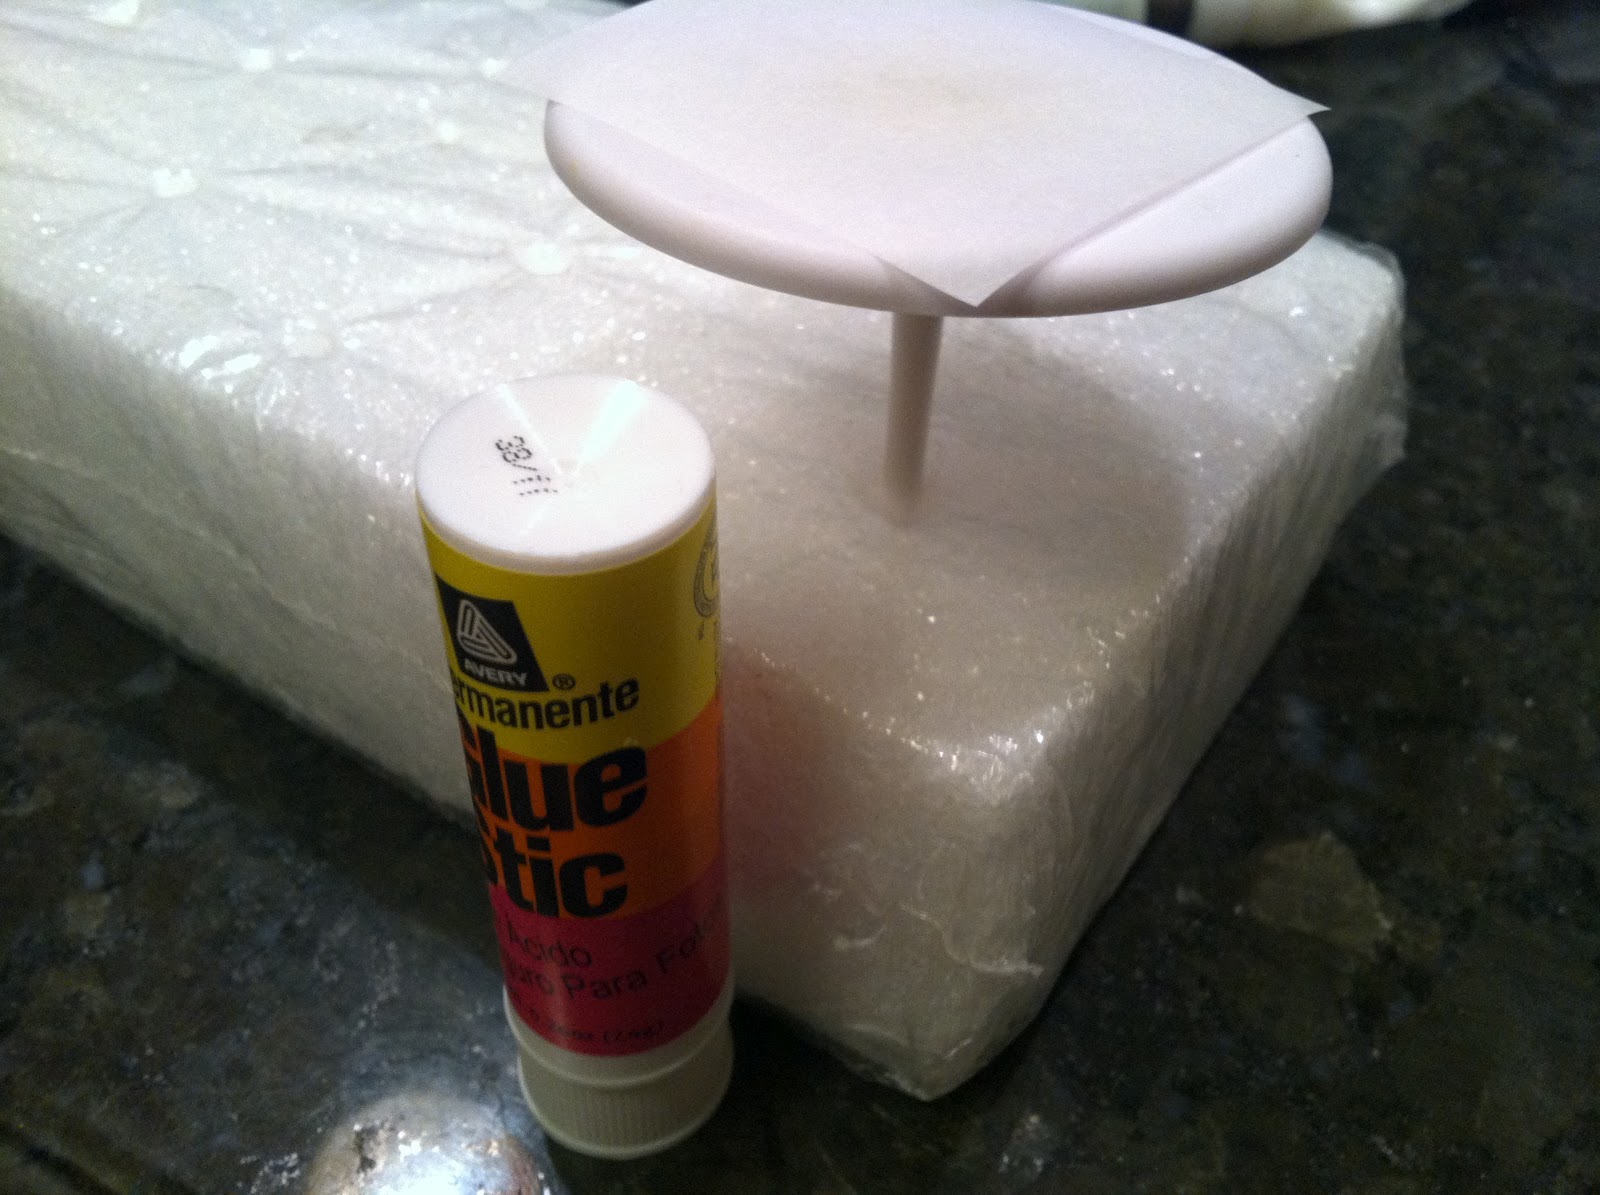
Still on a roll with projects inspired by the 2012 London Olympics, tonight I piped a royal icing London Underground sign (a request from my husband, who's very fond of anything to do with all forms of public transportation). This is definitely one of the easier projects I've piped lately. All you'll need are stiff consistency royal icing in red, white, and blue, round tip #12, flat ribbon tip #44 (by Ateco), a glue stick, parchment paper squares, a flower nail, a Styrofoam block to rest the nail in, and a dusting pouch filled with a 50/50 mix of cornstarch and powdered sugar. Start by sticking a parchment square to the flower nail with a dab from the glue stick. 
 Hold the #12 tip just above the surface, and slowly pipe a circle, overlapping the beginning with the end slightly.
 Touch a fingertip to the dusting pouch, and gently tap the "seam" flat. It should blend fairly evenly, like this:
 Pipe a #12 mound of white icing in the center. I buried the tip in the icing as the width built up almost to the inner edge of the red circle.
 Pull the tip out at a right angle and tap the mound flat with a fingertip.
 Allow the red and white icing to firm up for a while, then pipe a #44 stripe in blue icing across the middle of the whole shape, overhanging the edges slightly (if your icing is stiff enough, this seemingly gravity-defying maneuver shouldn't be too difficult to pull off). Neaten the edges with a fingertip if need be. I'm not sure if I trust myself with a tiny #1 tip enough to write an actual station name in white on the blue stripe, but if you can, go for it! This would also be a great spot for some other significant sentiment (grad year, birthday guest of honor's name, etc). I think these would look very cute on cupcakes (without looking like too much of a ripoff of Sprinkles Cupcakes, hopefully).

Sunday, July 29, 2012

Royal Icing Pint Glass

In honor of the London Olympics, I'm finally getting around to a project I've been promising for a while: a tiny little pint glass. This wouldn't even give a hedgehog a buzz! All you'll need are white and black or very dark brown stiff consistency royal icing, a round tip #12, a flower nail, parchment paper squares, a glue stick, a Styrofoam block to rest the nail in, and a dusting pouch filled with a 50/50 blend of powdered sugar and cornstarch. Start by sticking a parchment square to the nail with a dab from the glue stick. 
 Hold the tip just above the surface at a right angle, and squeeze a shape reminiscent of a witch hat. Move the tip up and away, stopping pressure after about an inch.
 Thoroughly dust your thumb and index fingertip against the dusting pouch, hold the nail upside down, and tap the icing into as close an approximation of a pint glass shape as possible. Mine wound up being somewhere between a tulip and a sleever.
 You can place the nail somewhere like on a dish drying rack with the glass shape hanging down between the bars to dry. If you have several flower nails, you can pipe a whole bunch of them at once. When they dry, peel them off the paper…
 …and pipe a tiny little head with the #12 tip and white icing. Hold the tip just above the surface of the glass, squeeze out a very small amount of icing, and swirl the tip off and away. Use these tiny pint glasses to decorate desserts suitable for any adult-oriented occasion (and, of course, St. Patrick's Day).

Thursday, June 14, 2012

Royal Icing Rattlesnake

Looking back on some of my earlier tiny royal icing creations, I notice they have one thing in common: they're pretty pretty. It's high time I roughed things up and piped something, well, venomous. What better than a snake (albeit, a teeny-tiny adorable one)? All you need is stiff consistency royal icing in colors of your choosing, a dusting pouch filled with a 50/50 blend of cornstarch and powdered sugar, a black AmeriColor Gourmet Writer, and parchment paper squares. You'll also need round tips #4 and #1.
You'll need a parchment paper square for each snake. Start by piping the body with the #4 tip (everything except for the head). Serpentine the icing in such a way that it touches itself and has more strength; you don't want that skinny body snapping in half when you slide it off the parchment. 
 Allow the body to firm up for a few minutes. Pipe the head as you would a stand-up stamen, blade of grass, or strand of hair; squeeze at the base to build up an anchor of icing, then pull the tip upward. I held it in place for a few seconds before pulling away.
 Touch a finger to the dusting pouch, then nudge the head into the position you'd like.
 While the head is firming up, pipe a few overlapping #1 dots to form the rattles.
When the head is dry, add a couple of dots for eyes with the Gourmet Writer. Use on your next cake that features snips, snails, and puppy dogs' tails. 

Sunday, June 10, 2012

Royal Icing Bacon and Eggs

The small angled chisel tip #264 by Ateco is one of those I never thought I'd find a use for. That is, until I recently stuck it on a piping bag, gave it a squeeze, and thought the resulting extruded icing bore more than a slight resemblance to bacon. Which brings me to today's post: royal icing bacon and eggs. You'll need parchment paper squares, a dusting pouch filled with a 50/50 mix of powdered sugar and cornstarch, round tips #12 and #8, tip #264, and royal icing in white, yellow and red. If you really want to get realistic with the bacon, stripe the red bag with white and/or pink. Start by loading the white bag with the #12 tip. Hold it just above a parchment square and squeeze while moving randomly to create the free-form edge of the egg's white. 
 Piping the bacon is easy; just attach the tip #264 to the red icing and squeeze firmly. To most, it will look like nothing more than a ruffly red ribbon, but I think its close proximity to that very realistic-looking egg really sells it as bacon.
 When the white has firmed up a bit, pipe the yellow yolk using the #8 tip. Tap down any peak that forms by touching a fingertip to the dusting pouch then tapping it to the peak to round it off.
Use these decorations to spruce up breakfast pastries, muffins, pancakes, whatever, in a most unexpected way.