Showing posts with label cupcake decoration. Show all posts

Thursday, August 9, 2012

Royal Icing Umbrella

The 2012 Olympics sure have had their share of rain! When I drove from California to the Salt Lake City Olympics in 2002 I don't even think I had an umbrella in the car. Tonight's post is a tribute to all those spectators standing in the London rain, who refuse to let some uncooperative weather come between them and the games. All you'll need to pipe umbrellas are stiff consistency royal icing in any color you like, round tip #10, petal tip #101, round tip #4, parchment paper squares, a glue stick, a flower nail, a Styrofoam block to rest the nail in, and a dusting pouch filled with a 50/50 blend of cornstarch and powdered sugar. Start by sticking a parchment paper square to the flower nail with a dab from the glue stick. 
 Hold the #10 tip just above and at a 45 degree angle to the surface. Pipe until a ball forms, then slowly move the tip along the surface while continuing to pipe. Gradually decrease pressure, then stop and pull the tip away. Neaten the tip with a fingertip that you've touched to the dusting pouch, if need be. Pipe one of these shapes for each umbrella, and allow them to firm up a little.
 Switch to the #101 petal tip and pipe the ruffle at the wide end, holding the narrow end of the tip outwards. Move the tip up and down as you pipe to form the ruffle.
 Here's another view of it:
 Now is a good time to switch to a contrasting color, unless you're going for a monochromatic look. Using the #4 tip, pipe the ferrule (pointy end) by holding the tip against the narrow end of the umbrella shape. Squeeze briefly, then stop pressure and pull the tip away.
 Tuck the tip into the ruffle and pipe the curved handle.
  Don't wait until a rainy day to pipe these umbrellas; they'd be perfect cupcake toppers for a shower of any sort!

Monday, July 16, 2012

Royal Icing Oysters

I hope I'm not boring anybody with all these little sea creatures; one seems to inspire another! I piped this tiny oyster with the Ateco tip #98, which is scalloped with grooves on the outer side. 
I stuck a square of parchment paper to a flower nail with a dab from a glue stick. I held the tip against the paper and piped a shell shape by keeping one side of the tip still and moving the other side around in a clockwise motion while vibrating the tip to create ridges. 
 Here's another view of it:
 I piped a neighboring shell next to it, trying to keep them similar in shape:
 I tapped one of them flatter than the other with a fingertip after touching it to a dusting pouch; this will be the side on the bottom:
 After allowing them to dry under a desk lamp for about 45 minutes, I glued a tiny sugar pearl to the center with a dot of icing piped with a round #2 tip
 I piped another ball to act as a "hinge" on the other half of the shell…
 …and then I assembled the oyster. Obviously I got a little crazy with the color, but that's half the fun!


Tuesday, July 3, 2012

Royal Icing Harp Seals

The nice thing about piping harp seals is the real thing pretty much resembles a puddle of icing all on its own. There's not a whole lot to it! All you'll need are round tip #12, petal tip #101, parchment paper squares, white stiff consistency royal icing, a dusting pouch filled with a 50/50 blend of cornstarch and powdered sugar, and a black Gourmet Writer. Start by piping an elongated teardrop for the body. Hold the tip just above the surface and at about a 45 degree angle, pipe a ball, and as the ball forms, pull the tip away. After about half an inch, stop pressure and pull the tip away. 
 Now pipe the head, which is basically a ball. A peak will probably remain when you pull the tip away that will add nothing to the harp seal-esque quality of this shape, so touch a finger to the dusting pouch and tap it into place.
 Unfortunately, the icing I was working with wasn't as stiff as I would have liked, and the shape wound up flattening out more than I'd anticipated (it looks almost perfect in the above photo; in the shot below, not so much). However, harp seals tend to strike this pose a lot, so I soldiered on by piping flippers with the #101 petal tip. I kept the wide end of the tip against the body, and moved the narrow end in an upside-down "U" shape on each side…
 …and did two more, right against each other, at the tapered end of the body. If the head had been a bit more bulbous, this would have wound up being a tutorial for a beluga whale.
 Allow the icing to firm up, and add features and claws with the Gourmet Writer. Resist the urge to pipe ears; they aren't visible. Use the harp seals to decorate a snowy cupcake (but I have a feeling nobody would actually want to chomp into these little darlings).

Monday, July 2, 2012

Royal Icing Ear of Corn

I'm not a fan of vegetables by any means; if I attempted vegetarianism I'd starve to death. However, there's something about corn that I like, and I thought I'd try piping a tiny ear of it. The supplies are quite minimalist: a parchment paper square for each ear, yellow royal icing in a bag with a round #2 tip, green royal icing in a bag with a #65 leaf tip, and a dusting pouch filled with a 50/50 mix of powdered sugar and cornstarch. 
Basically, you want to pipe a canoe of sorts with the leaf tip. Pipe one gently curving line about 1" long, while holding the tip against the parchment but angled so one side of the tip is just above the surface. 
 Pipe a complementary leaf opposite it. Now you have the "husk."
 Pipe a wavy leaf or two, and allow the husk to firm up for a few minutes.
 Pipe a whole bunch of dots in rows down the center for the kernels.
 How cute would this be on cupcakes served at a barbecue or even on corn muffins; has anyone ever thought of decorating muffins? I think the time has come!

Sunday, July 1, 2012

Royal Icing Lumina Pumpkins

For those of you who might be thinking "Isn't it a little early to start thinking about Halloween?" the answer is, "I never stopped!" I love those half-pumpkins made out of the same slurry as candy corn, and thought I'd try piping an approximation of them in white; Lumina pumpkins are so elegant! You'll need a flower nail, a Styrofoam block to rest the nail in, a glue stick, parchment paper squares, stiff consistency royal icing in white, brown and green, a dusting pouch filled with a 50/50 mix of cornstarch and powdered sugar, round tips #12 and #3, oval tip #57, and leaf tip #65.
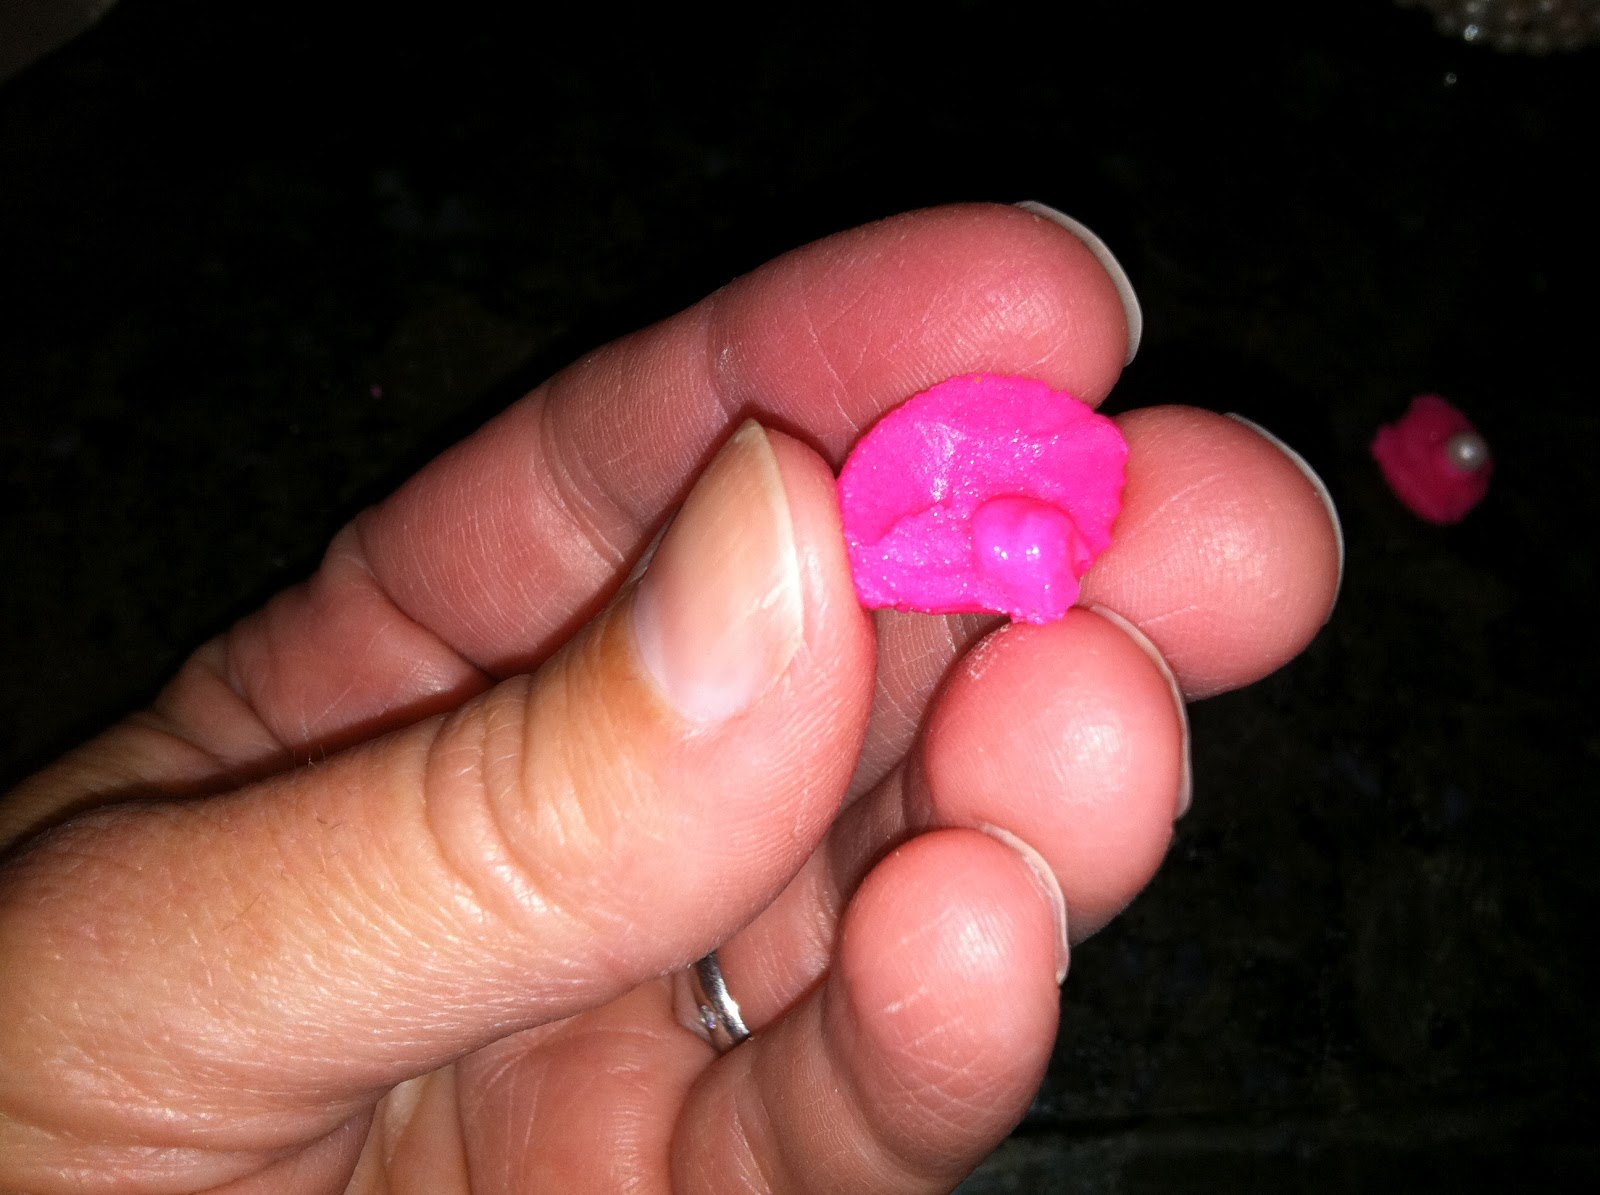
Start by piping a ball with the #12 tip. Hold the tip just above and perpendicular to the surface of a parchment square, and pipe until the icing is about the size of a nickel. Continue to squeeze and pull up…
 …until you have a shape similar to a Hershey's Kiss.
 Touch a fingertip to the dusting pouch and tap down the peak. Pipe one base for each pumpkin.
 When the bases have firmed up, stick one gently by the paper to the nail with a dab from the glue stick.
 Switch to the oval #57 tip, and pipe a line from the outer edge to the center. Stop pressure and pull the tip away. If a peak remains, touch a fingertip to the dusting pouch and tap it down.
 Repeat on the opposite side…
 …and continue piping neighboring lines until the base is covered.
Be sure the base is really firm to start with, or it will flatten out like this: 
 Allow the pumpkins to firm up a bit, then pipe a brown stem with the #3 tip. Hold the tip against the surface in the center, squeeze, and pull up, stopping pressure almost immediately and pulling the tip away. Coax a curve into the stem by nudging it with a fingertip.
 You can pipe the tip #65 leaves directly on the pumpkins when the stems have firmed up, or you can pipe them on a parchment square.
 Attach them to the pumpkins with a dot of white icing; the #3 tip should do.
Of course, since royal icing keeps pretty much indefinitely once it's hardened, the idea of piping Halloween decorations now isn't that absurd! Plan ahead! 

Saturday, June 16, 2012

Royal Icing Pretzels

This is a good example of a thing you can pipe with royal icing that looks almost identical to the genuine article. You might wonder, why bother? But, probably obviously, the answer would lie in the taste. I'd definitely prefer crunching into a cupcake topper made of hardened sugar over flour and salt, wouldn't you? All you'll need to pipe pretzels are parchment paper squares (or a sheet of parchment taped to a cookie sheet), white and brown royal icing fitted with round tips #2 and #8 respectively, and a dusting pouch filled with a 50/50 mix of cornstarch and powdered sugar. 
 Start by piping the classic rounded heart outline. Make sure that one of the ends overlaps the other. Allow it to firm up for a few minutes.
 Pipe a diagonal piece, starting at the overlapping end of the rounded heart and ending just outside the heart's outline. When you stop the pressure and pull the tip away, you may leave a peak; touch a fingertip to the dusting pouch and tap the peak down.
 Now you want to tuck the tip against the left side of the overlapping end, and pipe the complementary diagonal piece. Again, tap down any unsightly, inappropriate peaks.
 Allow the pretzels to dry…
…then "salt" them with tiny shots of white icing, using the #2 tip. 
 I can't wait to make Oktoberfest cupcakes! These would also be pretty sweet for Father's Day. Now I need to figure out how to pipe a tiny mug of beer to go with them…