Showing posts with label pumpkin. Show all posts

Tuesday, October 23, 2012

Royal Icing Trick or Treat Bucket

As I was putting this post together, it occurred to me that people outside of the USA might not know what a trick or treat bucket is. I'm not sure when these hollow plastic squashes painted with Jack o'lantern faces became de rigueur for collecting treats, but I can clearly remember them from the '70s. I found a few on eBay which were described as vintage (but didn't actually include a year). To pipe an approximation of this Halloween classic, you'll need stiff consistency royal icing in black and orange (or almost any color; they can be found in a variety of neon shades at stores like Target), round tips #12 and #5, a flower nail, a Styrofoam block to rest the nail in, flat toothpicks, parchment paper squares, a black food-safe marker like the AmeriColor Gourmet Writer, and a dusting pouch filled with a 50/50 mix of cornstarch and powdered sugar. Start by sticking a parchment square to the flower nail with a dab from the glue stick. 
 Hold the #12 tip just above and at a right angle to the surface. Squeeze while moving the tip upwards about 3/4". Stop pressure and pull the tip away.
 Touch a fingertip to the dusting pouch and tap the icing down into a rounded shape with a slightly flattened top.
 Tap the narrow end of a flat toothpick against the dusting pouch and gently press it vertically  into the icing at intervals to give the pumpkin that sectioned look. Leave a gap, though, for painting in the face later.
Pipe a few handles with the #5 tip and black icing. These were left over from when I made royal icing cauldrons. They would have probably been cuter if piped with a #3 or #4 tip, but they would have been so much more breakable. Always pipe more than you need for this reason. Allow them to firm up completely before peeling them off the parchment. 
 Switch to the #5 tip on the orange icing and pipe a circular ring around the top of the pumpkin. Tap the ends gently with a dusted fingertip to blend them (this should be in the back or off to one of the sides; not in the front where the face is going to go).
 Press a handle into the icing while it's still wet. It should stand upright, no problem.
Lastly, when the icing is completely dry, draw in a tiny pumpkin face on the front with the food-safe marker. A perfect topper for cupcakes, petits fours, ANY pumpkin-flavored treat, etc.! 

Monday, October 22, 2012

Royal Icing Pumpkin

As a resident of Half Moon Bay (the Pumpkin Capital of California) I know there are probably countless ways to pipe pumpkins; anyway, here's how I did this one. You'll need stiff consistency royal icing in orange (or white) and brown, a flower nail, parchment paper squares, a Styrofoam block to rest the nail in, a glue stick, and a dusting pouch filled with a 50/50 mix of powdered sugar and cornstarch. You'll also need round tip #12 and quatrefoil-shaped tip #83 (the only other time I've used this tip was to pipe chili peppers): 
Start by sticking a parchment square to the flower nail with a dab from the glue stick. 
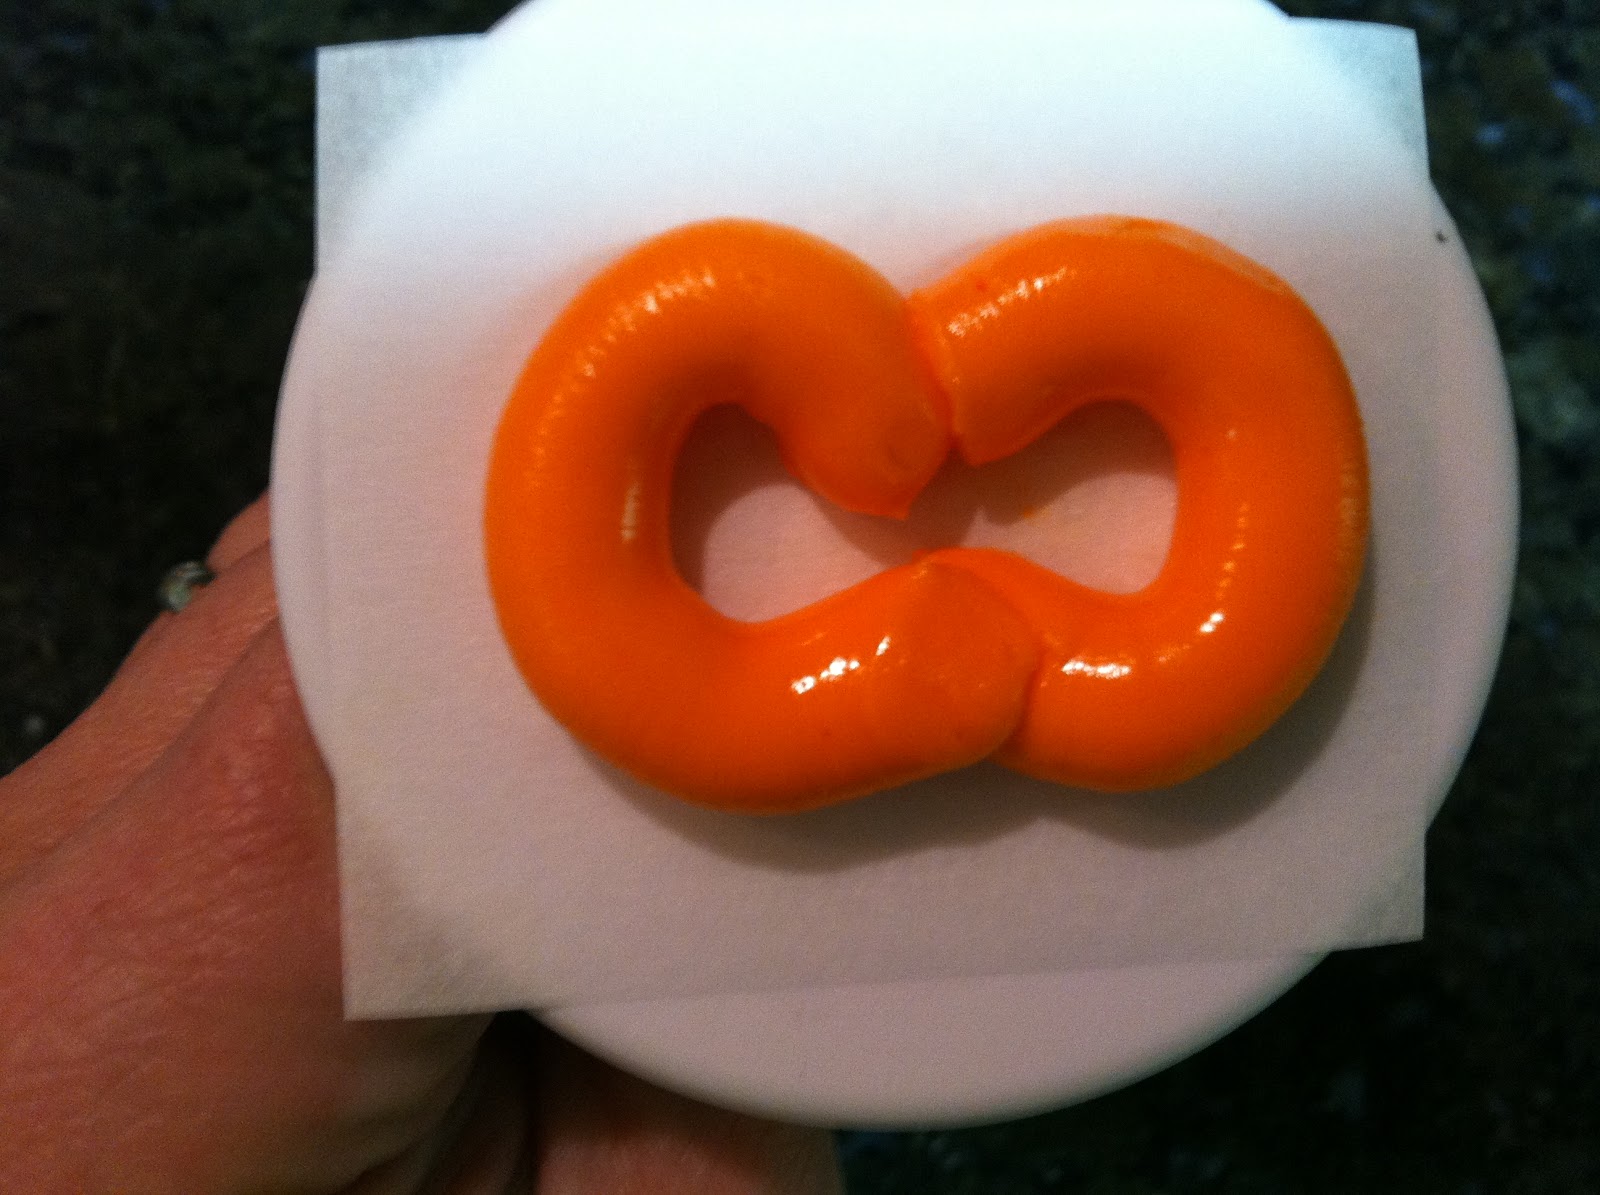
 Hold the #12 tip just above and at a 45 degree angle to the surface. Pipe this shape while rotating the nail. It's basically a #8 without the intersection. Try to make the sides symmetrical, but if they aren't, that's OK; pumpkins rarely are in real life.
 Fill in the center and tap it slightly flat with a fingertip after touching it to the dusting pouch.
 Repeat two more times, or however many times it takes until you no longer need to fill in a center because the sides are touching each other. You might end up with just enough room to pipe a single center line to finish the pumpkin off.
 Attach the #83 tip to the brown icing, hold it against the surface, and pipe a stem. I prefer long stems on pumpkins, but long, freestanding lengths of royal icing are susceptible to breakage so this stem is only a few millimeters long. When you stop pressure and pull the tip away, you may want to flatten the end of the stem with a dusted fingertip.
 When the icing is firmed up, peel away the parchment and use this pumpkin to decorate any dessert. You can make it in any size by varying the size of the round tip and substituting another round tip for a proportionate stem (I'm not aware of the quatrefoil-shaped tip being available in more than one size). You could also use a large round tip to pipe this pumpkin directly onto a cupcake with buttercream icing.

Sunday, July 1, 2012

Royal Icing Lumina Pumpkins

For those of you who might be thinking "Isn't it a little early to start thinking about Halloween?" the answer is, "I never stopped!" I love those half-pumpkins made out of the same slurry as candy corn, and thought I'd try piping an approximation of them in white; Lumina pumpkins are so elegant! You'll need a flower nail, a Styrofoam block to rest the nail in, a glue stick, parchment paper squares, stiff consistency royal icing in white, brown and green, a dusting pouch filled with a 50/50 mix of cornstarch and powdered sugar, round tips #12 and #3, oval tip #57, and leaf tip #65.
Start by piping a ball with the #12 tip. Hold the tip just above and perpendicular to the surface of a parchment square, and pipe until the icing is about the size of a nickel. Continue to squeeze and pull up…
 …until you have a shape similar to a Hershey's Kiss.
 Touch a fingertip to the dusting pouch and tap down the peak. Pipe one base for each pumpkin.
 When the bases have firmed up, stick one gently by the paper to the nail with a dab from the glue stick.
 Switch to the oval #57 tip, and pipe a line from the outer edge to the center. Stop pressure and pull the tip away. If a peak remains, touch a fingertip to the dusting pouch and tap it down.
 Repeat on the opposite side…
 …and continue piping neighboring lines until the base is covered.
Be sure the base is really firm to start with, or it will flatten out like this: 
 Allow the pumpkins to firm up a bit, then pipe a brown stem with the #3 tip. Hold the tip against the surface in the center, squeeze, and pull up, stopping pressure almost immediately and pulling the tip away. Coax a curve into the stem by nudging it with a fingertip.
 You can pipe the tip #65 leaves directly on the pumpkins when the stems have firmed up, or you can pipe them on a parchment square.
 Attach them to the pumpkins with a dot of white icing; the #3 tip should do.
Of course, since royal icing keeps pretty much indefinitely once it's hardened, the idea of piping Halloween decorations now isn't that absurd! Plan ahead!