When I piped yesterday's
oyster, I discovered that tip #98 by Ateco is really quite versatile. As you may recall, it is scallop-shaped and grooved on one side:
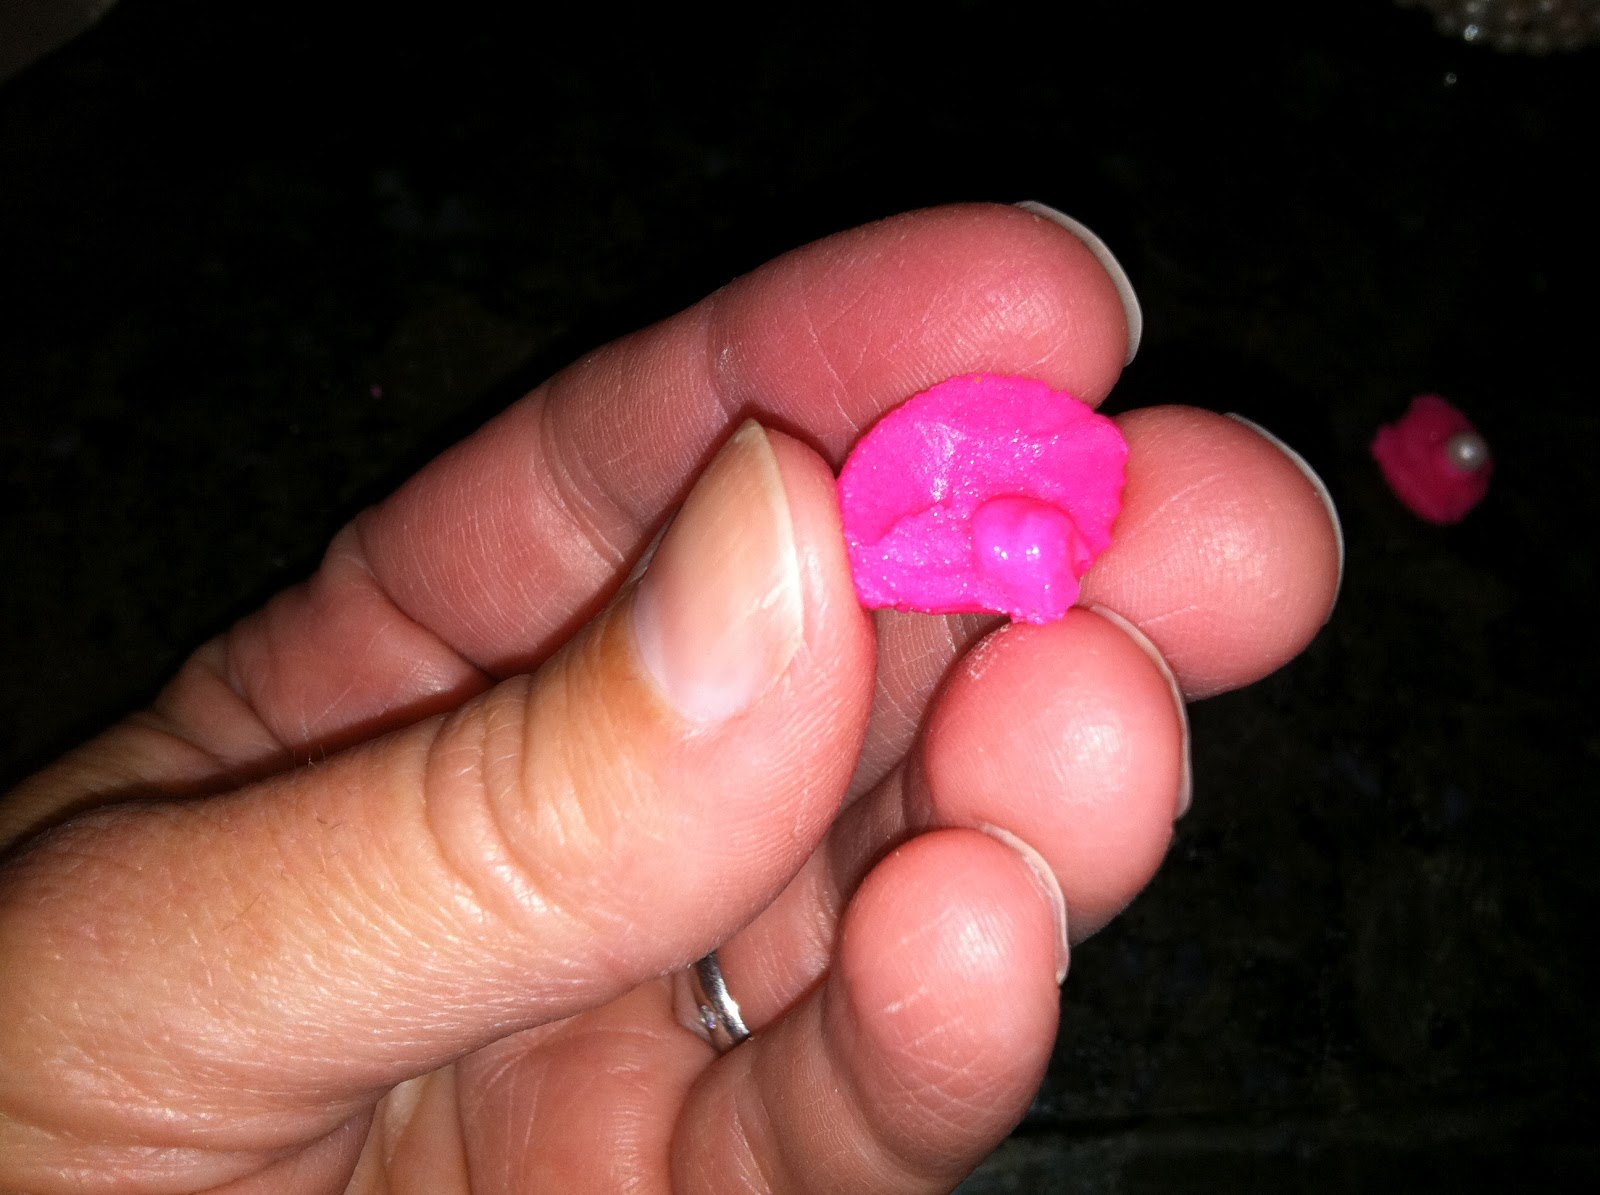
To pipe the snail's shell, you need to cover the fingertips on your non-dominant hand thoroughly with a
dusting pouch filled with a 50/50 mix of powdered sugar and cornstarch. Hold a pastry bag loaded with stiff consistency royal icing and fitted with tip #98 just above the surface of your fingertips, and start squeezing steadily. Coax the icing into curling over itself.
Once it "catches" it should roll up easily into a tidy spiral.
Place the shells on a piece of parchment paper to firm up enough to handle.
Pipe the body on a parchment square with a round #10 tip and stiff consistency royal icing in a contrasting color. Hold the bag at a 45 degree angle just above the surface, squeeze out a ball, then move the tip along the paper for about an inch, decreasing pressure as you go to taper the body into a tail.
Place the shell on top in the middle while the body is still soft. Press it down slightly.
Switch to the #2 tip and pipe a couple of eye stalks. Place the tip against the body, squeeze, and move the tip away about a quarter-inch. Stop pressure and pull the tip away.
Allow the eye stalks to dry a little before making the eyes. You can either use a food-safe marker like the Gourmet Writer by
AmeriColor, or use a toothpick to dab on a dot of black Soft Gel Paste food color (also by AmeriColor). This little critter might be considered a pest, but I think it would be appropriate on any garden-themed cake or cupcake.