Sunday, August 5, 2012

Royal Icing London Underground Sign

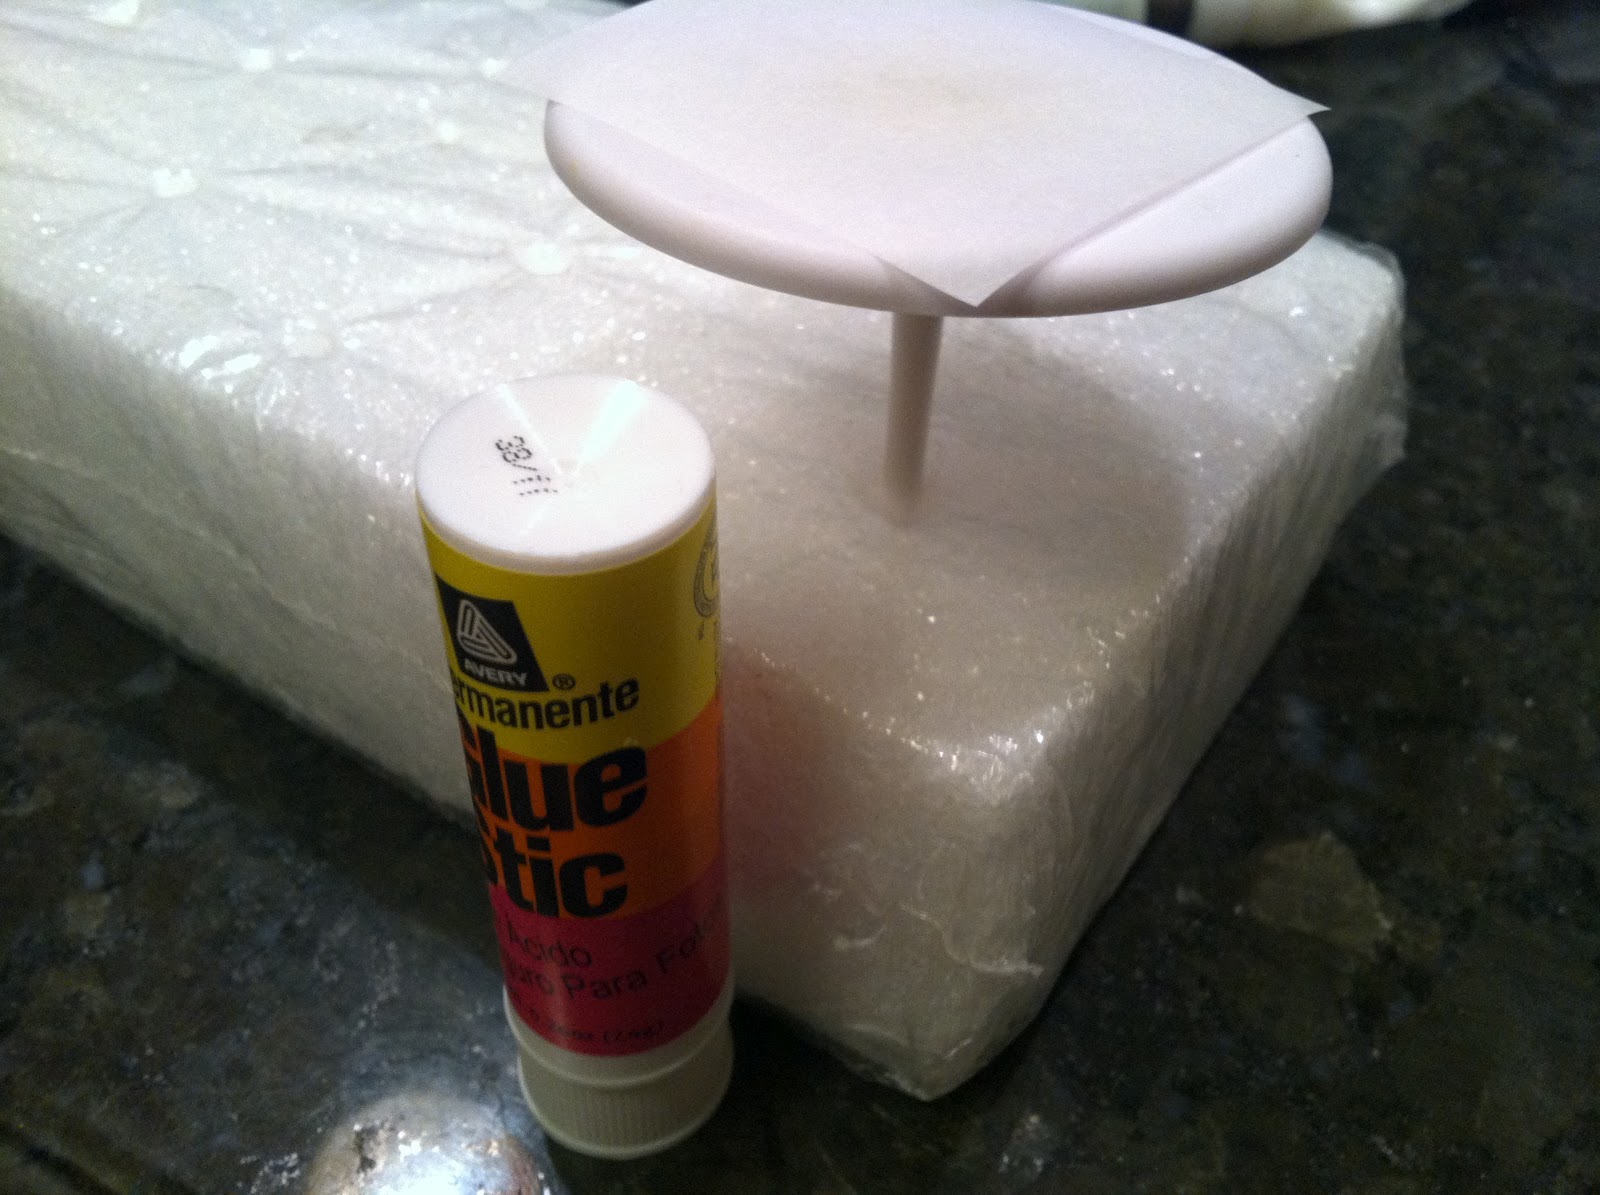
Still on a roll with projects inspired by the 2012 London Olympics, tonight I piped a royal icing London Underground sign (a request from my husband, who's very fond of anything to do with all forms of public transportation). This is definitely one of the easier projects I've piped lately. All you'll need are stiff consistency royal icing in red, white, and blue, round tip #12, flat ribbon tip #44 (by Ateco), a glue stick, parchment paper squares, a flower nail, a Styrofoam block to rest the nail in, and a dusting pouch filled with a 50/50 mix of cornstarch and powdered sugar. Start by sticking a parchment square to the flower nail with a dab from the glue stick. 
 Hold the #12 tip just above the surface, and slowly pipe a circle, overlapping the beginning with the end slightly.
 Touch a fingertip to the dusting pouch, and gently tap the "seam" flat. It should blend fairly evenly, like this:
 Pipe a #12 mound of white icing in the center. I buried the tip in the icing as the width built up almost to the inner edge of the red circle.
 Pull the tip out at a right angle and tap the mound flat with a fingertip.
 Allow the red and white icing to firm up for a while, then pipe a #44 stripe in blue icing across the middle of the whole shape, overhanging the edges slightly (if your icing is stiff enough, this seemingly gravity-defying maneuver shouldn't be too difficult to pull off). Neaten the edges with a fingertip if need be. I'm not sure if I trust myself with a tiny #1 tip enough to write an actual station name in white on the blue stripe, but if you can, go for it! This would also be a great spot for some other significant sentiment (grad year, birthday guest of honor's name, etc). I think these would look very cute on cupcakes (without looking like too much of a ripoff of Sprinkles Cupcakes, hopefully).

Saturday, August 4, 2012

Royal Icing Thistle

A few days ago I piped a Tudor rose, a traditional floral heraldic symbol of England. I really enjoyed doing that, so tonight's post is a thistle (the national emblem of Scotland). 
All you'll need to pipe thistles are green and purple stiff consistency royal icing, a flower nail, a Styrofoam block to rest the nail in, parchment paper squares, a dusting pouch filled with a 50/50 mix of powdered sugar and cornstarch, a glue stick, and round tips #12 and #3 (two of each size, if you don't want to have to constantly wash and switch the tips back and forth). Start by sticking a parchment paper square to the flower nail with a dab from the glue stick, and pipe a green base. Hold the tip at a right angle to and just above the surface, squeeze out a ball about the width of a dime, then move the tip upwards while still squeezing. When the shape is about 3/4" tall, stop pressure and pull the tip away. The shape will be reminiscent of a Hershey's Kiss.
 Touch a fingertip to the dusting pouch and tap the point flat. Pipe as many bases as you'll need. Remove from the nail with a gentle dug of the paper…
 …and pipe the purple tops. Hold the tip similarly, but pipe a ball. Squeeze steadily until the tip is about 1/2" above the surface, then stop pressure and pull the tip away. Tap the top into a round dome with a dusted fingertip.
 Place the pieces on a cookie cooling rack and put the rack someplace for them to firm up, like under a desk lamp, under the hood of an electric range, or on top of a gas stove that isn't turned on.
Move one of the green bases by the paper to the flower nail with a fresh dab from the glue stick…
 … and pipe #3 spikes all over it, except for the flattened top. Hold the tip against the surface, squeeze while moving the tip away a short distance, then stop pressure and pull the tip away. Repeat, repeat, repeat.
 I prefer to start from the bottom and work upwards, angling the points outward slightly.
 When the purple top is firmed up enough to be handled, stick it to the green base with a #12 dab of icing. Pipe #3 spikes all over it, except start in the middle and work your way outwards. I have lots of experience with this maneuver, because it's (almost) EXACTLY how I do my hair. These spikes should stand more upright than outward.
 To speed things up you could probably pipe the spikes with a grass tip, but I prefer the precision of piping them individually. I think the thistle will probably be strictly decorative; it's probably about as much fun to bite into as the hedgehog.


Friday, August 3, 2012

Royal Icing Owl

After yesterday's tribute to Winnie the Pooh and Paddington, I thought I'd better create something a little more current: a white owl based on Hedwig from Harry Potter. To pipe tiny little owls you'll need stiff consistency royal icing in any color you like (obviously I used white), a small amount of black icing for the beak and claws, a dusting pouch filled with a 50/50 blend of cornstarch and powdered sugar, a flower nail, a Styrofoam brick to rest the nail in, a glue stick, a parchment paper square for each owl, round tips #12 and #2, oval tip #55, Ateco tip #101 (it's slightly larger than the Wilton #101), and yellow and black food-safe markers (like Gourmet Markers by AmeriColor). Start by sticking a parchment square to the flower nail with a dab from the glue stick. 
 Hold the #12 tip just above and at a right angle to the surface. Squeeze until a base builds up, then continue to squeeze while moving the tip upwards about an inch. Stop pressure and pull the tip away, straight up.
 Touch a fingertip to the dusting pouch and tap the top until it is rounded.
 Switch to the #55 oval tip and pipe 6 toes. Hedwig has rather large fluffy feet.
 Switch to the #101 petal tip and pipe the tail in the back, keeping the wide side of the tip against the body just above the base with the narrow side angled down and outward. While you're piping, jiggle the tip in and out in a gentle sawing motion. The tail really won't be visible, but it will provide support for the wings.
 Still using the #101 tip, pipe the first wing starting from where you'd imagine the owl's "shoulder" to be, with the narrow end of the tip pointing outward.
 Here's a side view. Pipe the wing around to the back, ending at the center of the tail.
 Here's a view from the front. As you can see, the tip is angled slightly away from the body to give the wing some separation from the body.
 Repeat with a second wing on the other side of the body. Remember to keep the narrow end of the petal shaped tip facing outwards.
 When the body is fairly firmed up, pipe the beak with black icing and a #2 tip. Place the tip against the center of the "face", squeeze very gently and pull away. Gently nudge the beak into place with a fingertip after touching it to the dusting pouch. Touch the #2 tip to the ends of each toe to create claws.
 Use the yellow food-safe marker to draw circles for the eyes…
 …and draw the pupils with the black marker. Pipe a whole parliament of owls to top cupcakes for a Harry Potter-themed party!

Thursday, August 2, 2012

Royal Icing Stuffed Bear

During the Olympics, there was a story about Harrods, and how the stuffed bear that inspired Winnie the Pooh was bought there. This bear also looks suspiciously like Paddington, so I thought I'd better give this post the generic name of "stuffed bear" so neither of them would feel left out. All you'll need to pipe a stuffed bear is brown stiff consistency royal icing, round tip #12, oval tip #57, a flower nail, parchment paper squares, a glue stick, a Styrofoam block to rest the nail in, a black food-safe marker or a product like AmeriColor Soft Gel Paste in Super Black, toothpicks, and a dusting pouch filled with a 50/50 blend of powdered sugar and cornstarch. Start by sticking a parchment square to the flower nail with a dab from the glue stick. 
 Hold the round #12 tip just above and at a right angle to the surface. Squeeze, then pull up for just over half an inch. Stop pressure and pull the tip away straight up.
 Touch a fingertip to the dusting pouch and use it to tap the peak into a rounded shape. Pipe as many bear bodies as you'll need and set them aside to firm up.
 Pipe as many teardrop-shaped heads as you can fit on a parchment paper square. Hold the tip just above and at a 45 degree angle to the surface, squeeze out a ball, then pull the tip away at an upwards angle. Set them aside to firm up.
Switch to the oval #57 tip to pipe the limbs. Start with the legs. Place the tip against the body about halfway back, pipe alongside the body for a short distance to firmly anchor the leg to it, then bring the tip upwards when you stop pressure to create an upturned foot.
 Next, pipe the arms. Stuffed anthropomorphic bears tend to have surprisingly long arms. Start at the shoulder, and end at the leg. For all the limbs, tap them into place with a dusted fingertip. You'll want to tap the top of the bear where the arms begin flat, as that's where the head will go.
 When the heads have firmed up, pipe the ears with the tip #57. Flatten the ears slightly between your fingertips so they aren't just a couple of balls.
 Once all of the pieces have firmed up sufficiently enough to be handled…
 …stick the head to the body with a dot from the tip #57.
 You can either draw on the nose and eyes with a food-safe marker like an AmeriColor Gourmet Writer, or dab them on (like I did) with a toothpick dipped in AmeriColor Super Black Soft Gel Paste (flat for the nose, round for the eyes). These would be darling cupcake toppers for any Teddy Bear's Tea Party or high tea for dolls.

Wednesday, August 1, 2012

Royal Icing Teapot

I've had a few requests for a tiny little teapot ever since my tribute to All Things British/Olympics began. So, here it is. All you'll need is stiff consistency royal icing in any color you like, parchment paper squares, a flower nail, a glue stick, round tips #12 and #4, and a dusting pouch filled with a 50/50 blend of powdered sugar and cornstarch. Stick a parchment square to the flower nail. Start by piping the "pot" part. Hold the tip just above and at a right angle to the surface. Squeeze until a ball forms, then pull upward. After about half inch, stop pressure and pull the tip away. 
 Tap a fingertip to the dusting pouch and tap the peak down so the shape is rounded.
 Pipe one for each teapot and allow them to firm up.
 Switch to the #4 tip and pipe some handles. Pipe plenty of spares in case they wind up breaking or being the wrong size. They're basically curlicues slightly shorter in height than the pot.
 Pipe the lid's handle in the center of the pot; it's pretty much nothing more than a #4 dot. Adjust it with a dusted fingertip, if need be.
 Pipe a spout on one side with the #4 tip, starting at the base and pulling away about 2/3 of the way to the lid handle on top. You can perfect it with a dusted fingertip so the angle is just right.
 When the handles are dry, squeeze a tiny dab of icing at each end…
 …and stick it to the teapot. You might want to paint some gold accents, like I did on these tiny little teacups. Pinkies up!