Showing posts with label London. Show all posts

Sunday, August 5, 2012

Royal Icing London Underground Sign

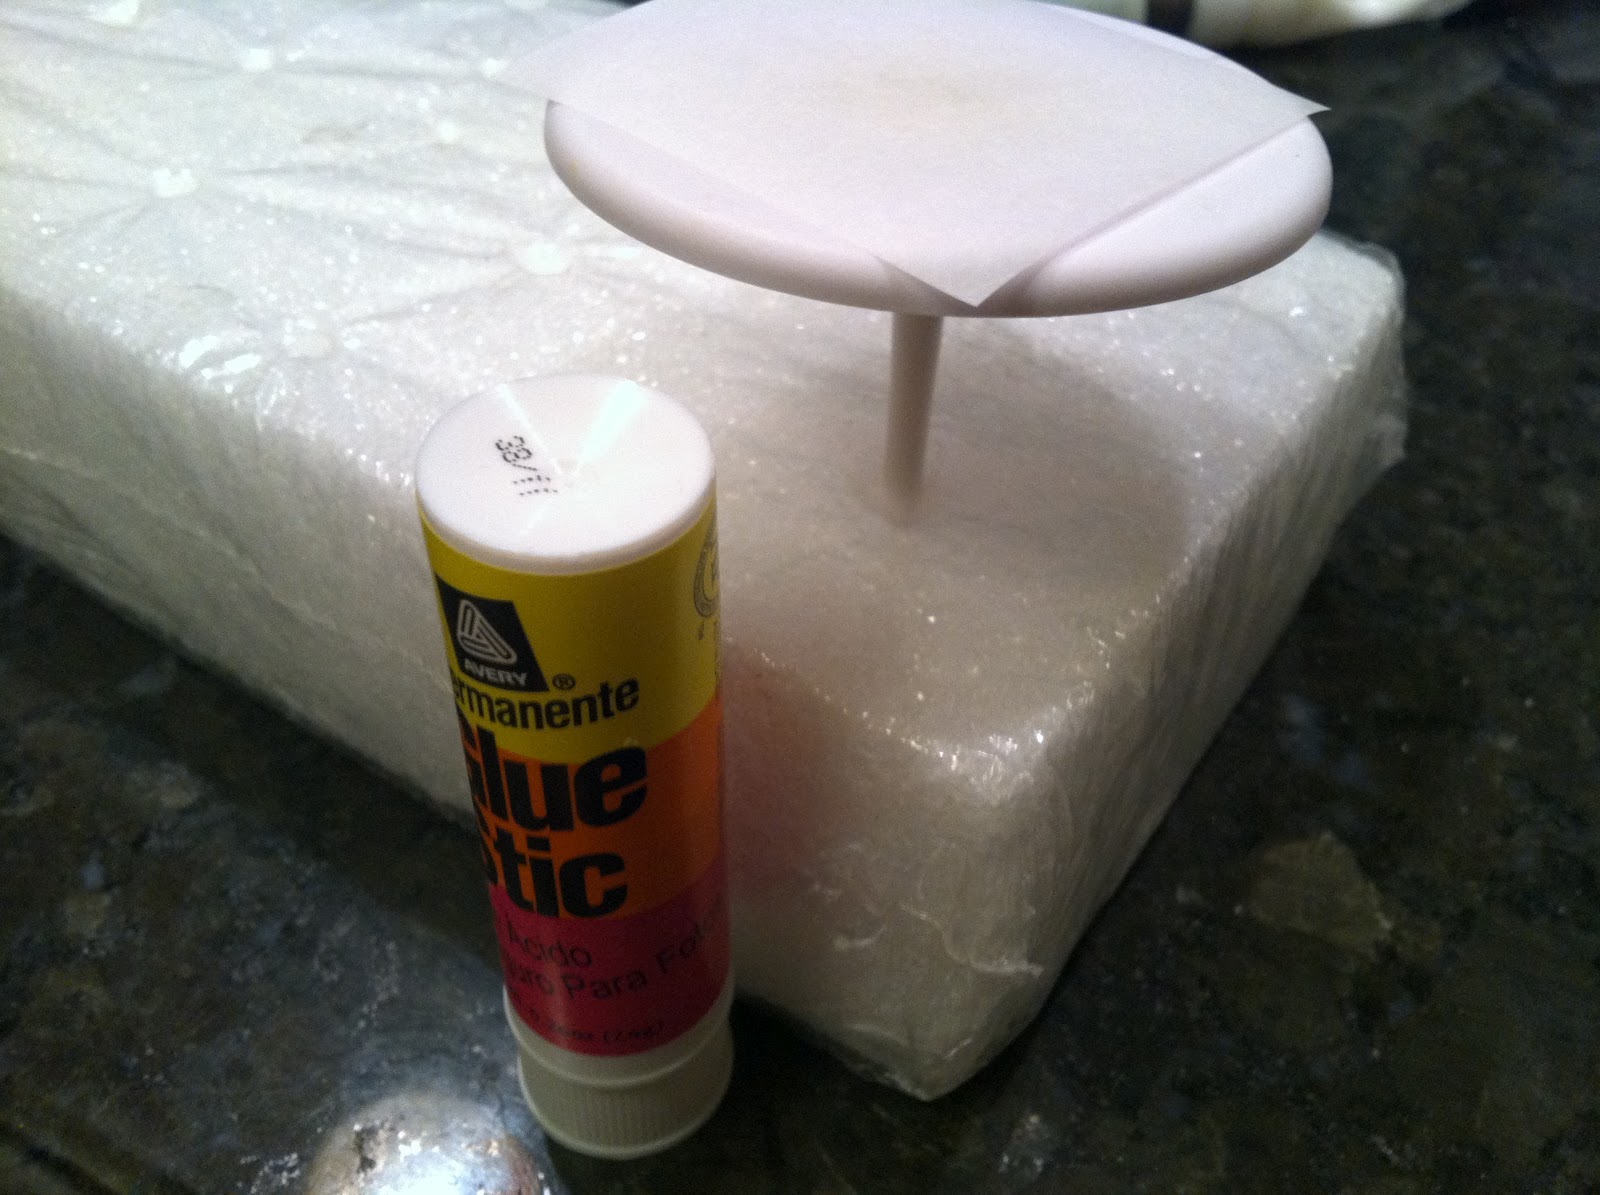
Still on a roll with projects inspired by the 2012 London Olympics, tonight I piped a royal icing London Underground sign (a request from my husband, who's very fond of anything to do with all forms of public transportation). This is definitely one of the easier projects I've piped lately. All you'll need are stiff consistency royal icing in red, white, and blue, round tip #12, flat ribbon tip #44 (by Ateco), a glue stick, parchment paper squares, a flower nail, a Styrofoam block to rest the nail in, and a dusting pouch filled with a 50/50 mix of cornstarch and powdered sugar. Start by sticking a parchment square to the flower nail with a dab from the glue stick. 
 Hold the #12 tip just above the surface, and slowly pipe a circle, overlapping the beginning with the end slightly.
 Touch a fingertip to the dusting pouch, and gently tap the "seam" flat. It should blend fairly evenly, like this:
 Pipe a #12 mound of white icing in the center. I buried the tip in the icing as the width built up almost to the inner edge of the red circle.
 Pull the tip out at a right angle and tap the mound flat with a fingertip.
 Allow the red and white icing to firm up for a while, then pipe a #44 stripe in blue icing across the middle of the whole shape, overhanging the edges slightly (if your icing is stiff enough, this seemingly gravity-defying maneuver shouldn't be too difficult to pull off). Neaten the edges with a fingertip if need be. I'm not sure if I trust myself with a tiny #1 tip enough to write an actual station name in white on the blue stripe, but if you can, go for it! This would also be a great spot for some other significant sentiment (grad year, birthday guest of honor's name, etc). I think these would look very cute on cupcakes (without looking like too much of a ripoff of Sprinkles Cupcakes, hopefully).

Thursday, August 2, 2012

Royal Icing Stuffed Bear

During the Olympics, there was a story about Harrods, and how the stuffed bear that inspired Winnie the Pooh was bought there. This bear also looks suspiciously like Paddington, so I thought I'd better give this post the generic name of "stuffed bear" so neither of them would feel left out. All you'll need to pipe a stuffed bear is brown stiff consistency royal icing, round tip #12, oval tip #57, a flower nail, parchment paper squares, a glue stick, a Styrofoam block to rest the nail in, a black food-safe marker or a product like AmeriColor Soft Gel Paste in Super Black, toothpicks, and a dusting pouch filled with a 50/50 blend of powdered sugar and cornstarch. Start by sticking a parchment square to the flower nail with a dab from the glue stick. 
 Hold the round #12 tip just above and at a right angle to the surface. Squeeze, then pull up for just over half an inch. Stop pressure and pull the tip away straight up.
 Touch a fingertip to the dusting pouch and use it to tap the peak into a rounded shape. Pipe as many bear bodies as you'll need and set them aside to firm up.
 Pipe as many teardrop-shaped heads as you can fit on a parchment paper square. Hold the tip just above and at a 45 degree angle to the surface, squeeze out a ball, then pull the tip away at an upwards angle. Set them aside to firm up.
Switch to the oval #57 tip to pipe the limbs. Start with the legs. Place the tip against the body about halfway back, pipe alongside the body for a short distance to firmly anchor the leg to it, then bring the tip upwards when you stop pressure to create an upturned foot.
 Next, pipe the arms. Stuffed anthropomorphic bears tend to have surprisingly long arms. Start at the shoulder, and end at the leg. For all the limbs, tap them into place with a dusted fingertip. You'll want to tap the top of the bear where the arms begin flat, as that's where the head will go.
 When the heads have firmed up, pipe the ears with the tip #57. Flatten the ears slightly between your fingertips so they aren't just a couple of balls.
 Once all of the pieces have firmed up sufficiently enough to be handled…
 …stick the head to the body with a dot from the tip #57.
 You can either draw on the nose and eyes with a food-safe marker like an AmeriColor Gourmet Writer, or dab them on (like I did) with a toothpick dipped in AmeriColor Super Black Soft Gel Paste (flat for the nose, round for the eyes). These would be darling cupcake toppers for any Teddy Bear's Tea Party or high tea for dolls.

Wednesday, August 1, 2012

Royal Icing Teapot

I've had a few requests for a tiny little teapot ever since my tribute to All Things British/Olympics began. So, here it is. All you'll need is stiff consistency royal icing in any color you like, parchment paper squares, a flower nail, a glue stick, round tips #12 and #4, and a dusting pouch filled with a 50/50 blend of powdered sugar and cornstarch. Stick a parchment square to the flower nail. Start by piping the "pot" part. Hold the tip just above and at a right angle to the surface. Squeeze until a ball forms, then pull upward. After about half inch, stop pressure and pull the tip away. 
 Tap a fingertip to the dusting pouch and tap the peak down so the shape is rounded.
 Pipe one for each teapot and allow them to firm up.
 Switch to the #4 tip and pipe some handles. Pipe plenty of spares in case they wind up breaking or being the wrong size. They're basically curlicues slightly shorter in height than the pot.
 Pipe the lid's handle in the center of the pot; it's pretty much nothing more than a #4 dot. Adjust it with a dusted fingertip, if need be.
 Pipe a spout on one side with the #4 tip, starting at the base and pulling away about 2/3 of the way to the lid handle on top. You can perfect it with a dusted fingertip so the angle is just right.
 When the handles are dry, squeeze a tiny dab of icing at each end…
 …and stick it to the teapot. You might want to paint some gold accents, like I did on these tiny little teacups. Pinkies up!

Tuesday, July 31, 2012

Royal Icing Apple Pie

Imagine my surprise when I looked up British Culture on Wikipedia and discovered in the cuisine section that apple pie has been consumed in England since the middle ages! And here I thought nothing could be more American. Anyway, in my ongoing quest to pipe something British or Olympics-themed every day of the 2012 games, I piped a tiny little pie. The first step is to stick a parchment paper square to a flower nail with a dab from a glue stick. You'll want to have a Styrofoam block handy to rest the nail in. 
 Pipe a "pie pan" with a round #12 tip, held at a right angle to and just above the surface. Pipe a ring…
 …then fill in the hole in the center…
 …then tap the disc flat with your fingertip after touching it to a dusting pouch filled with a 50/50 mix of cornstarch and powdered sugar.
Let it firm up for a while, then pipe a lattice with a flat, narrow tip. I love the look of the serrated tip #46 by Magic Tip (even though a flat tip probably would have been more realistic). Start by piping a straight line across the center. Neaten the ends with a dusted fingertip.
 Proceed with the basketweave technique. Pipe three (or so) cross pieces…
 …then pipe a little "spacer dot" in between each of the ends of those cross pieces.
 Pipe two more lines, parallel to the first line…
 …and finish off with short cross pieces, filling in any holes. Touch the dusting pouch and tap the outer edges smooth.
 Switch to a round #4 tip and pipe a squiggly line for the crimped edge. This would be cute on top of any apple dessert, like muffins.

Friday, July 27, 2012

Royal Icing Bowler Hat

I'm going to do my best to come up with as many British and Olympic-inspired projects as possible over the next couple of weeks. I want to get things going with one of my favorite accessories of all time: the bowler hat, which I first became aware of back when Culture Club was my favorite band (I was a very flashy 'tween at the time…except the word 'tween hadn't been invented yet). The base of the bowler is very similar to the pots of eyeshadow from last night. All you need is round tip #12, oval tip # 57, stiff consistency royal icing in black, parchment paper squares, a flower nail, a glue stick, and a dusting pouch filled with a 50/50 blend of powdered sugar and cornstarch. Fit the bag of black icing with the #12 tip, hold it just above the surface of a parchment square on your countertop, and pipe a quarter-sized circle (if a hole remains in the center, don't worry).
  Touch the dusting pouch with a fingertip and tap the disc to even it out (and to fill in the center hole, if there is one). Alternately, shake the dusting pouch over a spot on your countertop and touch that spot instead of directly touching the dusting pouch with a fingertip that may have black icing on it.
  Allow the discs to firm up for a while. You can speed up this process by placing them under a desk lamp.
 Hold the tip just above and at a right angle to the center, and squeeze out a ball of icing. Pull the tip away straight up. If a peak remains, tap the icing into a rounded shape with a dusted fingertip.
 Switch to the oval tip #57. Carefully stick what you've piped so far, still on its parchment paper, to the flower nail with a dab from the glue stick. To form the outer edge of the hat's brim, hold the oval tip upright against the edge. Pipe all the way around while you rotate the nail. Where the two ends meet, tap them together with a dusted fingertip.
Feel free to send me more British and Olympic ideas! I promise, I'll try to pipe a pint soon.