Showing posts with label tip #44. Show all posts

Friday, December 7, 2012

Royal Icing Stack of Pancakes

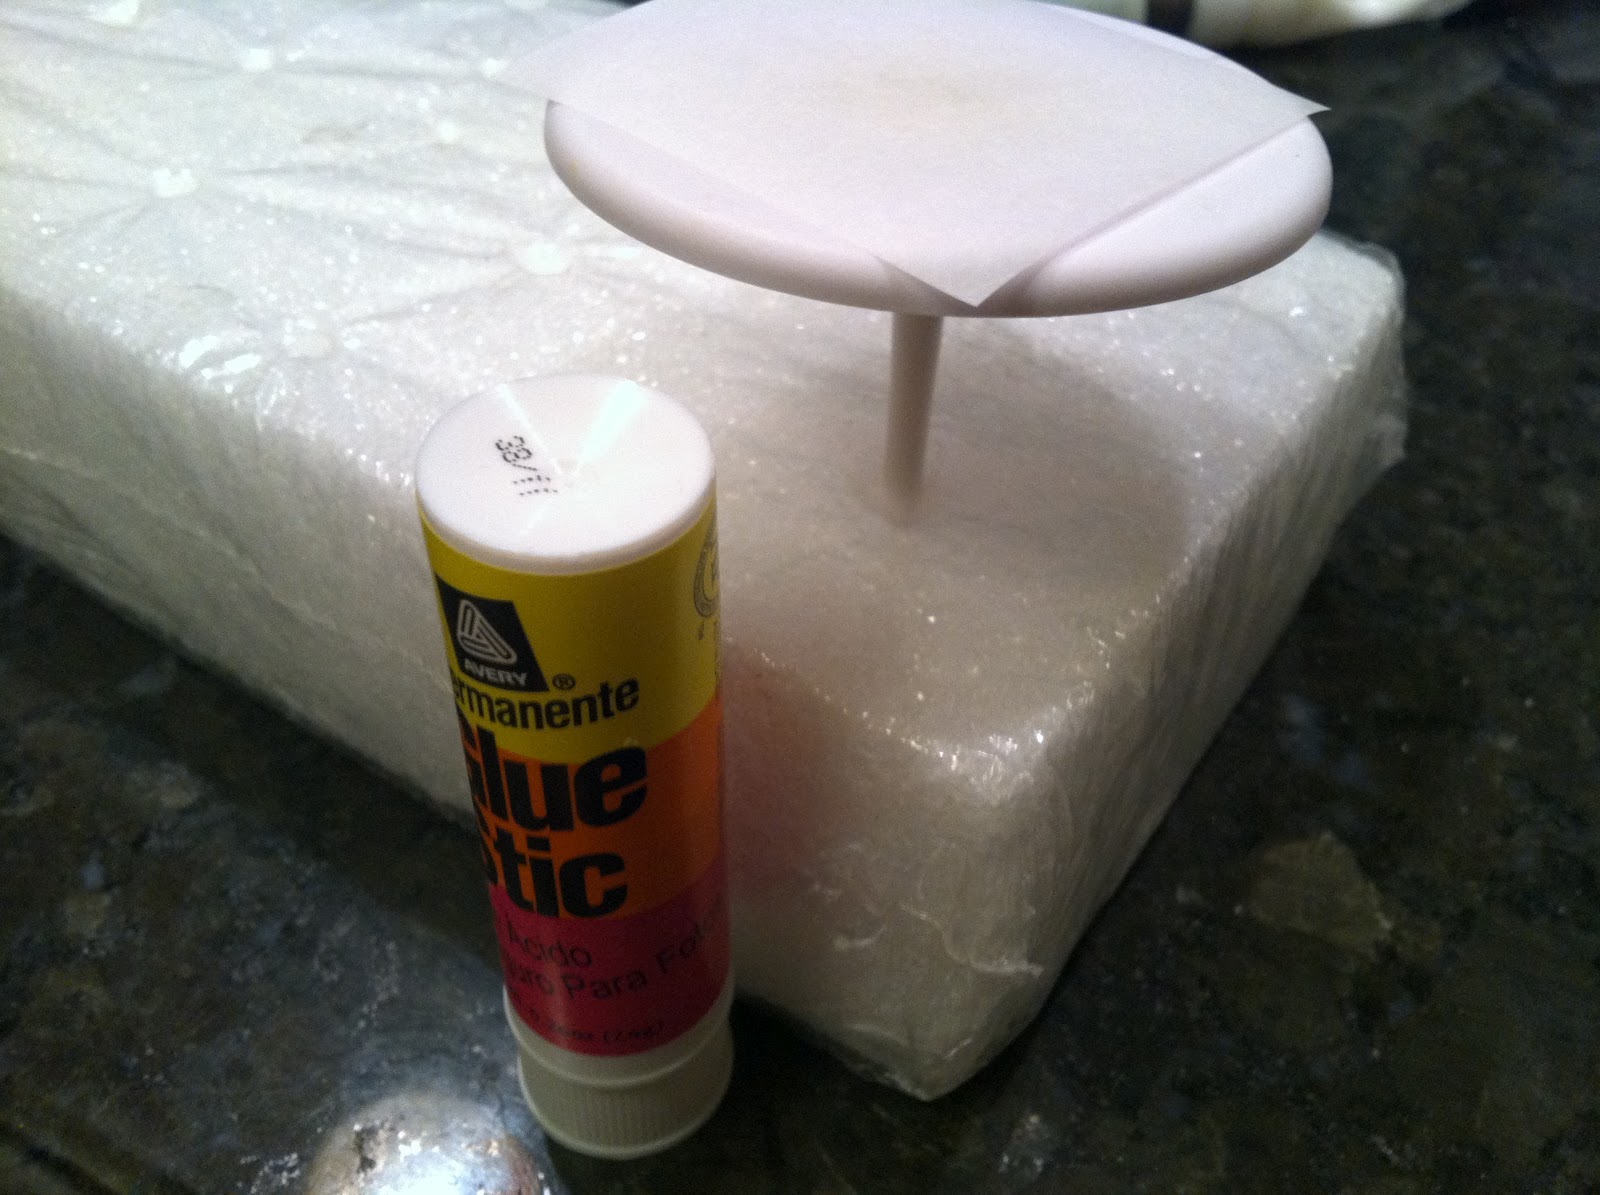
A tiny stack of pancakes is one of those projects you'll probably never need to pipe, but it sure is cute, easy, and sort of looks like what it's supposed to be. All you'll need is stiff consistency royal icing in brown and yellow, a round #12 tip, a flat #44 tip, a flower nail, parchment paper squares, a glue stick, a Styrofoam block to rest the nail in, and a dusting pouch filled with a 50/50 mix of cornstarch and powdered sugar. Start by sticking a parchment square to the flower nail with a dab from the glue stick. 
 Hold the tip at a right angle to and just above the surface. Pipe a swirl about the size of a quarter…
 …and tap it flat with a fingertip after touching it to the dusting pouch.
 Allow it to firm up for a few minutes, and repeat. It looks better if the "pancakes" vary slightly in size.
 Pipe another…
 …and another.
 Finish off with a "pat of butter" (a short shot of yellow icing piped with the flat #44 tip). These would be cute as a garnish on any maple flavored dessert (or somehow featured in a gingerbread house).

Wednesday, December 5, 2012

Royal Icing Poker Chips

Today's post is sort of my family's version of gelt; we have a poker chip caddy handed down from my grandparents that I stock year-round with seasonal chips and cards. The chips have to be clay or I won't play:
All you'll need to pipe poker chips is stiff consistency royal icing in any colors you like, round tips #8 and #12, flat ribbon tip #44, a flower nail, parchment paper squares, a glue stick, a Styrofoam block to rest the nail in, and a dusting pouch filled with a 50/50 mix of powdered sugar and cornstarch. Start by sticking a parchment square to the flower nail with a dab from the glue stick. 
 Pipe a circle about the size of a quarter with the #12 tip. Hold it just above and at a right angle to the surface while piping.
 Touch a fingertip to the dusting pouch and tap the icing flat. Allow it to firm up for a few minutes.
 Switch to the #8 tip and pipe around the perimeter. Again, keep the tip at a right angle to and just above the surface. Tap the slightly overlapping ends flat to join them where they meet.
 Pipe short shots of a contrasting icing with a flat #44 ribbon tip. These won't make for decent currency in a poker game, but they'd be cute as a garnish on cupcakes served at it.

Friday, October 26, 2012

Royal Icing Mummy Face

There sure are a lot of variations on the mummy cupcake; do a Google image search and see what you come up with! Here's how to make a tiny mummy face, suitable for petits fours, flat-sided cake pops, mini cupcakes, whatever; you could even pipe them directly on Nilla Wafers. You'll need stiff consistency royal icing in white, black, and whatever color you want for the eyes, round tips #3, #8, and #12, ribbon tip #44, a flower nail, a Styrofoam block to rest the nail in, a glue stick, parchment paper squares, and a dusting pouch filled with a 50/50 mix of powdered sugar and cornstarch. Start by sticking a parchment square to the flower nail with a dab from the glue stick. 
 Hold the #12 tip just above and at a right angle to the surface and pipe a ring with the black icing. Touch a fingertip to the dusting pouch and tap the icing into a disc. Allow it to firm up for a few minutes.
 Pipe two dots of yellow (or whatever color) icing with the #8 tip. Flatten them slightly with a dusted fingertip.
 Switch to the #3 tip on the black icing and pipe two dots for pupils. Piping the bandages with the #44 tip requires no instruction; pipe them any way you like. I figured I'd start around the eyes, slightly overlapping them.
 Continue piping strips of white icing until the black is covered. Don't worry too much about asymmetry, ragged edges, etc. When the icing is dry, peel away the parchment and stick this spooky face on any ghoulish dessert you can come up with!


Thursday, October 25, 2012

Royal Icing S'More

I've been doing lots and lots of Halloween projects lately (of course; it's less than a week away!). I'm not sure what would possess me to pipe a tiny little s'more right now during the buildup to this most momentous holiday, other than I think there's something very autumnal about them. All you need to pipe s'mores the size of miniature marshmallows are stiff consistency royal icing in light brown, dark brown, and white, round tip #12, ribbon tips #44 and #45, a glue stick, parchment paper squares, flat toothpicks, a flower nail, a Styrofoam block to rest the nail in, and a dusting pouch filled with a 50/50 mix of powdered sugar and cornstarch. Start by sticking a parchment square to the flower nail with a dab from the glue stick. 
 Pipe a square with tip #45 consisting of two short lengths of light brown icing that touch each other. This is your first "graham cracker."
 Pipe a grid of dark brown squares with the #44 tip for the "chocolate." Allow them to firm up for a few minutes before moving on to the…
 …marshmallow. Hold the #12 tip just above and at a right angle to the "chocolate" and move it in a circle while piping. Stop pressure and pull the tip away. Touch a fingertip to the dusting pouch to tidy it into this gently squashed marshmallow shape. Allow it to firm up for a few minutes.
 Piping the second "graham cracker" is the trickiest step; it doesn't really have anything to support the corners, so the icing needs to be really stiff. If the corners start to droop, lift them up gently with the side of a flat toothpick that you've touched to the dusting pouch.
 Lastly, use the tip of the narrow end of a flat toothpick to gently press a grid of "holes" into the surface. Don't push the toothpick all the way in; just leave a slight depression. These would be perfect for decorating s'more flavored cupcakes or any Girl Scout-themed dessert.

Monday, August 6, 2012

Royal Icing Princess Beatrice's Hat

I stayed up all night to watch the Royal Wedding between William and Kate in 2011, and one of the highlights for me was the arrival of Princess Beatrice and the astonishing thing on her head. The media had such a field day with her, but I thought she was adorable and really pulled the look off. As you can see, though, I've taken a few artistic liberties in the recreation of Princess Beatrice's fascinator (aka hat), namely the elimination of the "toilet seat" (but, for accuracy's sake, I might add it in later). Watching the equestrian events at the Olympics got me to thinking about what a shame it is we don't wear creations like this all the time; surely there were a few fascinators in the crowd there: 
I've had this tip #85 by Ateco for some time, and have never found a reason to use it until this project. A petal tip like the #101 might have worked just as well, but I really wanted to see what this thing can do:
The subtle mushroom shade of the hat is challenging to match. I used a few dots of Deep Pink and barely a dot of Chocolate Brown, both by AmeriColor
 Other than stiff consistency royal icing in this color and the tip #85, you'll need a large flower nail, large parchment paper squares, a glue stick, a Styrofoam brick to rest the nail in, a flat ribbon tip #44, and a dusting pouch filled with a 50/50 blend of powdered sugar and cornstarch. Start by sticking a parchment square to the nail with a dab from the glue stick.
 Pipe one side of the bow…
 …and then the other. Angle the sides upwards in a heart-like fashion. It's helpful to rotate the nail while you're piping the bow. If the ends need some tidying, touch your fingertips to the dusting pouch and pinch the ends together in the middle.
 Then, pipe the serpentining tails on the sides. Aim for symmetry, but don't panic if they're a bit off.
 Finally, switch to the flat ribbon tip #44 and pipe a strip across the middle to cover all the ends and tie everything together.
 I plan to pipe a bunch of these to decorate a batch of cupcakes frosted in the same color; the cupcake tops would approximate the shape of the skullcap part of the fascinator.


Sunday, August 5, 2012

Royal Icing London Underground Sign

Still on a roll with projects inspired by the 2012 London Olympics, tonight I piped a royal icing London Underground sign (a request from my husband, who's very fond of anything to do with all forms of public transportation). This is definitely one of the easier projects I've piped lately. All you'll need are stiff consistency royal icing in red, white, and blue, round tip #12, flat ribbon tip #44 (by Ateco), a glue stick, parchment paper squares, a flower nail, a Styrofoam block to rest the nail in, and a dusting pouch filled with a 50/50 mix of cornstarch and powdered sugar. Start by sticking a parchment square to the flower nail with a dab from the glue stick. 
 Hold the #12 tip just above the surface, and slowly pipe a circle, overlapping the beginning with the end slightly.
 Touch a fingertip to the dusting pouch, and gently tap the "seam" flat. It should blend fairly evenly, like this:
 Pipe a #12 mound of white icing in the center. I buried the tip in the icing as the width built up almost to the inner edge of the red circle.
 Pull the tip out at a right angle and tap the mound flat with a fingertip.
 Allow the red and white icing to firm up for a while, then pipe a #44 stripe in blue icing across the middle of the whole shape, overhanging the edges slightly (if your icing is stiff enough, this seemingly gravity-defying maneuver shouldn't be too difficult to pull off). Neaten the edges with a fingertip if need be. I'm not sure if I trust myself with a tiny #1 tip enough to write an actual station name in white on the blue stripe, but if you can, go for it! This would also be a great spot for some other significant sentiment (grad year, birthday guest of honor's name, etc). I think these would look very cute on cupcakes (without looking like too much of a ripoff of Sprinkles Cupcakes, hopefully).