Showing posts with label Rice Krispy Pops. Show all posts

Saturday, May 5, 2012

Flat Flowers on Cake Pops

Continuing along with cake pops, I adapted Buddy Valastro's method of piping flat flowers on cupcakes (you can find it in the book Baking With the Cake Boss). The procedure is similar, but with a few changes (I sure don't want to be accused of ripping off Buddy!). First, make some flat cake pops; this one was made with the Rick Krispy Pops recipe, but you could also mold the basic cake ball pops into a flattened shape. You'll need medium consistency royal icing in three colors of your choosing (but you'll probably want to choose green for the leaves unless you're feeling rebellious). In this case, I put a round tip #12 on the yellow bag for the center, a #69 leaf tip on the green bag, and a #104 petal tip on the pink bag. 
 Start by piping a dot in the middle of the pop to keep you "centered."
 Lie the petal tip almost flat on the pop, with the wide end resting on the center.
 While squeezing, move your hand in a tight upside down "U" formation to form the petal. Bring the tip right back to where you started. If you need to coax the petal into a more pleasing shape, keep a dusting pouch filled with a 50/50 mix of powdered sugar and cornstarch handy, touch your finger to it, and gently tap the petal into place.
 Continue until you've covered the pop's surface with petals.
 Pipe the center by holding the round tip just above and perpendicular to the center. Squeeze steadily until the center builds up to the diameter you want, stop pressure, then pull the tip away. If a peak forms, tap it down with your fingertip.
 You could leave it like this…
 …or pipe a few leaves around the edge by tucking the leaf tip under two adjacent petals, squeezing, and pulling away. Pinch the tip of the leaf to a perfect point with your fingertips, if need be. When the icing is dry, store the pops in a cardboard box between layers of waxed paper (not a sealed plastic box or Ziploc; any trapped moisture is bad for the icing) until ready to serve.

Monday, April 30, 2012

Flower Basket Cake Pop

Here we go; I guess I'm getting sucked into the cake pop phenomenon! What can I say; they're way festive, relatively quick, and an excellent way to practice various cake techniques (in this case, basketweave) on a small surface (not an entire cake). The pop can be made using the Rice Krispy Treat (RKT) method, or the basic cake ball pop recipe. As you can see, I used RKTs. I only needed to make 12, so I split the standard RKT recipe in half (2 cups of mini marshmallows melted with 2-3 tablespoons of butter, a scant teaspoon of vanilla stirred in, and 3 cups of Rice Krispies mixed in once the mixture is removed from heat). Press it into a greased 11 3/4 x 7 1/2" pan, and cut it into 12 rectangles. Here's one of them…
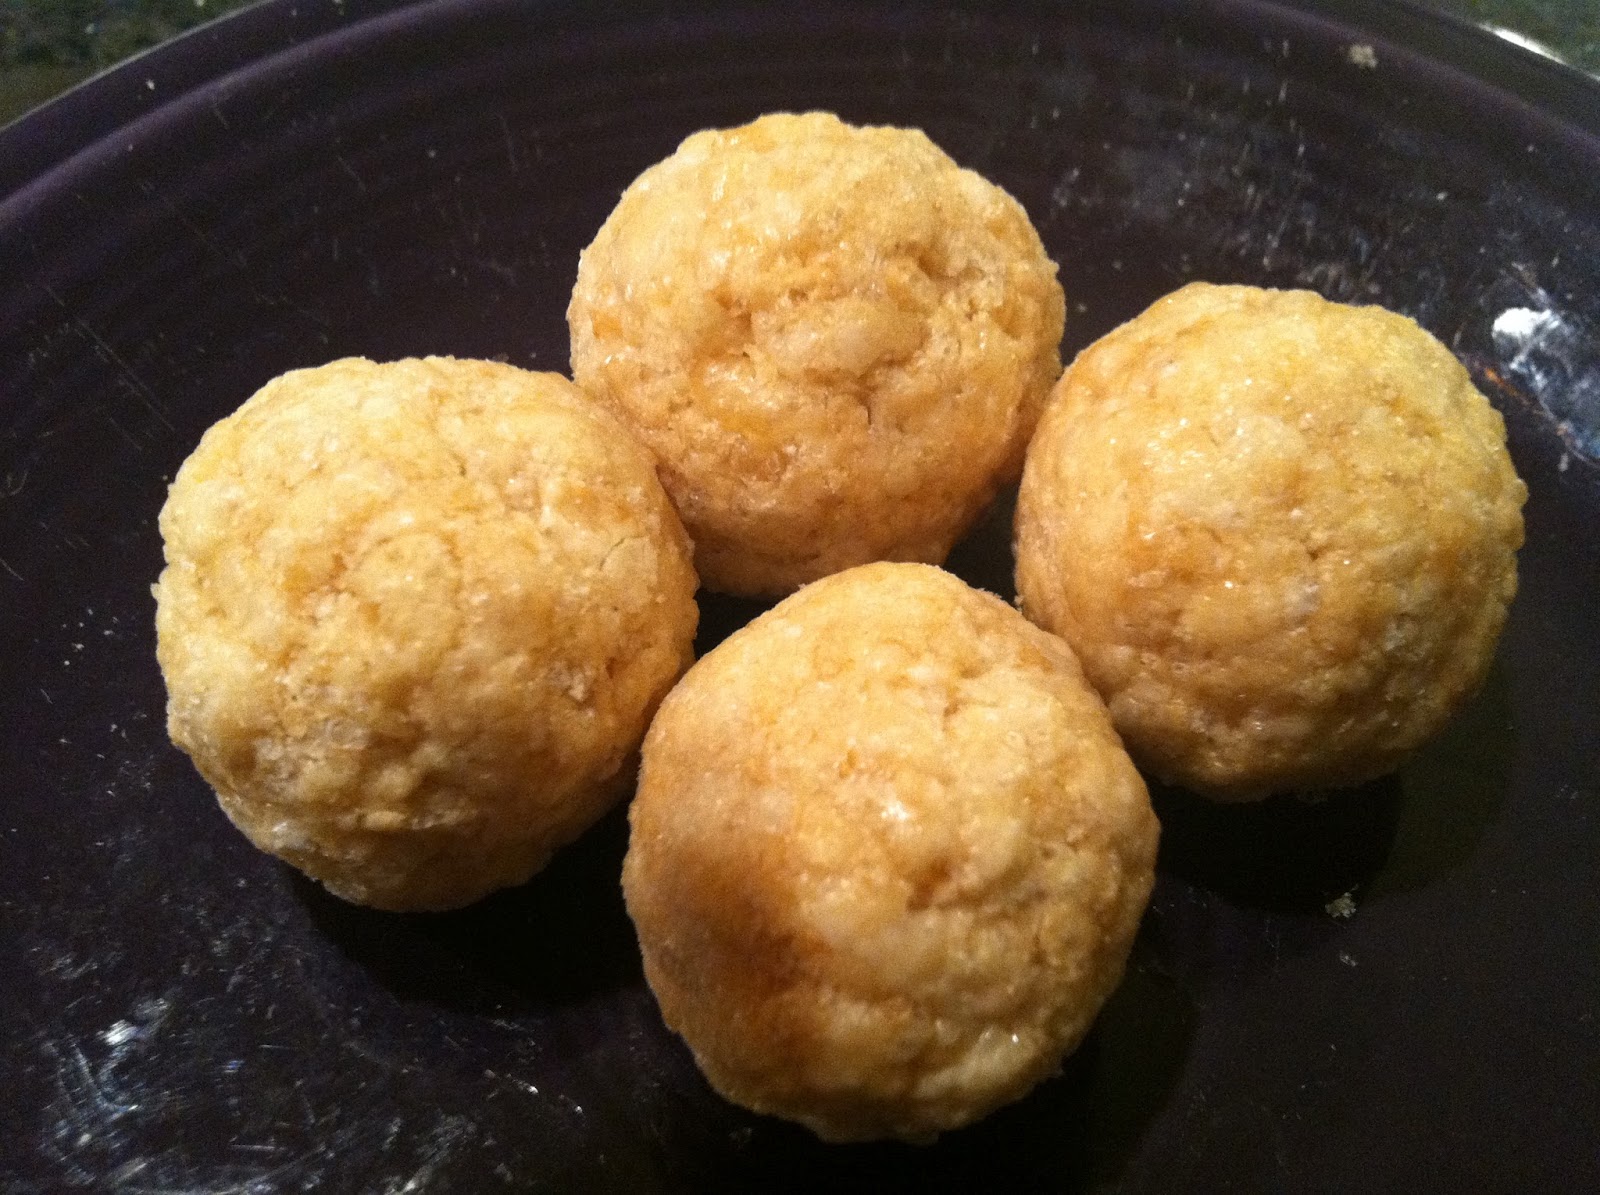
 …which yields a ball this size. Tear the RKT into bits on a waxed paper surface, butter your hands, and roll the pieces into a ball. Really press it down tight so the ball is very dense.
 Press the ball against the waxed paper surface…
 …and form a flat side (the top).
 Melt some chocolate (like Guittard Melt n' Mold Chocolates), dip the tip of a 4" lollipop stick into it, and stick it into the bottom of the basket shape. Push it almost all the way to the other end (but not all the way through; hold your finger over the tip, and you'll feel the stick coming before it pokes through). Melt chocolate or candy and dip the pop according to the RKT pop recipe.
 This is an ideal tip for small basketweave: Magic Tip #45 (it's serrated on both sides).
 You may want to refer to my step-by-step basketweave instructions. The method for the flower basket cake pop is the same; just a lot smaller. Load a piping bag with melted chocolate or candy (or medium consistency royal icing, like I did), and pipe a line from the point where the stick meets the basket's bottom to the basket's edge.
 This should look familiar, if you've done basketweave before. The main challenge is not letting your fingers get in the way. Be sure to have a Styrofoam block handy so you can push the pop's stick into it if you need to rest your hands, reload the bag, etc. (and so you'll have someplace to set the pop to dry when you're done).
 Continue piping the basketweave all the way around…
 …until you're back where you started. Do your best to keep the vertical spokes of the basket truly vertical (mine tended to angle one way or the other; it was a constant battle).
 Switch the tip to a star tip #16, and pipe a shell border around the basket's edge.
 Load up another piping bag with green royal icing (or melted candy) and a leaf tip #68. Pipe a few leaves
 …and while they're still wet push a few flowers into them. You could use royal icing flowers you've pre-made, or a few Daisy Sprinkles. I'm definitely going to revisit this idea next Easter, and swap out the flowers for jelly beans!

Thursday, April 26, 2012

Rice Krispy Pops

I signed up to take Wilton's Cake Pops class this week. Imagine my surprise when the first project had nothing to do with cake! We made pops using Rice Krispy Treats, and they actually turned out really tasty! You can use pre-made RKTs (as I'm going to refer to them from this point on) or you can make your own. I happen to know a fabulous trick for doctoring up the classic scratch method, so I'll tell it to you: just before you remove the pot containing the melted 4 cups of mini marshmallows and 3 tablespoons of butter from medium heat, add a teaspoon of the best vanilla you can find. Stir it up, remove from heat, then add the six cups of Rice Krispies, stir until evenly coated, then press it into a greased 11x17" pan using your greased fingers. That vanilla makes all the difference, and your end result will be a more golden color. In addition to RKTs, you'll need 4" lollipop sticks, a Styrofoam block, a Pyrex cup, something to decorate the pops with (I used jumbo-sized nonpareils), and a bag of chocolate pieces made specifically for melting (do NOT use chocolate chips; they won't melt smoothly); I used dark chocolate Melt n' Mold pieces by Guittard
 Start by breaking up the RKTs into small pieces on a plate or a piece of waxed paper.
 Pluck off a mass of pieces; this one equals somewhere between 2 and 3 tablespoons worth:
 Roll the mass between your hands into a ball. Really pack the RKTs down; you want to hear them snap-crackle-pop as you crush them together.
 Obviously, make sure your hands are immaculately clean before you roll the balls.
 Next, melt some chocolate. I filled the 1 cup measure about halfway, which was more than enough to coat these four balls.
 Melt the chocolate over a double boiler, or in the microwave. Remove from the microwave every :30 and give the chocolate a stir. Don't let it burn.
 Dip the tip of a lollipop stick into the chocolate…
 …then stick it into one of the balls. Push the stick almost all the way to the opposite side, but don't push it through. If you place your finger on the side of the ball where the stick would pop out, you'll be able to feel it coming before it actually does and stop pushing in time.
 Lie the balls on their sides and let the chocolate dry; you'll know it's dry when the surface is no longer shiny.
 Wipe the edge of the Pyrex container clean, then dip one of the pops into the chocolate at an angle. Allow the chocolate to coat a little of the stick, right where it meets the pop; this will help anchor the pop to the stick.
 Remove excess chocolate off of the pop by tapping the stick against the edge of the container. Rotate the pop as you tap.
 Stop when the surface is relatively smooth (but it doesn't need to be perfect).
 Before it hardens, sprinkle the chocolate with nonpareils or whatever toppings you like. It's best to not dunk the pop directly in the toppings; you'll have a cleaner result if you sprinkle them on instead.
 Push the pop by the stick into the Styrofoam block, and place in the refrigerator to firm up for about 15 minutes.
 You can wrap them up with little cellophane lollipop sleeves found on the candy aisle, or serve them up immediately. If there are kids within a mile of this project being made, it'll probably be the latter.