When I was asked about a week ago if I could do a portrait in fondant (specifically of Cosette from Les Miserables), my initial response was "No"…but only because I'd never thought about how to do such a thing before. The most elaborate branded character I'd ever created in fondant before was the
Monster High skull logo, which is like comparing a stick figure with the Mona Lisa. Here's the plan of attack I came up with: First, I did a Google image search for the Les Miserables image of Cosette, and I used InDesign to make it the size I had in mind:
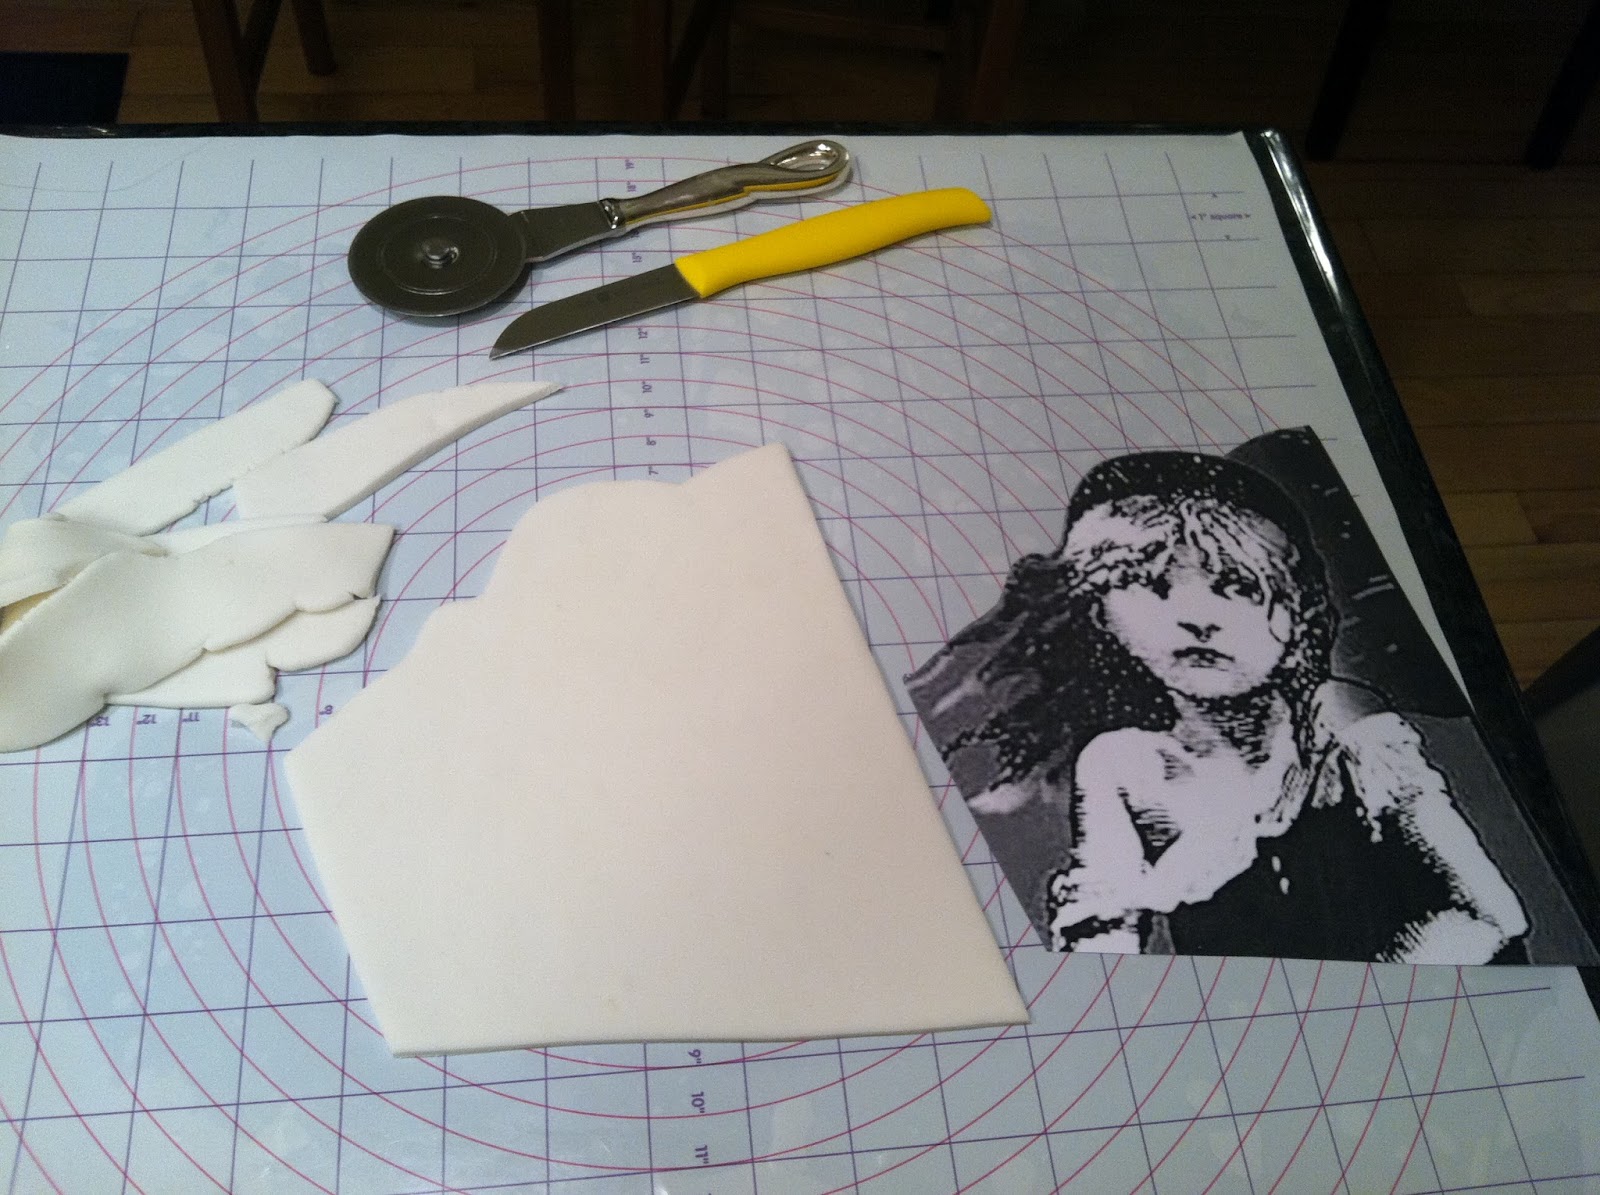
Then, I took it into PhotoShop,elevated the contrast, and printed out a few copies. I cut the image out, making sure to keep the outline fairly minimalist (any small bits would be candidates for breakage).
I measured the cutout on a fondant mat and figured out roughly how large of a ball of
fondant I'd need.
I rolled it out to about a quarter inch thick…
…and used various sharp tools to cut out the fondant around the outline of the printout.
I taped another printout to a small light table…
…and laid a piece of parchment paper over it, and the fondant cutout over that.
When I turned on the light table, this is as much of the original, high-contrast printout that I could see.
I traced over what I could see of it in shifts, turning off the light table periodically to allow the fondant to cool down. I used a black
AmeriColor Gourmet Writer.
There were many details I couldn't see through the fondant, so I used the original sketch as a guide to finish the fine details freehand.
This is what I wound up with:
I left the fondant on a piece of parchment paper on a drying rack for a few days to let it dry thoroughly. I also rolled out a scrap of fondant and allowed it to dry as well. I practiced with different brushes and color dusts on it before coloring the actual drawing.
I did the yellow first, then the red…
…and finally, the blue.
After using the Gourmet Writer to make a few more low-lights over the red area, I called it done…
…until I propped it up against the cake it was made for (with a dab of royal icing behind it to hold it in place). I'm looking forward to doing more of these; possibly even a self-portrait!


Thank you, Nancy!
ReplyDeleteThat is so amazing and you really out did yourself on this one!!
ReplyDeleteWhy thank you, Anonymous! Stoked to attempt 4 tiers, now!
ReplyDelete