The main advice I have before jumping into creating the gum paste carnation from
Wilton's Course 3: Gum Paste and Fondant is simple: do everything in your power to ensure the end result doesn't resemble a pile of coffee filters or a wad of Kleenex. The first thing you'll want to do is make the base of the carnation in advance so it has a chance to firm up. For the base you'll need a gum paste storage board, a 9" fondant roller with purple rings, thin pink shaping foam, the large modeling stick and the veining tool from the
Wilton 10-piece gum paste tool kit, the medium sized circle cutter from the
circular fondant cutter set, a dusting pouch filled with a 50/50 mix of cornstarch and powdered sugar, Crisco (to grease your work area and possibly breathe new life into hardened gum paste), and white gum paste, pictured to the left under an overturned plastic cup, which acts as a tiny greenhouse to keep it pliable.

Start the base by lightly greasing your counter (or whatever surface you're working on) with Crisco and rolling out a small ball of gum paste.
Cut out one circle for each base.
Store them between the plastic sheets of the storage board (except for the one you're working on).
Roll one of the circles into a ball:
Elongate one side of the ball so you'll have a shape like a tiny lightbulb or gourd.
Start flattening the more bulbous end between your thumb and forefinger…
…then place it on your counter where you can continue rolling this flattened edge out even further using the modeling stick.
It's the right size when you can place the cutter over this piece, centered. Press down, and remove the slack.
Dust the thin pink foam with the dusting pouch, then use the heel of the small end of the veining tool to press and draw out tiny lines all the way around the shape. The edge will naturally ruffle if you're using the right amount of pressure, and holding the tool at the right angle (like a pencil). Set the base aside to firm up completely.
The set-up is mostly the same to make the remainder of the petals. You'll need gum glue adhesive (a pinch of gum glue dissolved in a tablespoon of water) and a brush. I found the ball tool from the gum paste set and the thick pink shaping foam to be quite handy.
Start by rolling out the gum paste paper-thin:
Cut out one circle for each petal. You'll probably use between 6 and 8 per carnation. Set the pieces aside in the storage board.
Begin by making three petals, ruffling them in the same manner as you did the base. Allow them to sit and firm up for a few minutes. If you rolled the gum paste thin enough, they should start feeling stiff in no time.
You might want to prop up the carnation base in a small container; I had a stack of tiny petit fours cups handy:
Place a dab of gum glue adhesive in the center of the base, and stack up the first three petals (placing a dab of gum glue on the center of the petal below each new addition). Be sure they don't fit together like the aforementioned coffee filters. Stagger them, rotate them, offset them; any of these things will make them look more natural. You can continue to arrange them as long as they're still pliable.
Once I got past the first three petals, I started to give the remainder more of a cupped shape by placing the petal on the thick foam and pressing the large end of the ball tool into the center; I think it helped the final product to look a little less "stacked":
When you've stacked about five petals, indent the center with the wide end of the veiner. This should help the flower look more ball-shaped and less cylindrical.
Place a dab of gum glue in the center, and then tuck in the final petal:
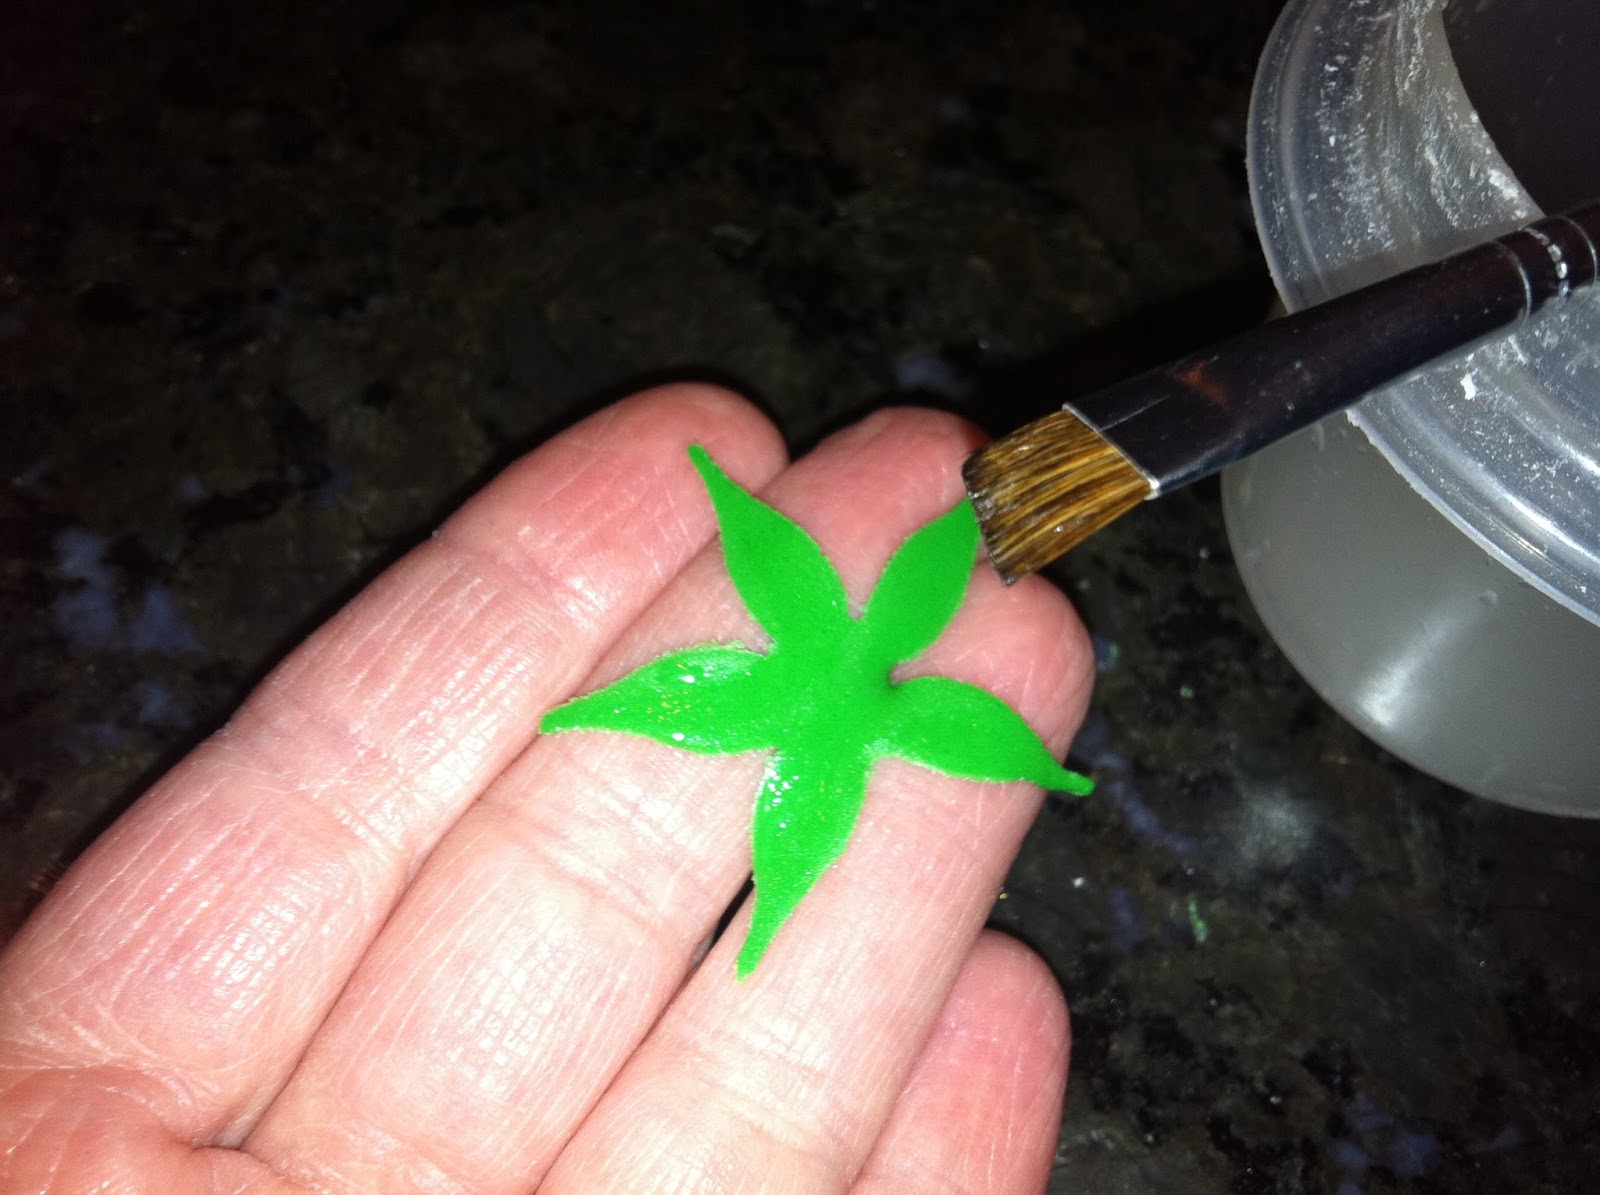
To make the calyx (the green base of the flower), you'll need green gum paste and a calyx cutter. Roll out a tiny amount of green gum paste…
…as close to paper-thin as possible.
Cut one calyx for each carnation…
…paint the entire underside of it with gum glue…
…and turn the flower upside down. Press the calyx snugly against the base.
Obviously, you can make these in any imaginable color; after all, the real ones are oftentimes dyed all sorts of unnatural colors!


No comments:
Post a Comment