Tuesday, January 31, 2012

Royal Icing Violets

Violets are yet another flower that is taught in the Wilton Flowers & Cake Designer class. They are quick and easy, and a great complement to yesterday's daffodils (the #2 tip on a bag of yellow icing is used to pipe those two dots; that exact arrangement is needed for the "coil" step of the daffodil). In addition to purple and yellow royal icing, you'll need a glue stick, 2" squares of parchment paper, a flower nail (this one has a decal of the "Violet" template), a dusting pouch full of powdered sugar and cornstarch, and a Styrofoam brick so you'll have someplace to set your flower nail when you're switching colors.
You'll also need a tip with a teardrop-shaped hole for piping violets. The one we used in class was a Wilton #59. By chance I also had on hand two larger ones, the Ateco #59 (which you'd think would be the same size as the Wilton of the same number but it isn't; it's larger) and a Bakery Crafts #61, which is the largest one to the right:
Incidentally, if you're a lefty you'll need left-handed versions of these tips; they curve in the opposite directions. Start by putting a dab of glue from the glue stick onto the nail and attach one of the parchment squares to it:
No matter what size tip you're using, you'll be piping 5 petals. I'm using the Wilton #59, so I can make petals tiny enough to fit those three neighboring wedge shapes on the template. The wide side of the teardrop-shaped hole in the tip is placed in the center of the nail, and while holding the bag at a 45 degree angle to the nail with the narrow end of the teardrop-shaped hole just 1/8" above the surface, squeeze out one petal. Your hand will move in a small upside-down "U" motion. 
If the shape isn't a perfect teardrop, touch a fingertip to the dusting pouch and coax it into shape. You might want to wipe the tip off in between petals on a damp towel (or an unscented baby wipe; ubiquitous in my house for everything from taking off makeup to…whatever). 
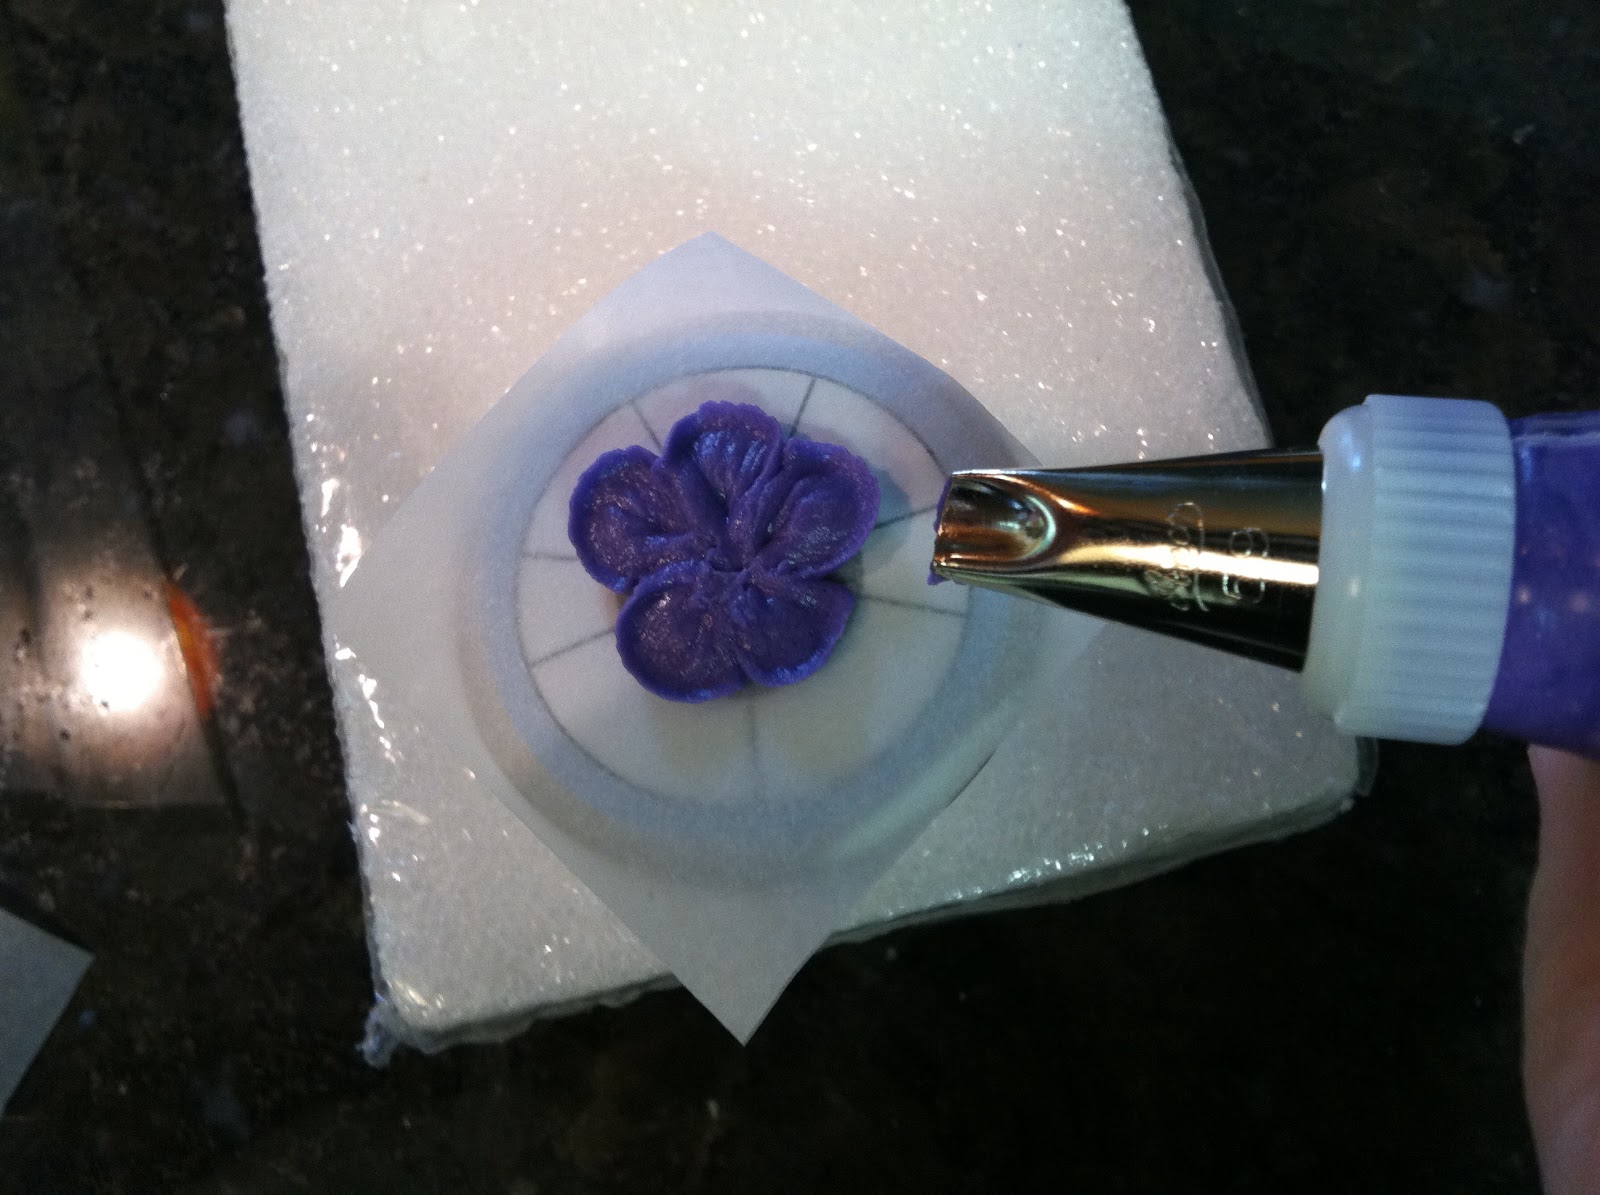
Pipe the two remaining petals in those last tiny wedge shapes. If you thought the first 3 petals were small, you ain't seen nothing yet:
Finish off the violet by piping two small dots from the bag of yellow icing; you could use a #1 or #2 tip. Anything larger and the dots would probably look too much like cartoon eyes staring out:
Slide the finished flower on its parchment square off the nail by giving it a gentle tug to break the seal, and set it aside to dry. I switched to the Ateco #59 tip, just to show you how much larger of a violet it pipes. It'll be somewhere on the template in between the little one and the largest one you can pipe on the 1.5" nail:
And then I switched to the #61 tip by Bakery Crafts (not a tip company I'm familiar with). This one petal is almost as big as one small violet! Check out that depth; it casts a shadow!
It was actually tricky to pipe 5 huge petals in the space of this size nail; it wasn't the cleanest work I've ever done. More often than not, I found myself eating the evidence (or at least reaching for the dusting pouch in an effort to smooth things out). Finally, though, I was able to pipe a few of these:
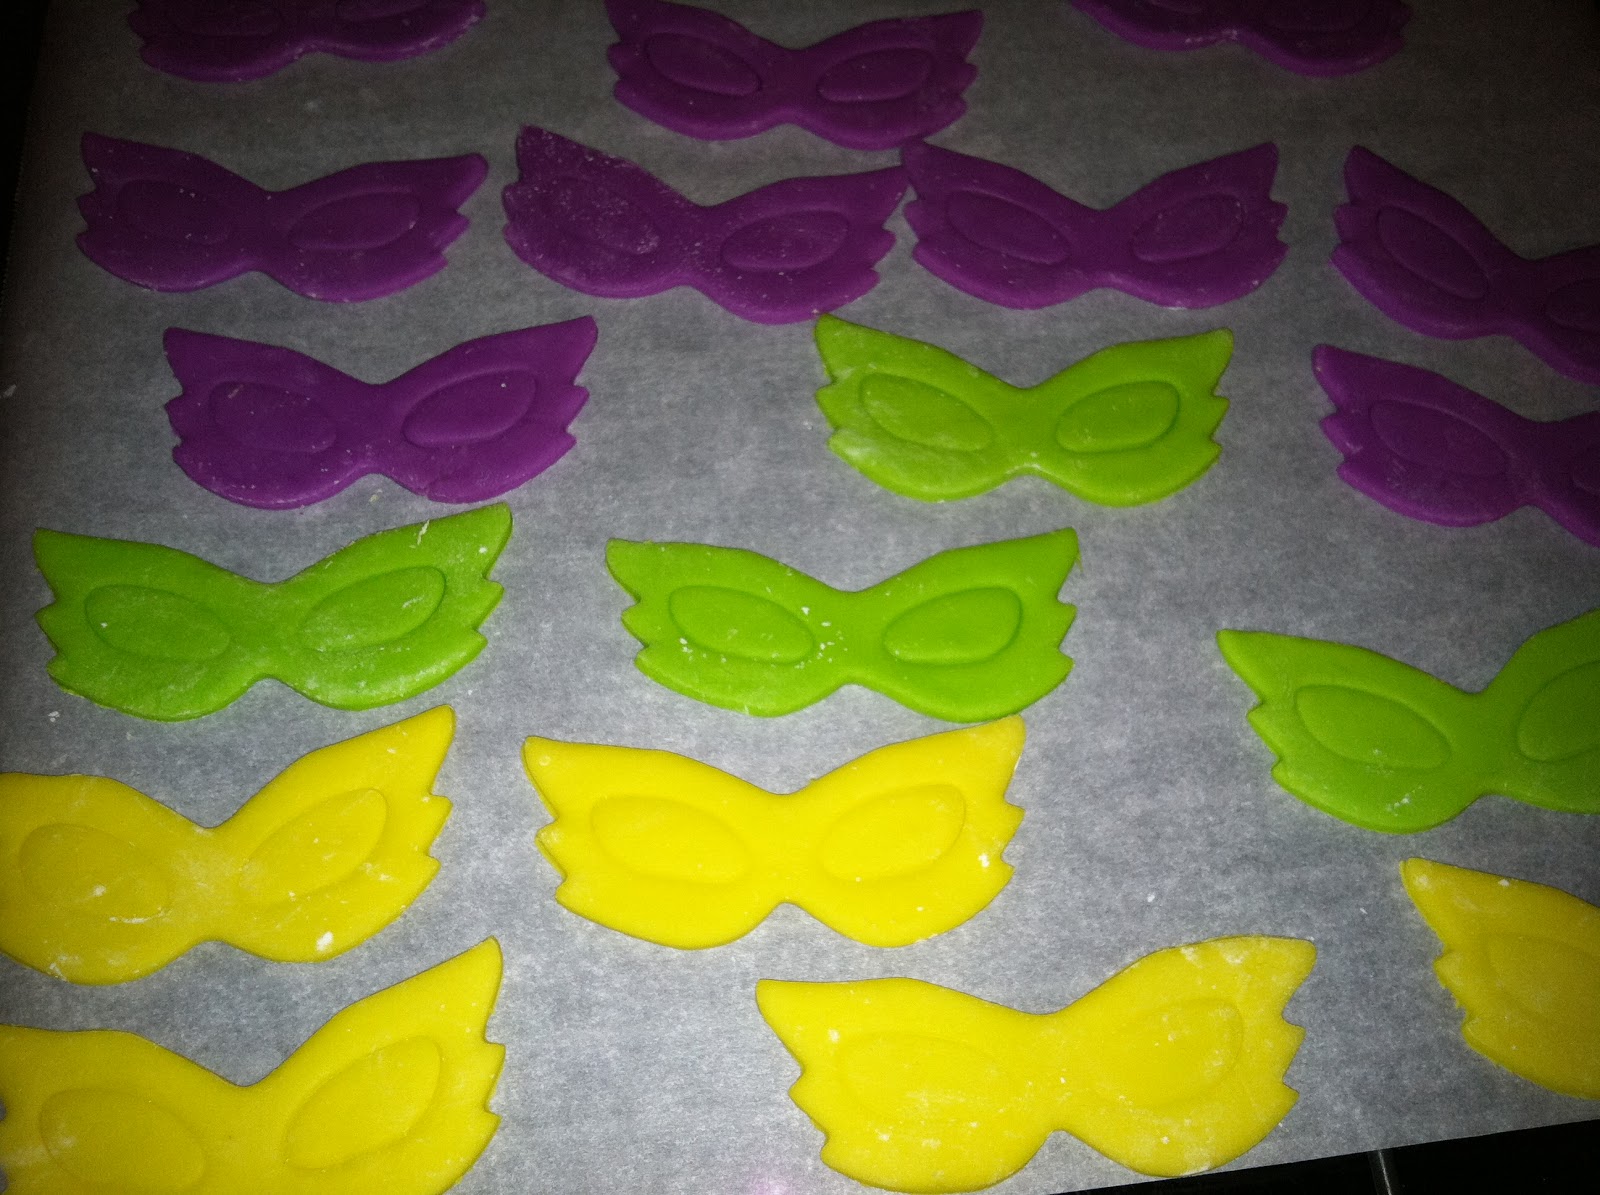
And then I laid them all out flat to dry. I'm realizing I have quite a few purple and yellow royal icing flowers stashed away, so some sort of Mardi Gras cake (purple and yellow flowers along with lots of green leaves) will probably be forthcoming. Royal icing flowers will keep indefinitely, if you treat them right (which means keeping them in a cardboard box away from heat and light). Make more than you think you'll need so you won't feel bad about eating a few while you wait for your next project that calls for them to come up.
 

Monday, January 30, 2012

Royal Icing Daffodils

There's nothing like having your cake decorating instructor inform you that her favorite flower is daffodils to inspire you to get them down. They are a bit tricky, but ultimately not too complicated. Here's the setup:
There are two bags of royal icing; one has been thinned slightly. The one that's regular thickness has a #104 rose tip, and the thinned one has a small round #2 tip (the instructor and the Wilton book recommend #1, but my icing was a little to thick to fit through that microscopic hole, even when it had been thinned with a few drops of water). Also on hand is a flower nail with a daffodil template decal, a glue stick, a #3 tip, a parchment paper square for each flower, and a dusting pouch filled with a 50/50 mix of powdered sugar and cornstarch. The first step is to attach a parchment square to the nail with a dab from the glue stick:
Then, holding the nail in one hand and the bag with the regular icing and the #104 tip, hold the wide end of the tip in the center of the nail. Line the tip up with one of those faint, dotted lines in between the heavy lines, and squeeze while moving the bag in an upside-down U sort of way, keeping the narrow end of the tip a couple millimeters above the surface. 
This angle shows the perky way the edge of the petal should look:

Pipe five more just like it; tuck the tip under the petal to the left of it so that each new petal will be overlapped by the one you just piped next to it. Your bag will be almost level with the nail until the very end; pipe the final petal while holding the bag perpendicular to the nail; otherwise the tip will drag through the first petal:
Before the petals have a chance to dry (which they will do fairly quickly, being royal icing), touch the dusting pouch with your fingertips and gently pinch each petal into the classic daffodil shape; you may find you need to use the backs of your fingernails or other parts of your fingers to get in between the petals. As long as your fingers are coated in powdered sugar/cornstarch, they won't stick to the icing:
Here are all of the petals, after they've been pinched into shape:
Switch to the #3 tip, and pipe a small coil in the center of the flower. It should coil around 3 or 4 times. Try to make the first circle of the coil the smallest so the resulting coil is sort of vase-shaped.
Finally, pipe a tiny, zig-zag edge around the perimeter of the coil using the thinned icing and the #2 (or #1, if you can manage it) tip:
This versatile flower can also be a jonquil or a narcissus (my favorite flower) depending on the colors used and the size of rose petal tip (the jonquil is smaller, so is piped with a #103, for example). Experimentation WILL occur! 

Sunday, January 29, 2012

Chocolate Footballs for Cupcakes

I totally love the Super Bowl, because it marks the occasion of my first paid gig as a cake decorator! A friend asked me to make her two dozen cupcakes to take to a party, and I was more than happy to oblige…except that I know NOTHING about football. Photos of the actual cupcakes will come closer to the date when I make them, but I thought I'd get started on one of the elements that can be made in advance: chocolate footballs. I knew right away I didn't want to use plastic footballs on picks or anything else inedible; by now you probably know how I feel about cake gadgetry (anything you could make or do yourself that a kitchen-cluttering or overpriced product exists for, like cake levelers or pre-cut squares of parchment paper), and now you know how I feel about cake decorations: with rare exception, if you can't pipe it or find some other way to make it edible, pick another decorating concept. I found foil-wrapped chocolate footballs (in bulk, no less) in the first place I looked, the party supply store Diddams in San Mateo:
They're adorable as is, but that foil had to go; these things are going to be parked on top of cupcakes, presumably in a room full of people not paying full attention to the things they put in their mouths. After doing a Google image search and finding out exactly what actual footballs look like, I loaded a pastry bag with slightly thinned royal icing and a small round #2 tip, and piped a line, just slightly shorter than an inch, along one side of each "ball." 
By now, you've probably figured out that these footballs are likely cast from the same mold as chocolate Easter eggs; it's a little early in the season, but if you can find them, they'd probably be cheaper. I found out in my image search that footballs have 8 stitches. Using a #2 tip, I really could only fit six, but I doubt anyone is going to pass on the cupcakes for that reason:
Notice the pale green silicone tip cover to the left of my hand. These are really great when you're working with royal icing, which starts drying almost the second you set the bag down. Another thing I had to do was turn off any heat-producing light fixtures. The chocolate was seriously starting to melt in my hands while I was piping those laces. As I finished them, I parked them in a carrying case lined with shelf liner; this kept them more or less upright, and wouldn't allow them to roll over onto each other:
Here are my first few. They may not be regulation, but I think they'll be well-received. Coming up soon if all goes well: royal icing goal posts! 

Saturday, January 28, 2012

Mardi Gras Cupcakes for Evan

Today about 200 people gathered together to remember the life of Evan Saunders, who had to leave us way too soon. Evan loved everything to do with New Orleans, and could wear a mask like no one I've ever known:
Another case in point, along with his son Aidan and wife Lisa, who designed and made all their costumes:
I wanted to pay tribute to Evan's love of partying, costumes and desserts (he was always among the first in line to sample the goodies I brought to the theater to keep the cast and crew going). I thought that cupcakes bearing some sort of Mardi Gras iconography would do the job. I started with my usual fondant set-up; powdered sugar, a rolling pin fitted with purple rings, homemade fondant in purple, green and gold, a small spatula for helping to remove cut pieces from the cutter, which in this case is a tiny Mardi Gras mask. To the right is one of those multi-purpose plastic scrapers; you can find these at almost any kitchen supply store. They're great for removing fondant from the work surface:
After powdering the work surface, I cut out the masks, one for each cupcake:
Then I laid them out on a piece of parchment paper spread over a baking rack to dry:
I'd baked lemon cupcakes the night before in camouflage cups. When he wasn't in costume, Evan was almost always clad in camouflage pants; I thought the cupcakes should reflect that by having camo on their lower halves:
While the fondant masks dried, I piped rows of different shaped "beads" across the cupcakes surfaces. I used lemon frosting colored even more yellow for this row, piped with a round #12 tip; the bag is held perpendicular to the cake, and as a bead is piped the tip remains buried in the icing. When it's pulled out any peaks that remain can be tapped out with a powdered sugar-covered fingertip:
Between rows of beads I put the cupcakes in the fridge to firm up the icing a bit; I didn't want one row smearing into its neighbor. This row of "beads" was piped using purple-colored vanilla frosting. I love this tip; it's an Ateco #105. It's almost shaped like a little castle turret, and pipes squarish grooves; very different from all the soft round edges you see in piping:
Then I piped the green beads (made from lemon frosting colored green) with an Ateco #363 tip that has lots of tiny grooves:
I finished by making duplicate rows wherever they'd fit:
I let them chill in the fridge overnight:
I decorated the masks with royal icing tip #2 dots and #16 stars…
…and the next day I assembled them at the theater. Watching Evan's son Aidan inhale all the frosting off one of them answered my internal question, "Would Evan have liked these?". I'm pretty sure they were a hit.

Friday, January 27, 2012

Fondant Records for a Sock Hop

Today I made a batch of cupcakes for a sock hop. For those of you for whom the term "sock hop" was before your time, in the 1950's it became a cultural phenomenon in America to hold high school dances in either the gym or the cafeteria, and the dancers were required to remove their shoes to protect the varnished floor. The music was either provided by a live band, but more often by a DJ spinning records (the 1950's equivalent of MP3s). Coastal Repertory Theatre in Half Moon Bay held a sock hop tonight to promote their new show The Marvelous Wonderettes, which features lots of music by girl groups from the '50s and '60s, so I was inspired to make these cupcakes. By the way, the colors of the "record labels" and the pearls (edible, of course) are a nod of the head to the dresses the four actresses in the show are wearing; aren't they cute?:
Here's how I got this project going:
That's a pile of powdered sugar, a rolling pin fitted with purple rings, 2 golfballs worth of pink fondant, a smallish circle-shaped cutter, and the thin-point modeling stick from the Wilton gum paste tool set (I'm sure a skewer or a small awl would do). I powdered the work surface and rolled out the fondant:
I figured I was making 24 cupcakes and using four colors for centers, so I cut out 7 circles (one extra in case I had some sort of mishap later):
Then I used the modeling stick to make a hole in the center of each circle:
And then I put all the pink circles under plastic wrap so they wouldn't dry out. You can see the other three colors already cut out with layers of plastic between them, resting under the pink layer:
Now it's time to make the black vinyl part of the record. I used that batch of dark chocolate fondant from scratch I made the other day, colored it (and my hands) black, and rolled it out. Here's one of the circles being cut out:
Then I used the orange shell tool from the gum paste set to carve some grooves into the vinyl. I'm sure there are more elegant ways of achieving this effect, but this worked sufficiently, considering how much of the "vinyl" would be covered up by the "label."
I dabbed some water onto the backs of the "labels" using a water pen, and stuck them onto the "vinyl." As you may know, a little bit of water around fondant is OK; it acts like glue or a glaze, depending on what you're doing with it; steam will give fondant a gorgeous sheen, if it's done lightly (or turn it into a soupy mess, if it's done heavy-handedly). In general, fondant and water (and moisture in general) don't mix.
I then drove the modeling stick through both layers so the center hole would go all the way through:
And I laid all the "records" on cookie racks covered in parchment paper to firm up and dry overnight:
The next day, an unacceptable amount of surface noise (powdered sugar) remained on the black fondant; sometimes it will absorb, as it did on the colored fondant. So I proceeded to lightly paint away all the powdered sugar with a barely-damp angled brush dipped in water:
Here's a record that's been painted with water half way:
And here's the whole batch, looking all nice and shiny (this took longer than I'd anticipated, because of course I had to paint the reverse sides with water, too):
After I frosted the cupcakes (using a large star tip #1M and two cans of vanilla store-bought frosting) and sprinkled them with "pearls", I let them firm up in the fridge for a while. My plan was to stick the records into the frosting and cupcakes vertically, and I wanted to make sure the frosting was up for the challenge:
When I got to the sock hop, I put them together along with this sign, as it occurred to me a lot of the young folks might not know what records are, and their parents might not "get" that these cupcakes are 100% edible; it would have been devastating to find out that most of the records were left on the table uneaten or had been tossed in the trash:
Also, earlier in the day after I'd glossed out the powdered sugar with water, I used thinned royal icing and a small round #2 tip to write an abbreviation of "The Marvelous Wonderettes" on the "labels"; too bad I couldn't fit in the whole name! Maybe if I'd been making 12" LPs…