Friday, July 6, 2012

Royal Icing Flip Flops

 Shoes don't come any less complicated than flip flops (aka thongs), making them one of the least complicated decorations you can pipe. How sweet would these be on a cake or cupcakes to celebrate summer or the beach? All you'll need are two colors of stiff consistency royal icing, round #12 and #3 tips, a small star tip like #16, parchment paper squares, and a dusting pouch filled with a 50/50 blend of powdered sugar and cornstarch. Start by holding the #12 tip just above and perpendicular to a parchment paper square. You'll want to pipe both "soles" on the same square, so you'll have the best chance of getting them close in size.
 Squeeze until the icing is barely visible around the edges of the tip, then move the tip along and just above the surface in a gentle curve, while decreasing pressure. When you get to the "heel," stop pressure and pull the tip away. If a peak remains, touch a fingertip to the dusting pouch and tap it into place.
Pipe its neighbor, and use your dusted fingertip to nudge them into being as identical as possible. Don't get carried away refining them; absolutely no one will call you on it if they aren't perfect. 
 Make as many pairs as you think you'll need and allow them to firm up for a few minutes. You can speed this process up by placing them under a desk lamp.
 Using a contrasting color and the #3 tip, pipe two diagonal lines from the center to the outer edges (basically an upside-down V). 
 Tap down any unsightly peaks and allow the straps on the flip flops to firm up. The project could be considered done at this point, or you could add some decorations…
 …like tiny flowers piped with a star tip (the smallest I had on hand was a #16; smaller might have been better).
 Finish them off with a dot from the #3 tip. Allow the flip flops to firm up completely before peeling away the parchment and wowing everybody with their cuteness.

Thursday, July 5, 2012

Striped Meringue Stars

I sure have been throwing a lot of royal icing at you lately, huh? It's high time I piped something a bit softer, so here you go: striped meringue stars. The colors are in honor of the 4th of July (which we're planning to celebrate the following weekend since it fell mid-week), but you could pipe these in any color for any occasion. You'll need a large open star tip, like the Ateco #825…
…and, for this color scheme, Royal Blue and Super Red Soft Gel Paste by AmeriColor
The ingredients are easy. Set out six egg whites until they reach room temperature (separate the eggs when they're cold). 
Beat the six egg whites in a stand mixer until they are very stiff and dry, like this:
 Keep beating them and add a cup plus 2 tablespoons of granulated sugar, 1/4 teaspoon Cream of Tartar, and 1/4 teaspoon salt. Stop the mixer occasionally to scrape the sides of the bowl. Add 3 teaspoons of clear vanilla extract (or any flavors you like), and 6 more tablespoons of sugar. Keep beating until the consistency is very thick and smooth, like this:
Preheat the oven to 250 degrees, and lay out parchment paper on three large cookie sheets. You can temporarily anchor down the corners with bottles of AmeriColor if you like:
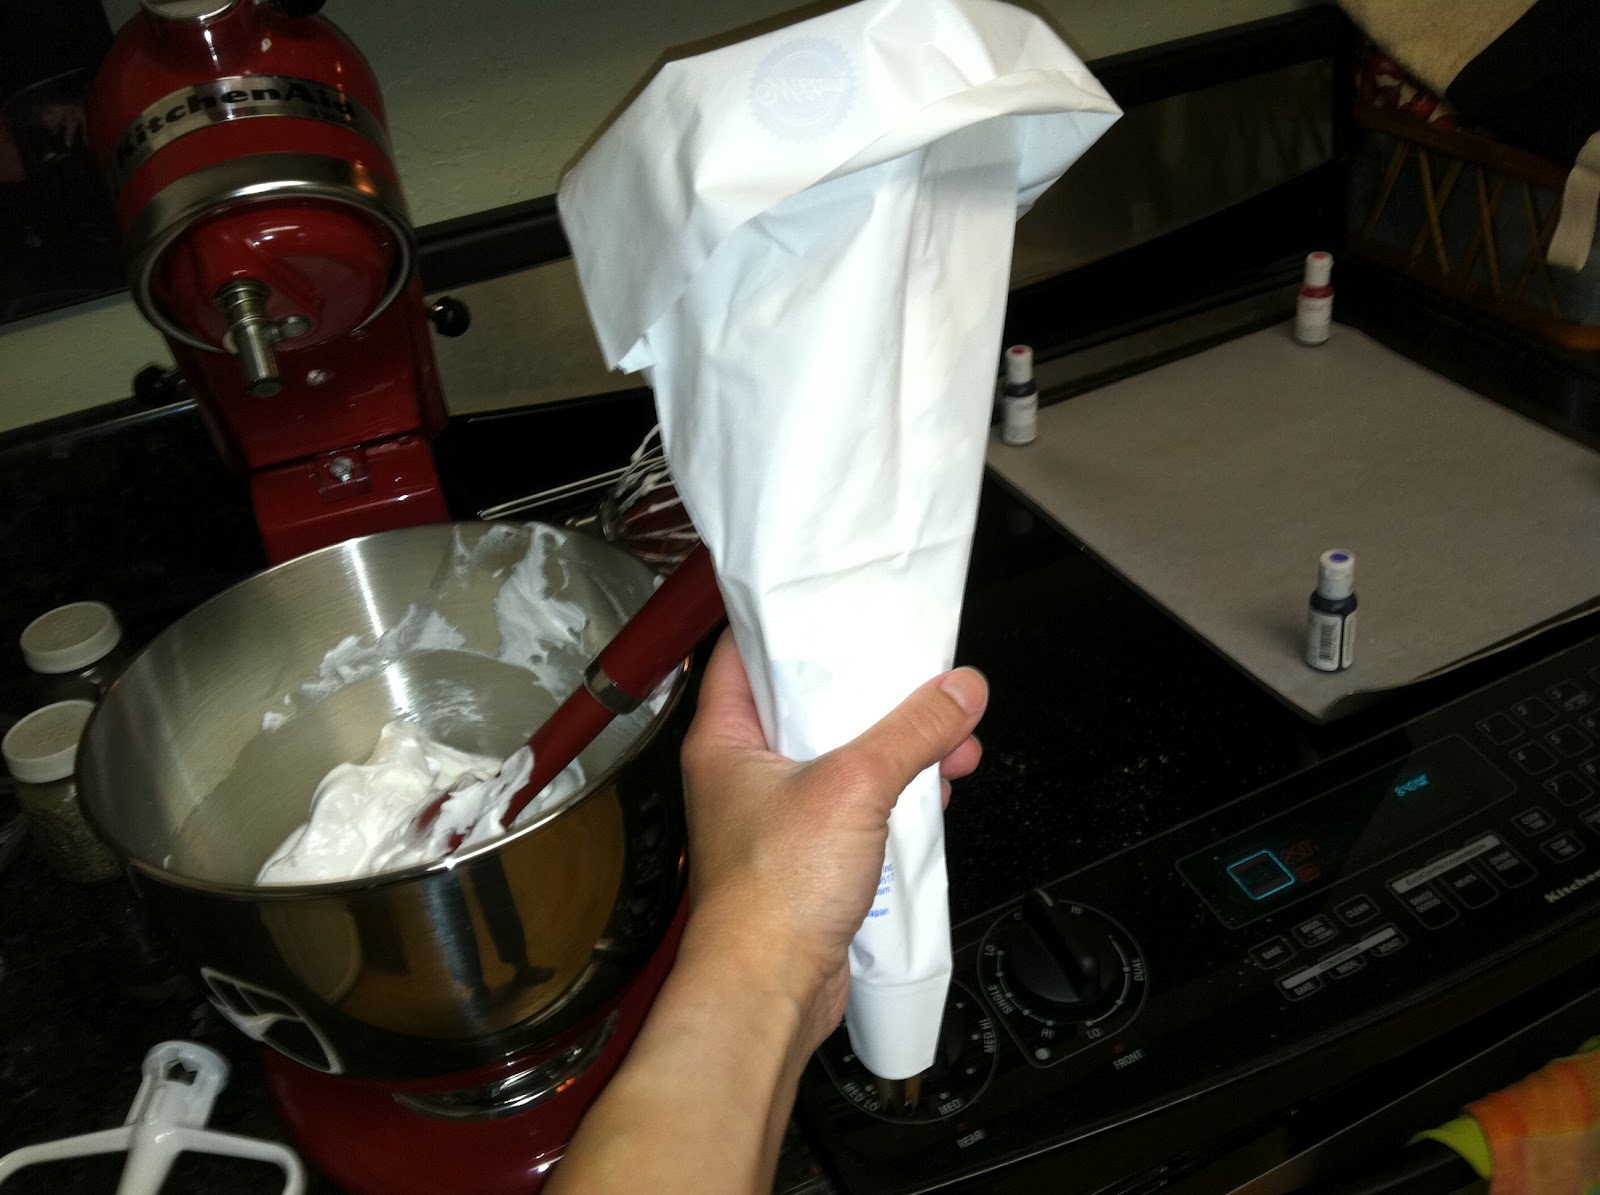
Prepare an 18" pastry bag. Drop in the star tip and cuff the bag a good part of the way up your arm. 
 When you look in the bag, it should look like this.
 Using a cheap craft store paintbrush, paint three 5" lines equidistant to each other inside the bag.
Start to fill the bag by putting a large ball of meringue from a spatula into the open hole; it will act as a sort of placeholder to keep the stripes from touching each other or other parts of the bag…
 …while you uncuff the bag. Make a smaller cuff (a couple of inches) and fill the bag up with half of the meringue (as we're going to make the meringues in two different colors, red and blue).
 Use the side of your thumb to slide the meringue down toward the tip (and to push out as much air as possible).
 Holding the tip at a 90 degree angle and half an inch above the surface, pipe out as many stars as you can fit on the parchment. You can pipe them close together; they don't spread much, if at all. Bake them for at least 45 minutes, but the time will vary depending on their size, your oven, the humidity, etc. They might need much longer. I look in on them every five minutes or so. The ones along the edges may get done first. When I can pluck one right off the paper and the paper doesn't lift with it, it's done.
 When they pop easily off the paper, they'll leave behind this stunning pattern. I'm having a hard time throwing away this piece of paper.
They'll look just as beautiful on the underside…
 
…as they do from above. This recipe made about 120 meringues, or roughly 2 servings (I'm only slightly kidding about that last part). 

Wednesday, July 4, 2012

Piping Rosettes

Rosettes are starting to pop up everywhere; I've seen quite a few cakes completely covered with them (when an ombre color scheme is used, they're especially fetching). To pipe rosettes on a cake, you'll want to use medium consistency buttercream. Of course, I didn't have any of that lying around, so I'll show you with royal icing. Use a star tip in the size most appropriate to your project. I used a tip #21, because it's the first one that fell out of the drawer. Hold the tip just above the surface of your project (whether it's a cake, cookies, petits fours, whatever), and squeeze out a star.

 No need to pull the tip away; I just did that to take the photo. Pipe in a continuous circle around (and slightly overlapping) the star, while continuing to hold the tip at a 90 degree angle. I don't think it makes a difference if you pipe clockwise or counterclockwise; according to Wilton's directions, I'm piping the left-handed way (counterclockwise) with my right hand.
 When you're nearing the end of the spiral, stop pressure and pull the tip away in the same direction the spiral is moving…
 …so the remaining tail of icing will continue the motion and not simply stop.
 The rosette is a nice alternative to shell borders; the key, of course, is to make them uniform and edge-to-edge with each other. Practice rosettes on Nilla Wafers, so everyone can eat your mistakes!


Tuesday, July 3, 2012

Royal Icing Harp Seals

The nice thing about piping harp seals is the real thing pretty much resembles a puddle of icing all on its own. There's not a whole lot to it! All you'll need are round tip #12, petal tip #101, parchment paper squares, white stiff consistency royal icing, a dusting pouch filled with a 50/50 blend of cornstarch and powdered sugar, and a black Gourmet Writer. Start by piping an elongated teardrop for the body. Hold the tip just above the surface and at about a 45 degree angle, pipe a ball, and as the ball forms, pull the tip away. After about half an inch, stop pressure and pull the tip away. 
 Now pipe the head, which is basically a ball. A peak will probably remain when you pull the tip away that will add nothing to the harp seal-esque quality of this shape, so touch a finger to the dusting pouch and tap it into place.
 Unfortunately, the icing I was working with wasn't as stiff as I would have liked, and the shape wound up flattening out more than I'd anticipated (it looks almost perfect in the above photo; in the shot below, not so much). However, harp seals tend to strike this pose a lot, so I soldiered on by piping flippers with the #101 petal tip. I kept the wide end of the tip against the body, and moved the narrow end in an upside-down "U" shape on each side…
 …and did two more, right against each other, at the tapered end of the body. If the head had been a bit more bulbous, this would have wound up being a tutorial for a beluga whale.
 Allow the icing to firm up, and add features and claws with the Gourmet Writer. Resist the urge to pipe ears; they aren't visible. Use the harp seals to decorate a snowy cupcake (but I have a feeling nobody would actually want to chomp into these little darlings).

Monday, July 2, 2012

Royal Icing Ear of Corn

I'm not a fan of vegetables by any means; if I attempted vegetarianism I'd starve to death. However, there's something about corn that I like, and I thought I'd try piping a tiny ear of it. The supplies are quite minimalist: a parchment paper square for each ear, yellow royal icing in a bag with a round #2 tip, green royal icing in a bag with a #65 leaf tip, and a dusting pouch filled with a 50/50 mix of powdered sugar and cornstarch. 
Basically, you want to pipe a canoe of sorts with the leaf tip. Pipe one gently curving line about 1" long, while holding the tip against the parchment but angled so one side of the tip is just above the surface. 
 Pipe a complementary leaf opposite it. Now you have the "husk."
 Pipe a wavy leaf or two, and allow the husk to firm up for a few minutes.
 Pipe a whole bunch of dots in rows down the center for the kernels.
 How cute would this be on cupcakes served at a barbecue or even on corn muffins; has anyone ever thought of decorating muffins? I think the time has come!

Sunday, July 1, 2012

Royal Icing Lumina Pumpkins

For those of you who might be thinking "Isn't it a little early to start thinking about Halloween?" the answer is, "I never stopped!" I love those half-pumpkins made out of the same slurry as candy corn, and thought I'd try piping an approximation of them in white; Lumina pumpkins are so elegant! You'll need a flower nail, a Styrofoam block to rest the nail in, a glue stick, parchment paper squares, stiff consistency royal icing in white, brown and green, a dusting pouch filled with a 50/50 mix of cornstarch and powdered sugar, round tips #12 and #3, oval tip #57, and leaf tip #65.
Start by piping a ball with the #12 tip. Hold the tip just above and perpendicular to the surface of a parchment square, and pipe until the icing is about the size of a nickel. Continue to squeeze and pull up…
 …until you have a shape similar to a Hershey's Kiss.
 Touch a fingertip to the dusting pouch and tap down the peak. Pipe one base for each pumpkin.
 When the bases have firmed up, stick one gently by the paper to the nail with a dab from the glue stick.
 Switch to the oval #57 tip, and pipe a line from the outer edge to the center. Stop pressure and pull the tip away. If a peak remains, touch a fingertip to the dusting pouch and tap it down.
 Repeat on the opposite side…
 …and continue piping neighboring lines until the base is covered.
Be sure the base is really firm to start with, or it will flatten out like this: 
 Allow the pumpkins to firm up a bit, then pipe a brown stem with the #3 tip. Hold the tip against the surface in the center, squeeze, and pull up, stopping pressure almost immediately and pulling the tip away. Coax a curve into the stem by nudging it with a fingertip.
 You can pipe the tip #65 leaves directly on the pumpkins when the stems have firmed up, or you can pipe them on a parchment square.
 Attach them to the pumpkins with a dot of white icing; the #3 tip should do.
Of course, since royal icing keeps pretty much indefinitely once it's hardened, the idea of piping Halloween decorations now isn't that absurd! Plan ahead!