Showing posts with label stump de noel. Show all posts

Sunday, January 22, 2012

Fondant Leaves and Chocolate Glaze

Finally, the time has come to bake the Stump de Noel cake and assemble the creations of the past few days, including the meringue toadstools, royal icing pine cones, and royal icing pine needles. Bear in mind, even though Williams Sonoma is no longer carrying this unusual cake pan, it can easily be found on eBay. I baked a box mix in it (Chocolate Fudge by Betty Crocker) for 60 minutes at 325 degrees. When I removed it from the oven I let it sit in the pan for 10 minutes, and then flipped it out onto a cake lifter, so the cooling rack wouldn't leave parallel lines on the top of the cake (which has a really cool pattern that looks like the stump's rings). The cake had developed an enormous crown, which would have probably caused the whole thing to crack.
I sliced it off with a large serrated knife, and was blown away by the amount of steam that poured forth; seriously, it was like a tiny volcano on my stovetop:
Here's the crown on the left, the cake on the right. That crown made for some mighty good snacking, let me tell you!
Here's what the cake looked like when I set it right-side up:
The pan came with a wonderful recipe for a glaze, which was simple and delicious. All you need is half a cup of heavy cream, and 4 ounces of chocolate:
I figured a semi-sweet bar would be sufficient, as the cake is plenty sweet on its own. On a carving board, finely mince the bar of chocolate with a sharp, heavy knife:
Put the minced chocolate in a bowl. 
Pour half a cup of the heavy cream into a small saucepan, and simmer over medium heat. 
Pour over the minced chocolate and start stirring. It will go from this…
…to this…
…to this…
…and then this…
…in a matter of moments. Make sure there's a piece of waxed paper under the rack your cooled cake is on, and pour the glaze all over the cake:
It was at about this point I realized I really needed to add a spot of color to this cake to keep it from being too brown and beige. I decided to try making some fondant leaves for the first time. Here's the set up:
That's a 9" rolling pin with purple rings on it to keep the fondant at a consistent thickness, a set of leaf-shaped fondant cutters, a piece of thin, pink foam for forming fondant or gum paste shapes on, a double-ended veining tool (part of the Wilton Gum Paste Tool Set; a bargain at any price when you buy it using a 40% off coupon at Michael's), and a golf ball-sized piece of green fondant from scratch. I spread some powdered sugar on the work surface, and rolled out the fondant:
Remember, the powdered sugar more or less gets absorbed by the fondant; don't worry if there's an accumulation of it on the fondant's surface. Cut out a number of leaves…
Keep re-rolling the scraps and cutting out more leaves until you're left with a situation like this; I'm always so thankful for those tiny cutters!:
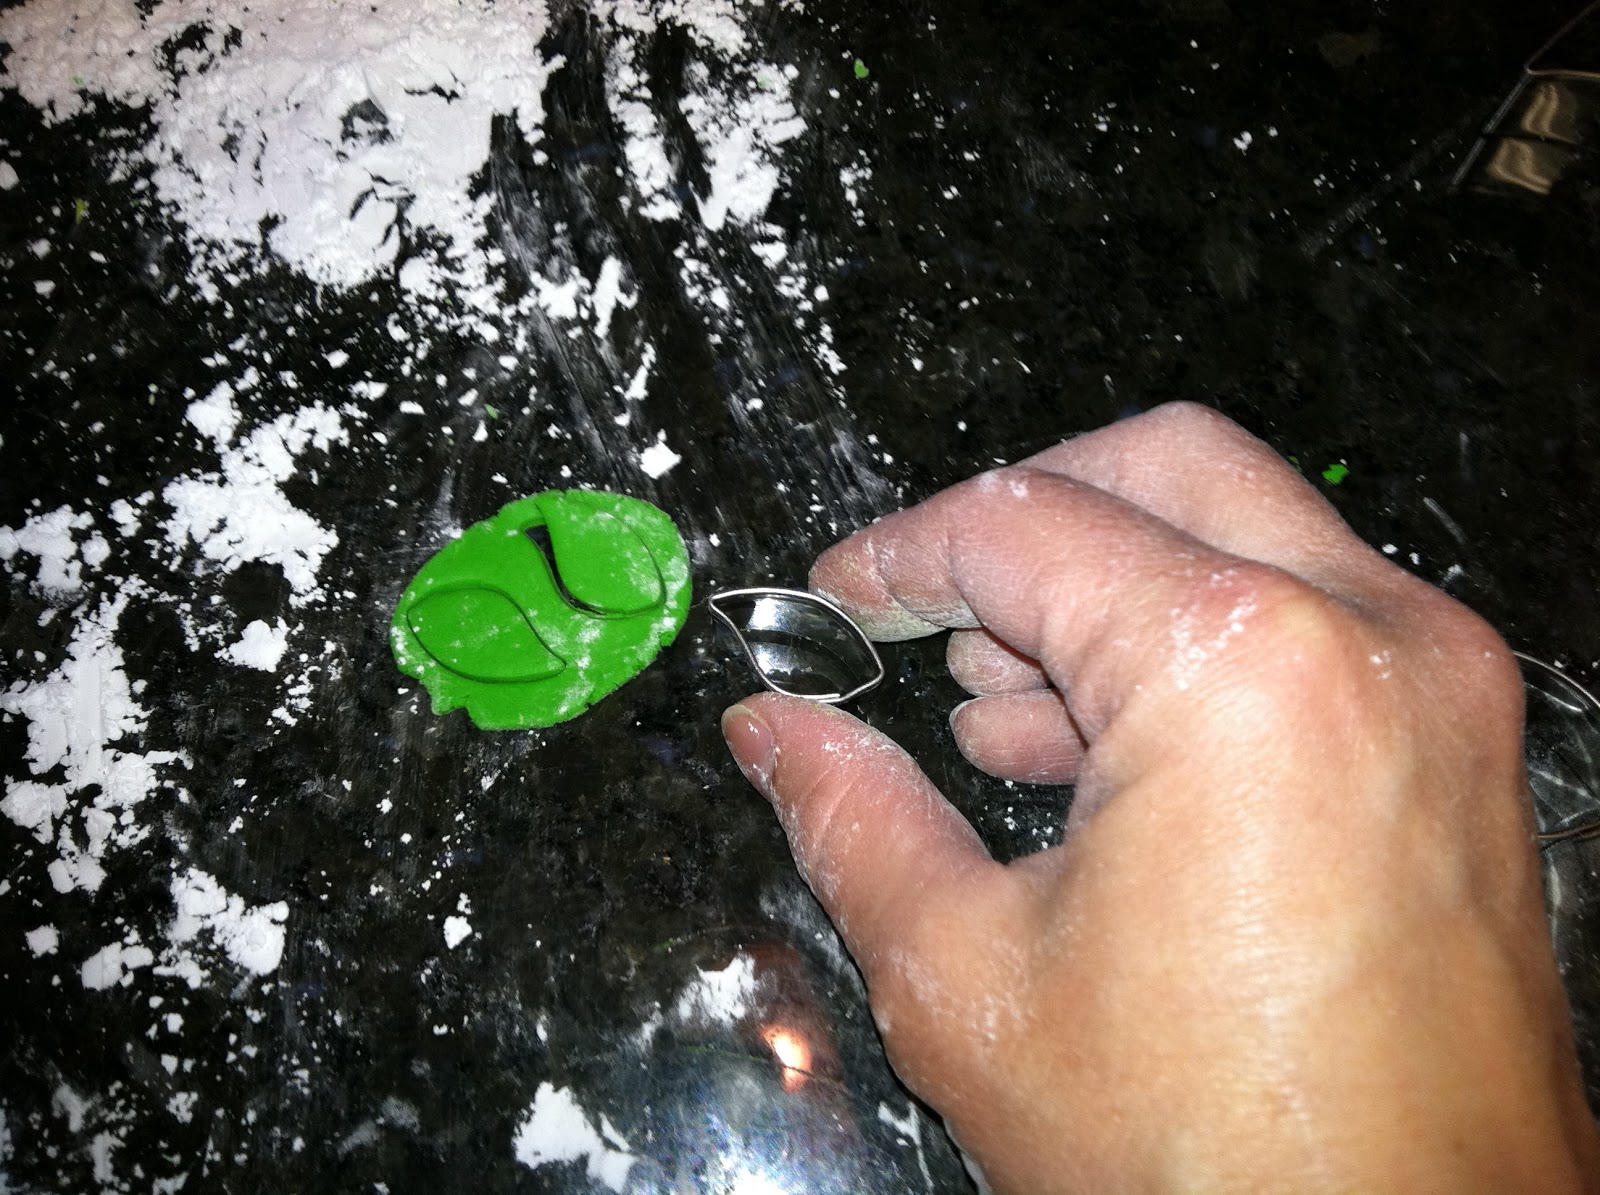
Then, use the veining tool to draw some details on the leaves, like a center line…
…and lines around the edges. Use the piece of thin foam as a work surface; it will have just the right amount of "give":
Put the leaves to dry on flower formers; that will give them a bit of curve:
My leaves stuck a bit; I probably should have dusted the formers with powdered sugar or laid down a piece of plastic wrap first. I was able to pry them up with the tiny palette knife/spatula that came with the Gum Paste Tool Set. Finally, the cake was ready to assemble, which included a last-minute sprinkling of "snow"; powdered sugar in a dusting pouch:
This cake was a real hit with the crowd it was served to; every bit of it was devoured, because every bit of it was edible! I'm so glad I didn't wait until next Christmas to try out this Yule log-inspired pan; it can definitely be tailored for any season of the year. 


Saturday, January 21, 2012

Royal Icing Pine Needles

I think I'm finally in the home stretch for making woodsy accoutrements for the Stump de Noel cake. After putting together the meringue toadstools and the royal icing pine cones, I realized what this cake will need are some pine needles; there were a few actually stuck in one of the sugar pine cones I was using for inspiration when I piped the pine cones out of icing. Bear in mind, if you follow these directions to the letter and sugar pine trees aren't native to your area, folks who see your cake might snarkily say "Pine needles don't look like that." So, you might need to adapt your method a bit, regionally. 

First, I spread out a piece of parchment paper on the glass stovetop and anchored the corners with tape. Any flat surface that's not going anywhere anytime soon would work:
Then I piped a couple of mediocre pine needles (the upper two, as I'm sure you've guessed). I used a Wilton #3 round tip on a bag loaded with the same medium-brown royal icing I made the pine cones out of:
I started by piping the bud at the bottom by squeezing the bag hard and shaking it slightly to get those ridges on the sides. I moved the bag slowly along the parchment paper about half an inch, allowing it to build up to be about 3 times the width of the #3 tip:
With the first couple of attempts, I piped the needles really close together from beginning to end because I imagined them breaking easily. Then I remembered how extremely tough royal icing is; I'm sure people have broken teeth on it. So I started to spread the needles out a little bit. I piped them by burying the tip in the bud a little to get it good and anchored, and then piped out along the parchment paper about 3 inches. I piped two individual needles…
…and then piped a third on top and in between them. Each one ultimately had 5; I just filled them in wherever seemed most aesthetically pleasing:
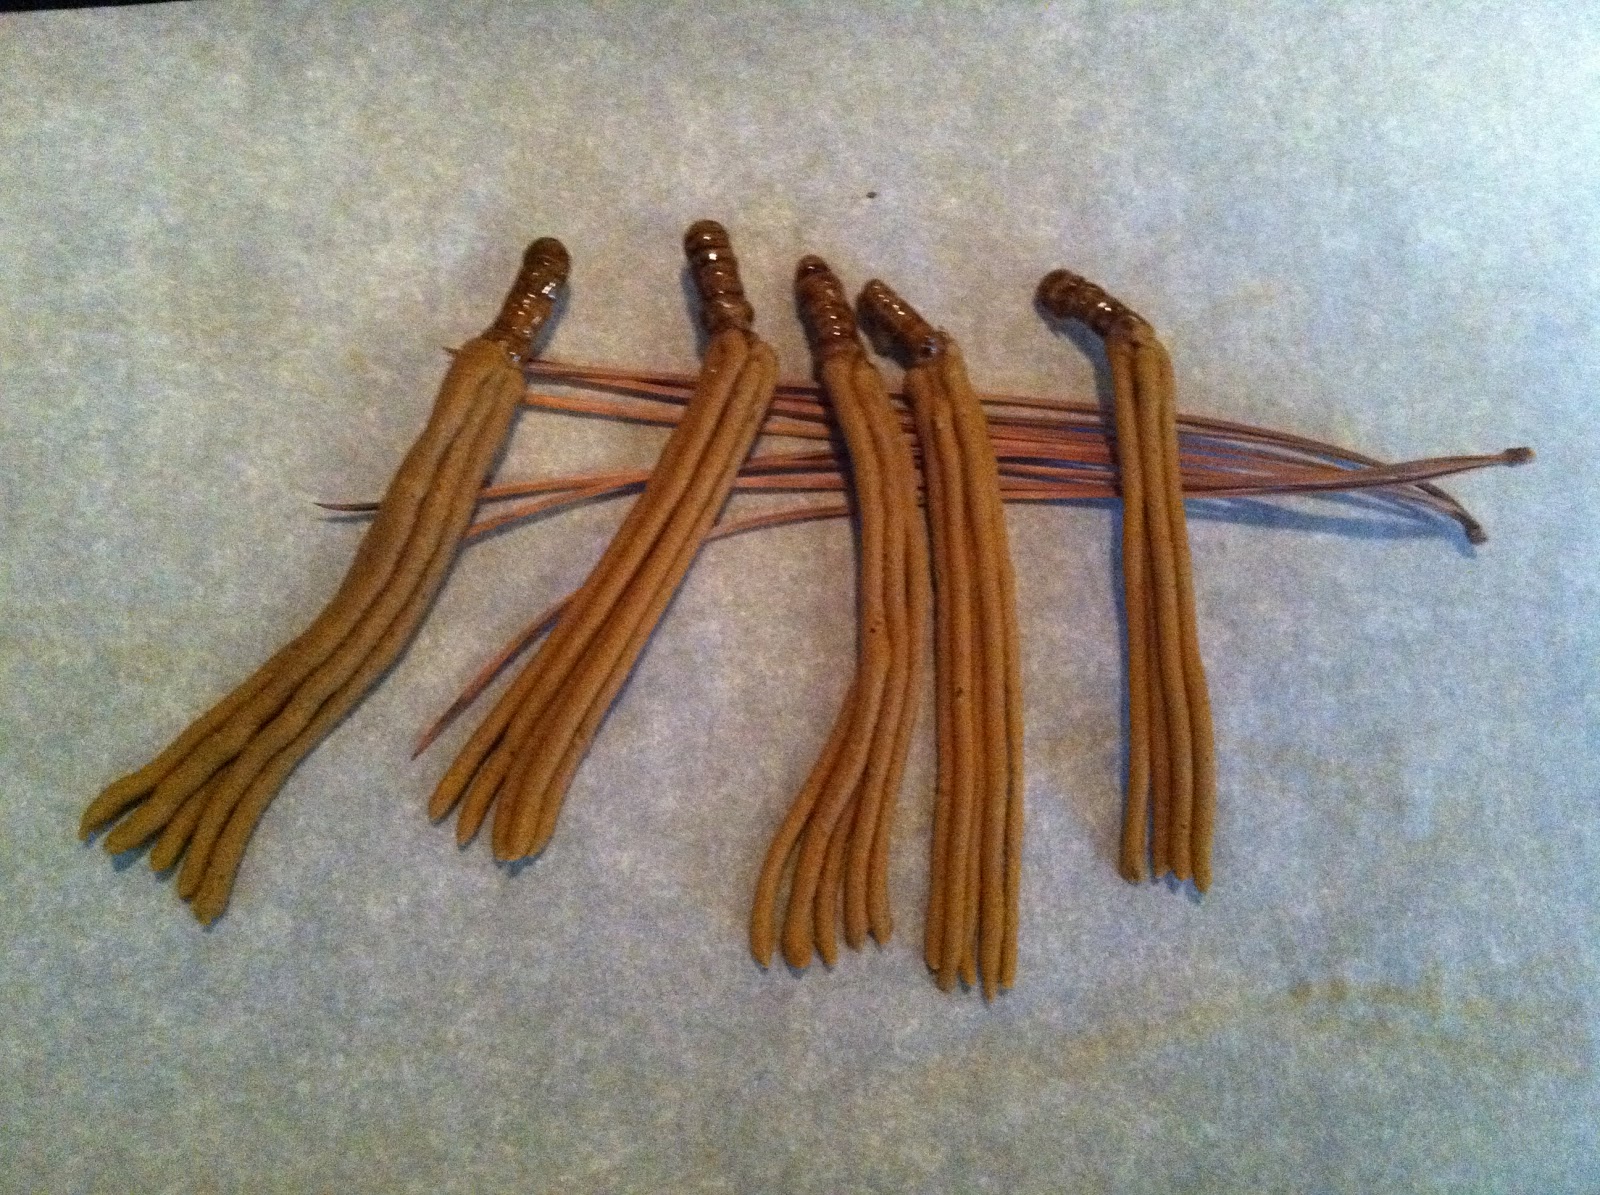
I let them dry overnight and in the morning carefully removed them from the parchment paper. I nudged them gently from one side of the thickest part at the bud, and they popped off easily. 
Then I mixed up some edible paint; just a tiny amount of vanilla extract mixed with a dab of brown paste food coloring off a toothpick. I used a small, squared-off brush…
…to paint just the bud. 
I propped them up off the paper to dry; it seemed appropriate to lay them across the original pine needles:
I'm hoping to finish this cake tomorrow! I've got my fingers crossed that it will look more like a still-life in the forest and less like an out-of-season Yule log. It's all about presentation! 

Thursday, January 19, 2012

Meringue Toadstools

Williams Sonoma carried a Bundt pan that provides a unique take on the Yule log during the holidays; in no time the price dropped and I snapped one up. The "Stump de Noel" pan is no longer available on the WS site, but I'm sure you can still find one in the clearance section of the stores and on eBay. I've never made a Yule log of any variety before, but I know they are traditionally accessorized with meringue toadstools (another thing I've never made before). I gave it a try, knowing that they'd at least be delicious, if not aesthetically pleasing.

Toadstools are made with a basic meringue recipe. Let two egg whites reach room temperature, then toss them into a stand mixer at a medium high speed.
In a matter of minutes the egg whites are dry and hold their shape stiffly like this:
While the beaters are moving, add in 6 tablespoons of sugar, one at a time:
Also add in a 1/4 tsp of cream of tartar. Add 1 tsp of vanilla (or any flavor extract you're partial to) and 2 more tablespoons of sugar. Line one large cookie sheet with parchment paper, and preheat your oven to 250 degrees. Fit a pastry bag with a medium-size round tip like this #12: 
Fill the bag with the meringue mixture. Cuff the bag over your hand:
A long offset spatula is very helpful for getting every last bit of the meringue mixture out of the bowl and into the bag. After I load up the spatula I push it as far into the bag as possible, and then scrape it off against my thumb or fingers on the way out, which does a pretty good job of depositing most of the meringue far down in the bag near the tip:
Now for the fun of piping the toadstools! No two turned out alike, to be sure. Generally, I started with the tip of the bag a pinky's width above the parchment paper. I squeezed the bag constantly and evenly until I had a flattened ball of meringue about 1 1/2 inches across (18 of them, to be precise):

 Keep the tip buried the whole time you're squeezing, and you should have a shape like this:
When the ball of meringue reaches the size you want, stop squeezing the bag and remove the tip at a 90 degree angle. Try to "shave" the tip away from the ball so that no peak forms, like this:
Keep a small bowl of water handy. If a peak occurs, dip a finger in it, and smooth out the peak. 
I prefer my ring finger for things like this; it's way less "stabby" than the others. Pipe out at least as many toadstool stems as caps; some may break. Hold the tip of the piping bag at a right angle to (and just above) the surface, and start squeezing while you draw the tip upwards. I didn't have the best luck making beautiful stems, but they all turned out usable. I'm totally blaming the damp weather we've been having; rain is not a meringue's best friend (ideal meringue-making conditions are warm, dry days, which we don't know a whole lot about in Half Moon Bay). Put the meringues in the oven for 50 minutes, rotating the pan once halfway through so they'll brown evenly:
At the end of the 50 minutes, turn off the heat but leave the pan in the oven and allow the meringues to cool and firm. They should just slide off the parchment paper. If they stick, try gently wiping the reverse side of the paper with a piece of barely-damp paper towel. 
Now it's time to make some edible paint to add "gills" to the underside of the toadstool caps. In a small bowl, pour a tiny amount of vanilla extract and add a few drops of brown paste food color from a toothpick. Mix up your "paint" and have a narrow, angled brush at the ready. 
Start by painting 4 lines at 12, 3, 6, and 9 from the outer edge and in toward the center. 
Try to paint all your lines so they radiate relatively evenly from the center point. I prefer to work from the outer edges inward:
When the "paint" is dry, take the tip of a small offset spatula and carve a small divot in the center. 
This is the hole the stem will be stuck into. If it doesn't fit perfectly, no worries. Pipe a small amount of royal icing into the hole (I used a #1 tip):
Insert the end of the stem you think is the closest match; you can scrape away excess royal icing with the tip of that small offset spatula:
Now it's time to dust the tops with cocoa for a finishing touch of forest floor realism. This is a dusting pouch, which up until now I've only ever used to dust work areas for fondant with cornstarch or powdered sugar:
Spread open the pouch and place a teaspoon or so of cocoa in the center. I love Hershey's Special Dark Cocoa; soon I'll post a recipe for chocolate fondant that uses it:
Pull the string to draw the pouch closed. Gently shake over the tops of the meringue toadstools: 
And then patiently wait for tired elves and fairies looking for someplace to sit to show up. Or just make a lovely pot of tea and eat them straight.
Watch for future steps in the construction of the "stump cake," featuring meringue toadstools (if I don't eat them all first)!