Showing posts with label Wilton. Show all posts

Friday, June 1, 2012

Drop Flowers

I'm not what you'd call a huge fan of drop flowers; there's something so prefab about them. Basically, you hold a tip perpendicular to whatever surface you're going to pipe on, squeeze out a flower while either holding the bag still or rotating it, and then add one or more dots or a star to the center. They don't have a lot of individuality. However, they're easy to crank out, and if you need 350 icing flowers to festoon an old-school wedding cake, they're probably the right flower for you unless you have nothing but time on your hands. 

The Wilton book from 1986, The Uses of the Most Popular Decorating Tips, has an amusing passage that might lead one to believe that some sort of snobbery about drop flower tips exists: "True drop flower tips have a center rod within the cone-shaped tip. This pipes a ring of petals with an open center." Be that as it may, you can pipe drop flowers with regular star tips, and I don't think the effect is different enough to be noteworthy. Here are three "true drop flower tips" though, according to the Wilton book: 
 Can you see the nail inside? That part where it's welded to the side collects icing like nobody's business. Be sure to clean it thoroughly when you're washing your tips (that's why you'll need this brush or one like it).
When you attach the tip to the coupler, line up the nail with that notch on the side, and it won't rotate around. Now you know what that notch is for, if you didn't already. 
 You can pipe drop flowers on a piece of parchment paper taped to a cookie sheet if you're making a lot of them…
 …or directly on cookies or something else, if you're just practicing.
 Hold the tip at a right angle with the tip touching the surface, and squeeze. My collection of tips that will pipe drop flowers is by no means exhaustive, but I'll show you a few that stand out.
 These first flowers were made with an Ateco #106. I rotated either the cookie or my wrist to form the curved petals.
 I gave all of the flowers in this post a center dot piped with a round #2 tip.
 These were piped with a Wilton #21 star tip held still…

…and these were piped with a twist. 

These were piped with an Ateco #96:
These were piped with a Wilton #224:

These larger flowers were piped with a Magic Tip #191:
And lastly, these tiny daisy-like flowers were piped with a Wilton #16, a small star tip rotated…
…and held straight. 
You can pipe drop flowers in buttercream directly on a cake, but I prefer piping them in royal icing on parchment, letting them dry, and then relocating them (or piping them directly on cookies, of course). 

Wednesday, May 30, 2012

Molding Chocolate

This project is so simple, I feel like I'm teaching you how to butter bread. To mold chocolate, all you need is a mold and chocolate. Bear in mind, you have to use chocolate that was designed for the task; don't use chocolate chips from the baking aisle at the supermarket; they won't melt properly. There are many brands available…
 …I'm partial to Melt 'n Mold pieces by Guittard (I grew up near the Guittard factory; the smell was unbelievable).
 You can find chocolate pieces and molds at any cake decorating store. For no particular reason, I used jewel-shaped molds for this experiment.
 Pour some of the chocolate pieces into a microwave-safe container (a Pyrex measuring cup with a spout is perfect). Zap them in the microwave for :30 increments…
 …until you're able to stir it like this and it's pourable.
 Pour it into the wells of the mold, and tap the mold gently on the counter to bring up any air bubbles and to smooth out the surface.
 Here's a view from beneath. Place the mold in the refrigerator and check back on it in 15 minutes (the hardening time will depend on the heat of the chocolate and the size of the molds).
 As the chocolate gets cool and hardens, it will contract away from the mold; note how these pieces are almost totally separated from the mold.
 Invert the mold onto a flat surface; a piece of parchment paper, waxed paper, a cutting board, etc. will work fine.
 If the pieces require more than a gentle push to pop them out, return them to the fridge for a few minutes.

 If you want to sparkle them up a bit, a product like Pearl Dust works well; just brush it on.
 These could be used to adorn cupcakes, cake borders…or served straight up, of course!

Wednesday, May 9, 2012

Brownie Pops

I recently took Wilton's 2-session Cake Pops class, during which brownie pops were briefly mentioned. I just made a batch, and haven't had a chance yet to decorate (or even taste) them, but already I'm pretty sure of one thing: I'm going to prefer the consistency of these over cake pops significantly. You can make 24 brownie pops from one 8x8" brownie mix, supposedly; that's what the Wilton site claims. I made 16, but I think I may have filled the pans a bit deeper than I should have; next time, I'll try for 24 and not fill the pans as high. Here's what you'll need, if you're making them from a box mix (which you'll follow the directions on):
 I used Pillsbury's Chocolate Extreme brownie mix, which has massive chunks of chocolate AND…
…a pouch of dark chocolate syrup. Just, YUM. The only items you might not have immediately on hand are the Brownie Pops 8-Cavity Silicone Mold and Cookie Sticks (both easy to find in any cake decorating section of a craft store or at cake supply stores; strangely, I found the pan, er, mold, at an Ace Hardware).  
 Make sure the pan is clean and dry, then spray it with non-stick cooking spray. Place the pan on a cookie sheet…
 …and fill each of the wells 2/3 full (this is how I interpreted 2/3, which as you know wound up being too generous).
Place the brownie pops in the oven (use whatever temperature your recipe calls for), and after 15 minutes, insert the sticks. Return them to the oven for another 10 to 15 minutes (10 was sufficient for mine). When the time is up, remove the pan from the oven (keep it on the cookie sheet), and allow it to cool completely. Note to self: those sticks will be blazing hot. 
 When the pops are cool, they should slide right out of the wells. Lay the pan on its side, and gently press on the bottom of each well.
 I'm still trying to figure out what sort of embellishment these pops will have; stay tuned!

Monday, April 2, 2012

Gum Paste Dogwood Flower

One of the main reasons I acquired Wilton's Gum Paste Flower Cutter Set was the dogwood cutter; I've always loved these flowers. Once I figured out how to make them out of royal icing, I thought I'd better learn to make them out of gum paste as well. Here are the supplies:
You'll need white gum paste, a very small amount of light green gum paste, a container of gum glue adhesive (a pinch of gum paste dissolved in a tablespoon of water), Crisco (to revive gum paste if it's dried out), a mise en place bowl, a tapered spatula, Color Dust in Brown, Red, and Spruce Green, white Pearl Dust, small brushes, a dusting pouch filled with a 50/50 mix of powdered sugar and cornstarch, the veining and ball tools from Wilton's 10-Piece Fondant and Gum Paste Set, a 9" fondant roller with pink (1/16") rings, a 3" flower forming cup, a gum paste storage board to use as a work surface, the dogwood imprint mat from Wilton's Flower Impression Mat Set, thin pink and purple shaping foam, and the dogwood cutter from the Gum Paste Flower Cutter Set. Start by dusting the back of the gum paste storage mat:
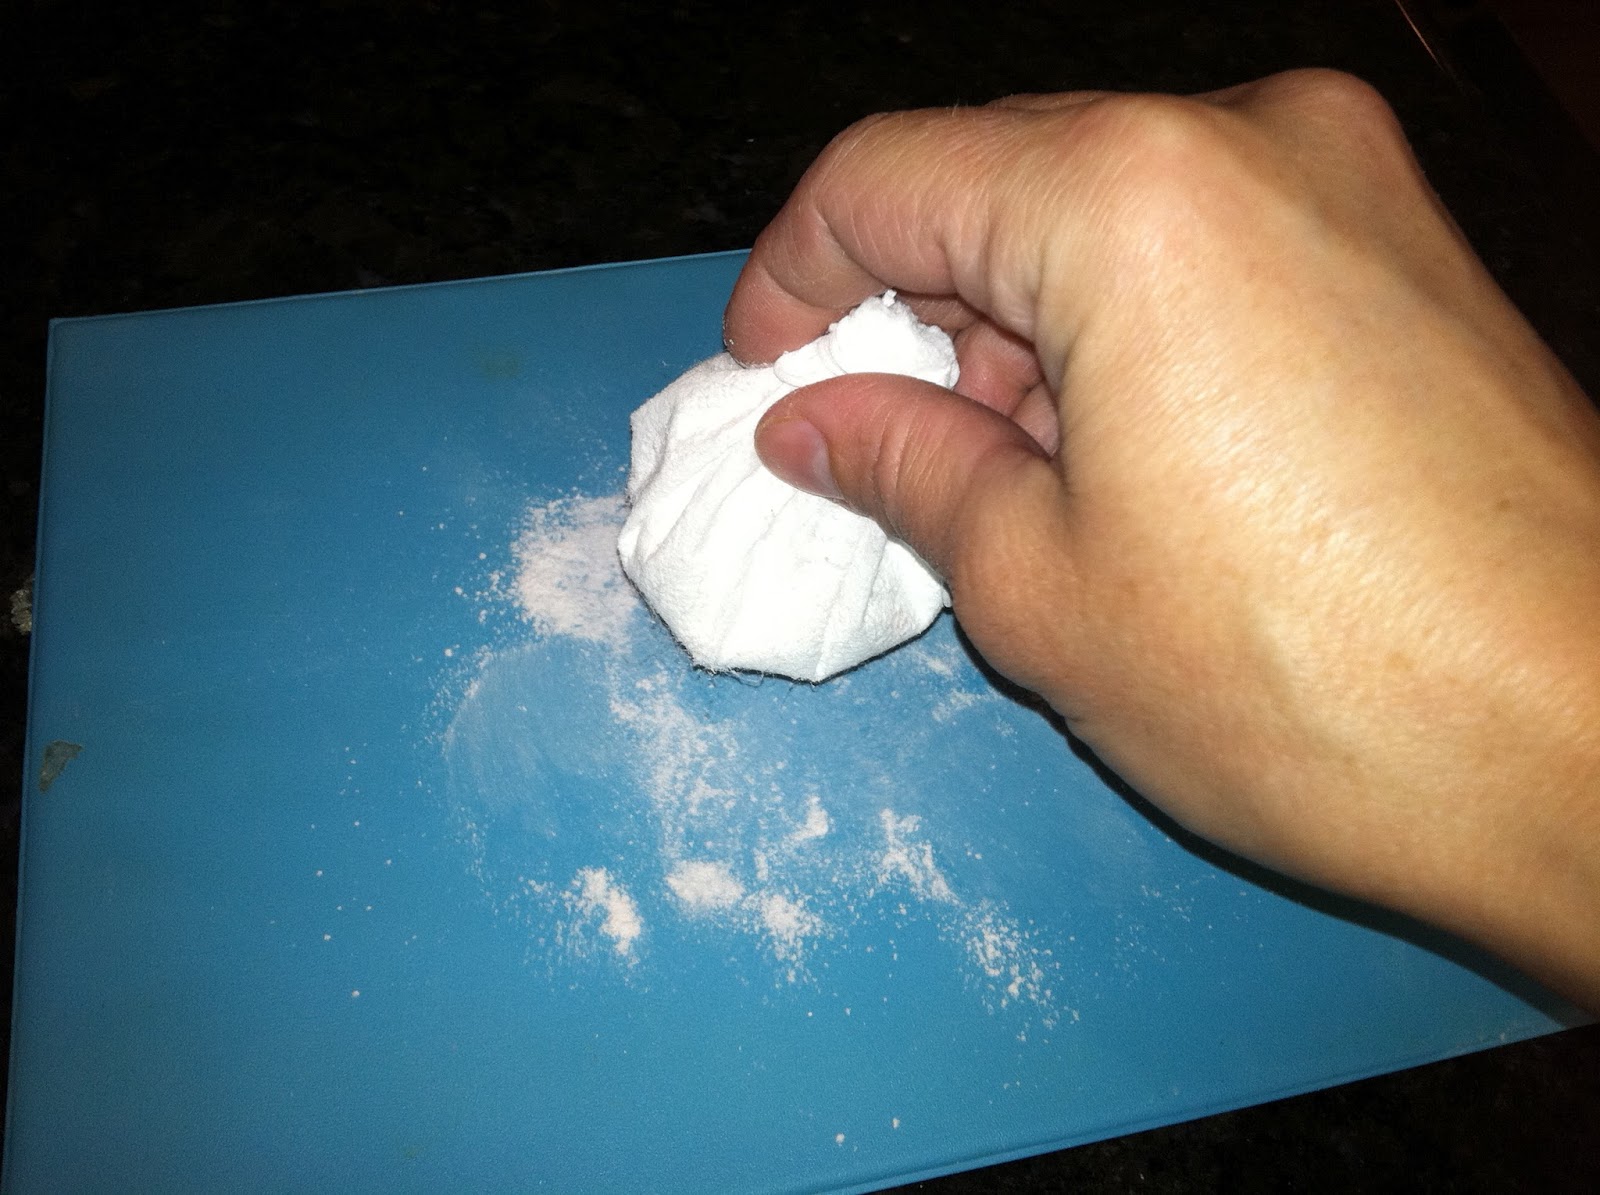
Roll out some white gum paste to 1/16" thick, then slide the rings off and roll it out a little thinner.
 Cut out one dogwood shape and tear away the slack.
 Dust the dogwood petal and center parts of the impression mat:
 Lay the cutout over the petal impression…
 …and press gently but firmly over it with the thin pink shaping foam:

 Place the cutout, imprint side down, on the purple foam. Use the large end of the ball tool to cup each of the two rounded ends of each petal (8 total).
 Flip the cutout back over, imprint side up…
 …and use the large end of the ball tool to lightly thin the edges of each petal.
 Use the wide end of the veining tool, point side down, to form a small peak in between each of the two rounded shapes at the end of each petal.
 Press an indentation with the large end of the ball tool in the center.
 Dust the flower forming cup…
 …and place the flower on it.
 Roll a very small amount of green gum paste into a ball…
 …and press it into the center impression on the mat.
 Use a small brush to place a dab of gum glue adhesive in the center of the flower…
 …and place the green center over it. Allow the flower to dry for a while before coloring it.
Here is the setup for coloring the flower (the Color Dusts and Pearl Dust, the small bowl, brushes, and the angled spatula). 
 Use the tip of the spatula to remove a small amount from the red and brown dust vials, and then mix them together in the bowl.
 Dust the flower with the white pearl dust…
…brush a small amount of the Spruce Green Dust in the center…
 …and use a very small amount of the brown and red mixture in the indent of each petal.
Here's the finished dogwood flower; perfect for any forest-themed cakes.