Sunday, May 27, 2012

More Frill Border Tips

Yesterday's post got me thinking about frill border tips. One of the last times I'd used one was on the above cake, the 050 by Ateco (in face, all of these tips are by Ateco). 
It makes a small, tidy little ruffle. As with all frill border tips, the ruffle is formed by doing nothing more than squeezing the piping bag while moving the tip sideways along the surface of the cake (or in this case, the practice board). 
This is my favorite frill border tip, the 040. 
That little ">" shape at the base of the side cut forms the "hem" of the ruffle. 
Here's a view from below:
The 070 is a variation on the 040; it forms a straight ruffle without a "hem." 
Generally, the ruffle is formed by holding the cut toward the surface, the end of the tip almost touching the surface, and the rest of the tip angled slightly away from it.

This tightly ruffled example was formed by holding the cut toward the left while moving the tip sideways to the right. 
 This final example, the 090, would probably have a starring role, if I ever had a nightmare about tips. The thing actually reminds me of Jaws!
The border it pipes isn't all that scary, though…
 …but I have yet to actually use it on a cake.

Saturday, May 26, 2012

Piping With a Frill Border Tip

Ateco makes an especially interesting line of tips for piping "frill borders." The first time I piped one of these, it was actually mistaken for fondant. I piped the above ruffle with this tip, the 040, using medium consistency buttercream icing:
 Any time I break in a new tip, I like to use a practice board first before potentially making a mess of the cake. The amazing thing about Ateco's frill border tips is they actually ruffle the icing on their own; all you have to do is squeeze steadily while moving the tip to the side. Hold the end of the tip just above the cake's surface; almost touching. Angle the rest of the tip slightly away from the surface so the ruffle has somewhere to form. Start squeezing steadily while slowly moving your hand to the side. When you're actually piping on the cake, you'll definitely want to use a turntable.
Your speed should allow for each frill to fully form before you move on to the next.
 If you don't move fast enough, you'll have tightly compacted frills with no room between them. This might be ideal for certain things!
When I piped the ruffle on this cake, I kept about a third of the tip's length over the top edge of the cake, which allowed the ruffle to spill over the edge and flare out over the drop strings beneath it. 
 
The frill border tip adds a surprising amount of depth and sense of motion. It's hard to imagine ever piping a shell border again! By the way, Happy Birthday, Nana! I hope you enjoyed your cake! 


Friday, May 25, 2012

Reverse Shell Border

The reverse shell border is one of my favorites. Oftentimes when I'm watching TV, I'll catch myself subconsciously practicing the hand motion of the forward and backward whorls. One of the essential tools for the successful execution of any border is a good turntable; I have the one made by Ateco. 
 First, place the nonstick rubber mat on it…
 …and then your cake.
 Fill a piping bag with medium consistency buttercream icing and fit it with a star tip (I used a #21). Hold the bag at a 45 degree angle just above the cake's surface, close to the bottom (keep about a tip's width between the tip and the cake's board).
 Squeeze firmly, and move the tip in a counterclockwise circle; basically from 3 to 12 to 9 to 6, and then decrease and stop pressure all together as you pull the tip away, forming a tail.
 Over the rough end of the tail, repeat the process, only this time in reverse: 3 to 6 to 9 to 12 and then sweep down while decreasing and then stopping pressure. Note: you could simply do the above piped shape over and over and leave out the reverse part; it would still turn out cute.
 I attempted to take photos while piping one of these shells; this sort of thing is never easy. Here I am going from 3 to 12…
 …and then finishing off from 6.
 Eventually when you reach the back of the cake, you'll probably be faced with a decision:  pipe one shell and have two going the same direction next to each other…
 …or cram in two rather close to each other. I pretty much always go with the latter option.
 Fortunately, most of the border will look nice and balanced.
 If you like, you can also pipe a star in the center of each whorl in the same or a contrasting color.

Thursday, May 24, 2012

Molded Sugar

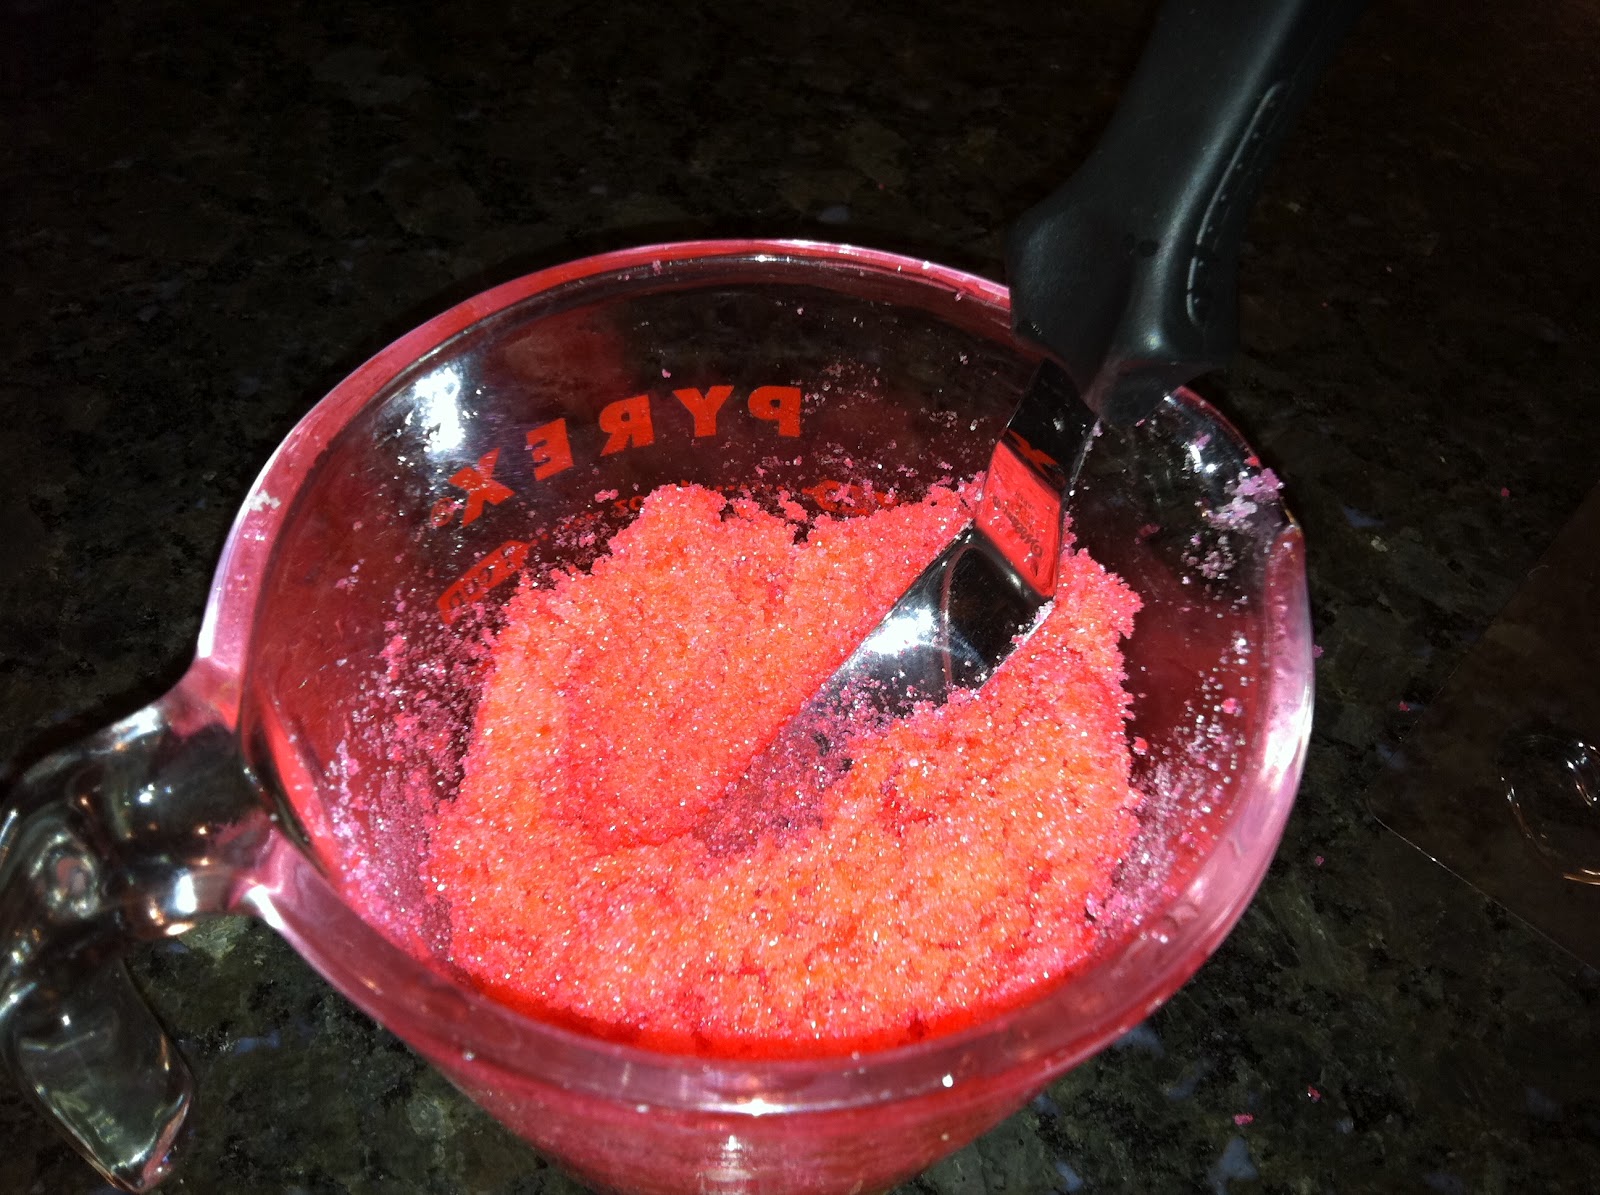
I love discovering new ways to make adorable, sugary decorations with under five ingredients and tools! If you have a mold of any sort, you can use it to mold sugar. You'll also need an offset spatula and food coloring (I like AmeriColor Soft Gel Paste). 
 Start by adding a few drops of water to the sugar. Stir it until it resembles wet sand. If you can squeeze a small amount of it and it holds its shape, it's the right consistency (you can always add more water or sugar).
 Leave it white, or stir in a few drops of food color.
 Place some of the mixture into the mold…
 …and press it into place with your fingertips; make it as level as possible.
 You can press it down with the offset spatula to make sure it's perfectly flat.
 Store any leftover mixture in a tightly sealed plastic bag. Allow the molds to dry before removing. You could place a cookie sheet over the molds and invert them; these slid out easily when I pressed on them gently on one edge after about half an hour.
 They can be used in cake borders, to decorate cupcakes; anything!

Wednesday, May 23, 2012

Star Tip Flower Cupcakes

I recently saw some cupcakes in a bakery that were piped more or less like this. I thought they were especially cute, because the design is basically flowers piped with a star tip (with a round tip for the center); very easy! You could probably use almost any star tip; I used a Magic Tip #195:
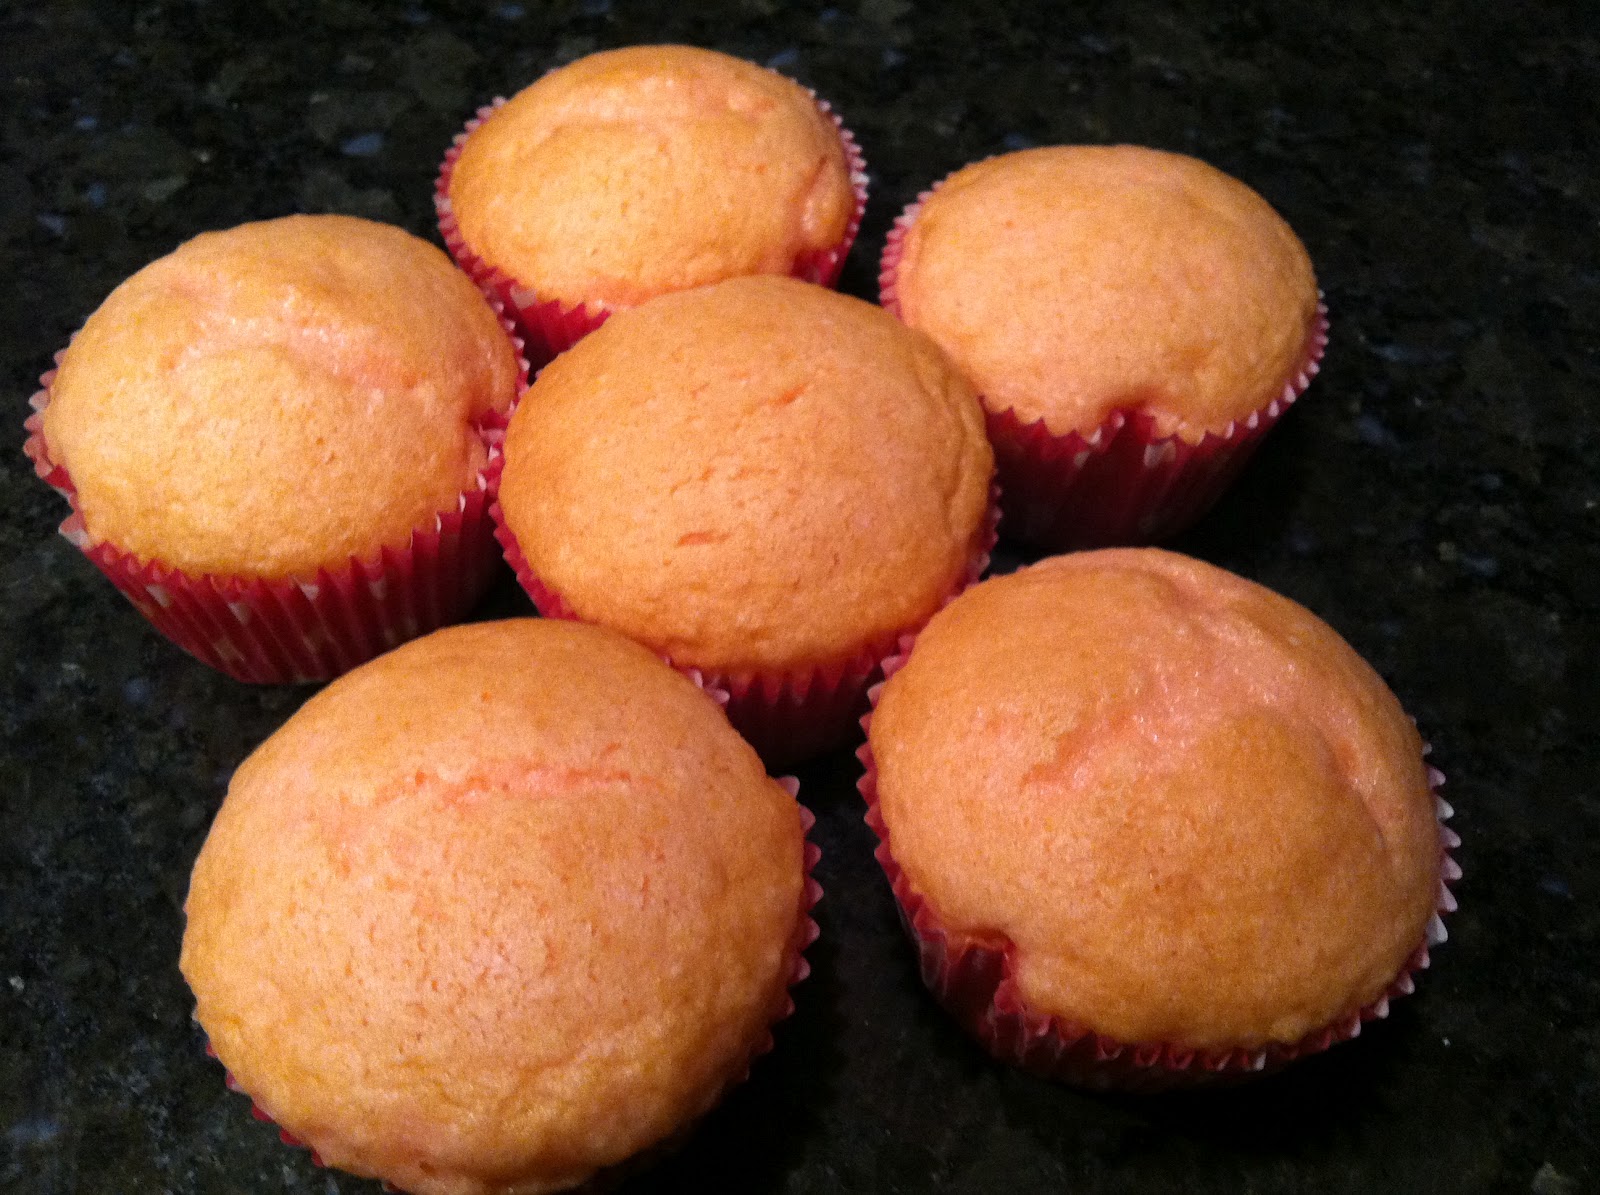
 The cupcakes and icing are Pink Lemonade by Pillsbury; one of my favorites!
 Start by piping a dot in the middle to keep your petals centered.
 Pipe a shell-shaped petal, starting at the edge with the tail in the center.
 Repeat eight times. The center may get messy. No worries; it'll be covered up.
 Switch to a round tip, like the Ateco #806.
 Pipe a ball of icing in the center. Hold the tip perpendicular to the cake, squeeze, then stop the pressure and pull the tip away. If a peak remains, smooth it away with the tip.
 You could color-coordinate the colors to any holiday or event. You could also pipe a few leaves in between the petals.