This project is so simple, I feel like I'm teaching you how to butter bread. To mold chocolate, all you need is a mold and chocolate. Bear in mind, you have to use chocolate that was designed for the task; don't use chocolate chips from the baking aisle at the supermarket; they won't melt properly. There are many brands available…
…I'm partial to Melt 'n Mold pieces by
Guittard (I grew up near the Guittard factory; the smell was unbelievable).
You can find chocolate pieces and molds at any cake decorating store. For no particular reason, I used jewel-shaped molds for this experiment.
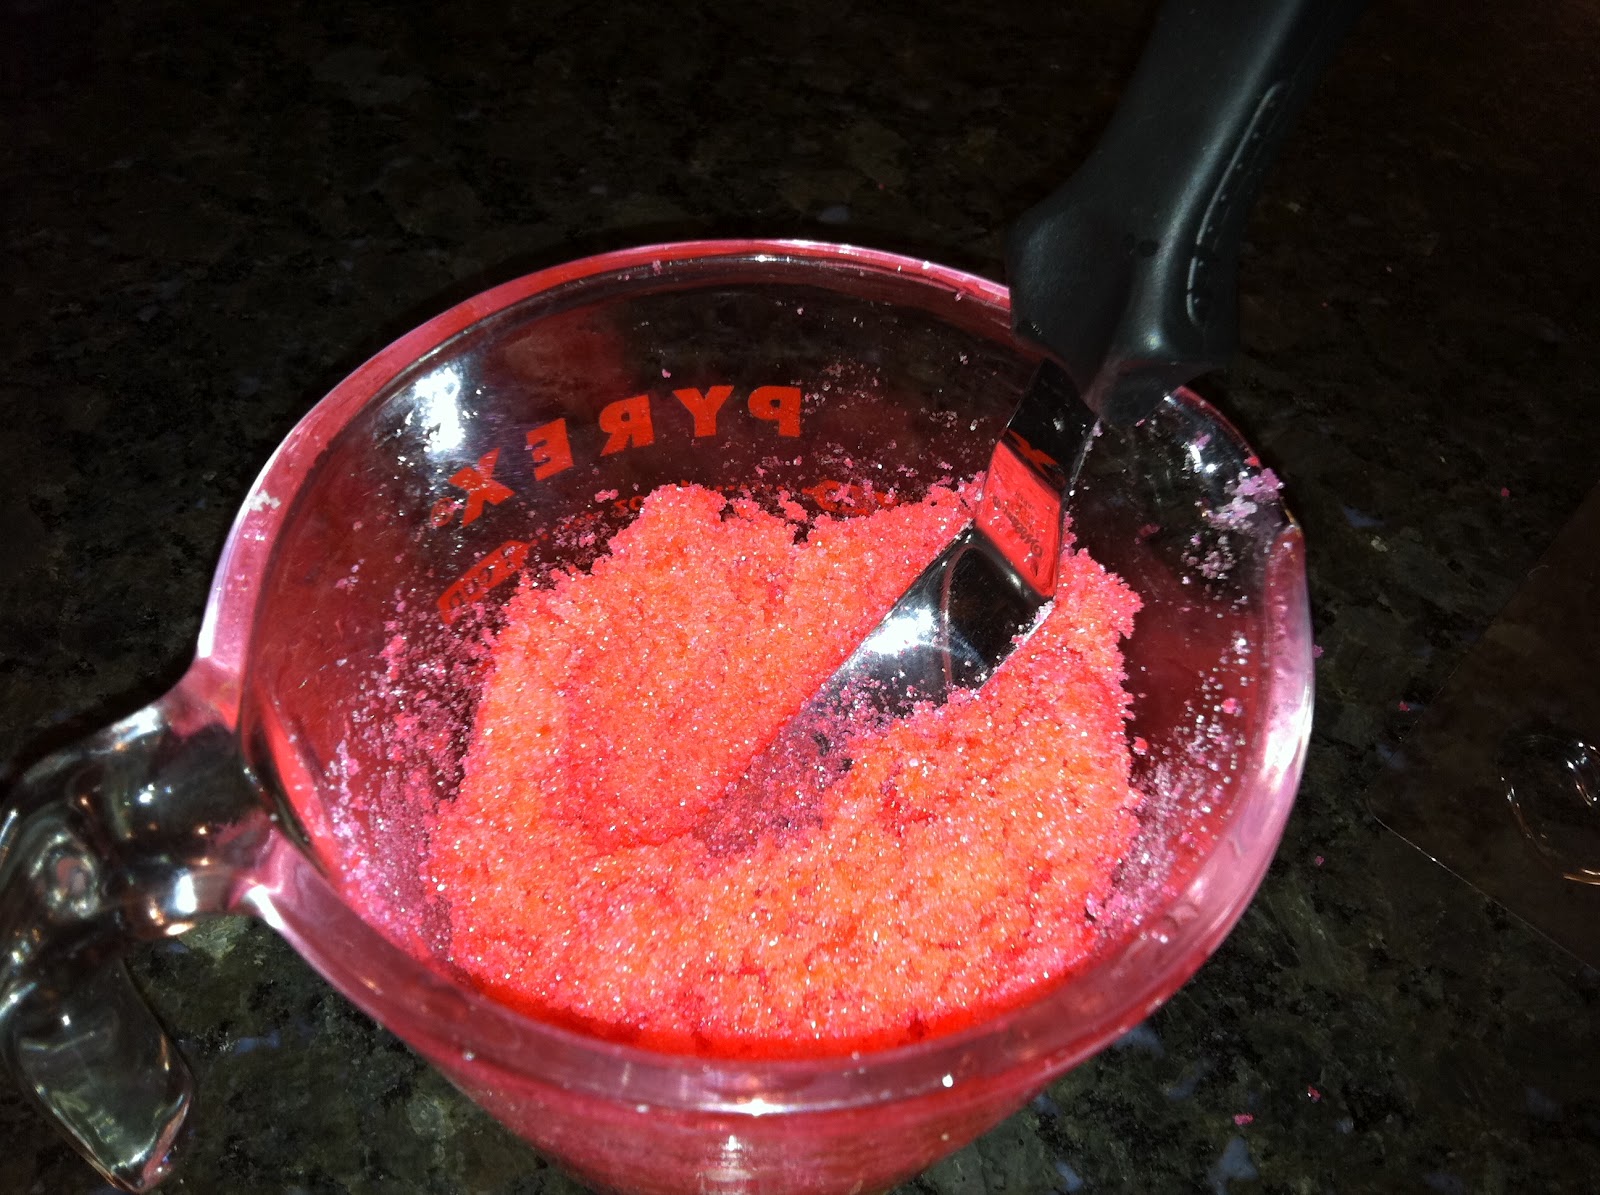
Pour some of the chocolate pieces into a microwave-safe container (a Pyrex measuring cup with a spout is perfect). Zap them in the microwave for :30 increments…
…until you're able to stir it like this and it's pourable.
Pour it into the wells of the mold, and tap the mold gently on the counter to bring up any air bubbles and to smooth out the surface.
Here's a view from beneath. Place the mold in the refrigerator and check back on it in 15 minutes (the hardening time will depend on the heat of the chocolate and the size of the molds).
As the chocolate gets cool and hardens, it will contract away from the mold; note how these pieces are almost totally separated from the mold.
Invert the mold onto a flat surface; a piece of parchment paper, waxed paper, a cutting board, etc. will work fine.
If the pieces require more than a gentle push to pop them out, return them to the fridge for a few minutes.
If you want to sparkle them up a bit, a product like
Pearl Dust works well; just brush it on.
These could be used to adorn cupcakes, cake borders…or served straight up, of course!