I guess I'm on an insect kick; I can't believe it's taken me this long to embrace all the creepy crawlies. The
ant from the other day was so icky, I'm still trying to balance it out with cuter bugs; first
ladybugs, and now, bees. All you'll need to pipe a whole swarm of bees is stiff consistency royal icing in yellow, black and white, a glue stick, a flower nail, round tips #1, #2, #4, and #10, petal tip #101, parchment paper squares, a black
AmeriColor Gourmet Writer, a Styrofoam block to rest the nail in, and a
dusting pouch filled with a 50/50 mix of powdered sugar and cornstarch.
Start by sticking a parchment square to the flower nail with a dab from the glue stick.
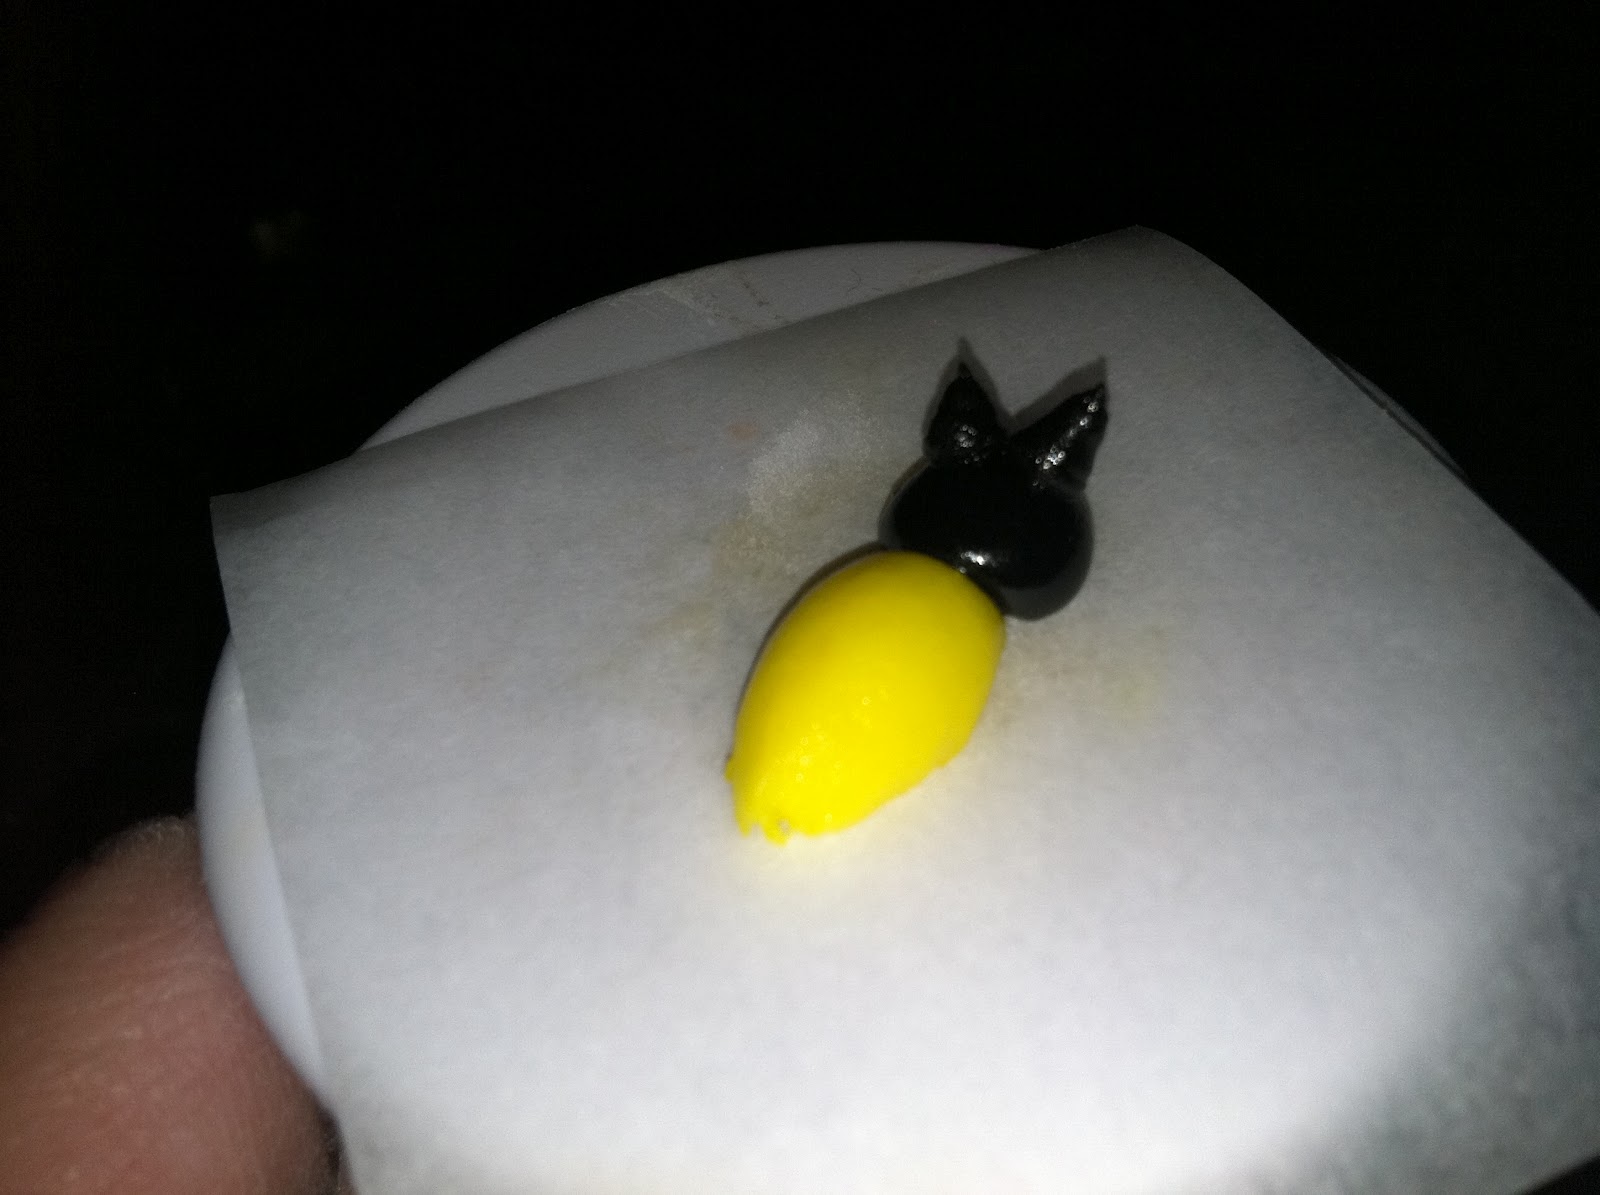
Pipe a teardrop-shaped body with the #10 tip. Hold it just above the surface at a 45 degree angle. Squeeze out a ball, then move the tip along a short distance, stop pressure and pull the tip away.
Use a #10 tip to pipe the head, as well. Hold the tip against the wide part of the body and pipe a ball. If a peak forms as you remove the tip, touch a fingertip to the dusting pouch and tap it down until it's round.
Next, pipe the eyes with a #4 tip. They'll probably look all pointy…
…so tap them flat with a dusted fingertip.
Use the Gourmet Writer to draw the stripes. If the icing isn't completely hardened, the ink will feather. At first I regarded this as a mistake; now I think it makes the bee look sort of fuzzy and bumblebee-like.
Pipe the legs with the #2 tip. Pipe four on the body and two just behind the head. Hold the tip against the surface, squeeze so that the limb will anchor to the body, then move the tip to the parchment, stop pressure and pull the tip away.
Pipe the antennae with a #1 tip (or the #2, if you don't mind the antennae being a little bit chunky). Hold the tip against the head, squeeze, and pull the tip straight up and away, stopping pressure almost immediately.
While the bodies are firming up, pipe some wings with the #101 petal tip. Hold the tip almost flat against the surface, and move it in a tight upside-down "U" motion. Pipe extra to allow for breakage. Let the wings firm up…
…then attach a couple to the bee with dots of icing just behind the head. These would be perfect for decorating any sort of honey cake, garden-themed dessert, cupcakes for a spelling bee, petit fours for a quilting bee, etc.