Showing posts with label Magic Tip #2B. Show all posts

Friday, May 4, 2012

Piping a Royal Icing Bowl

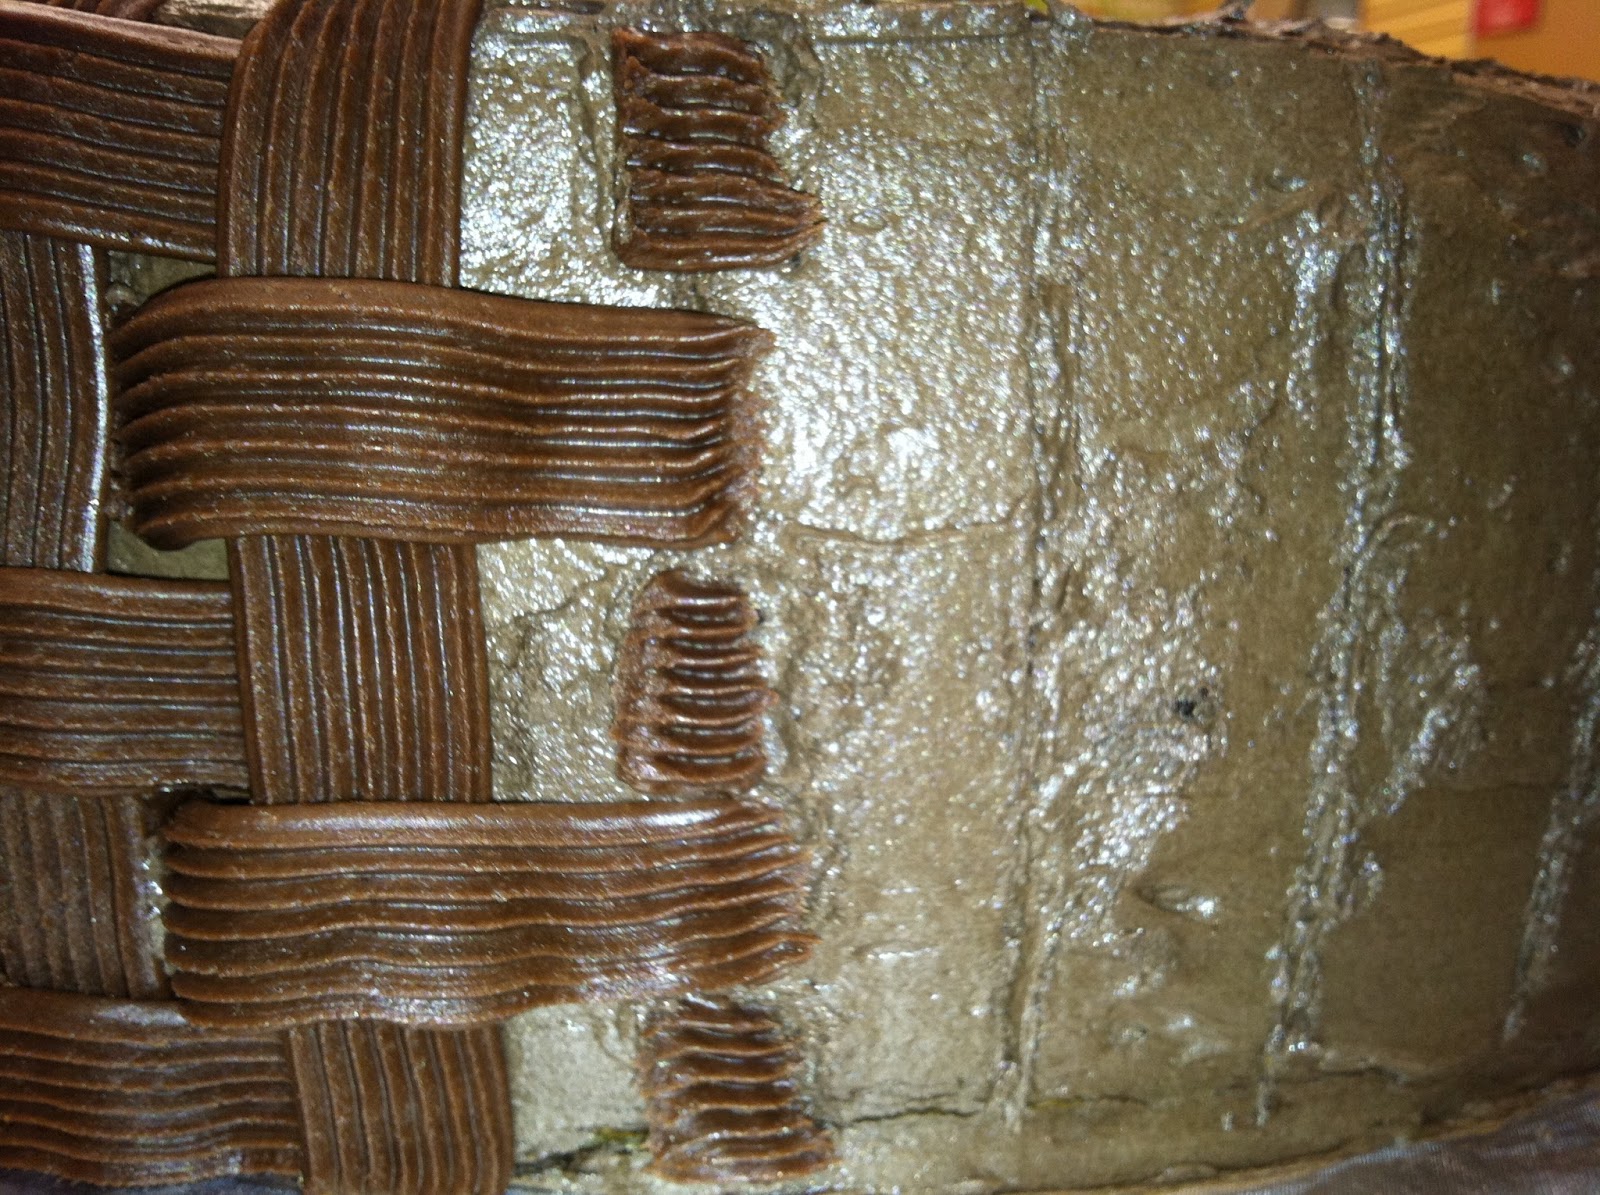
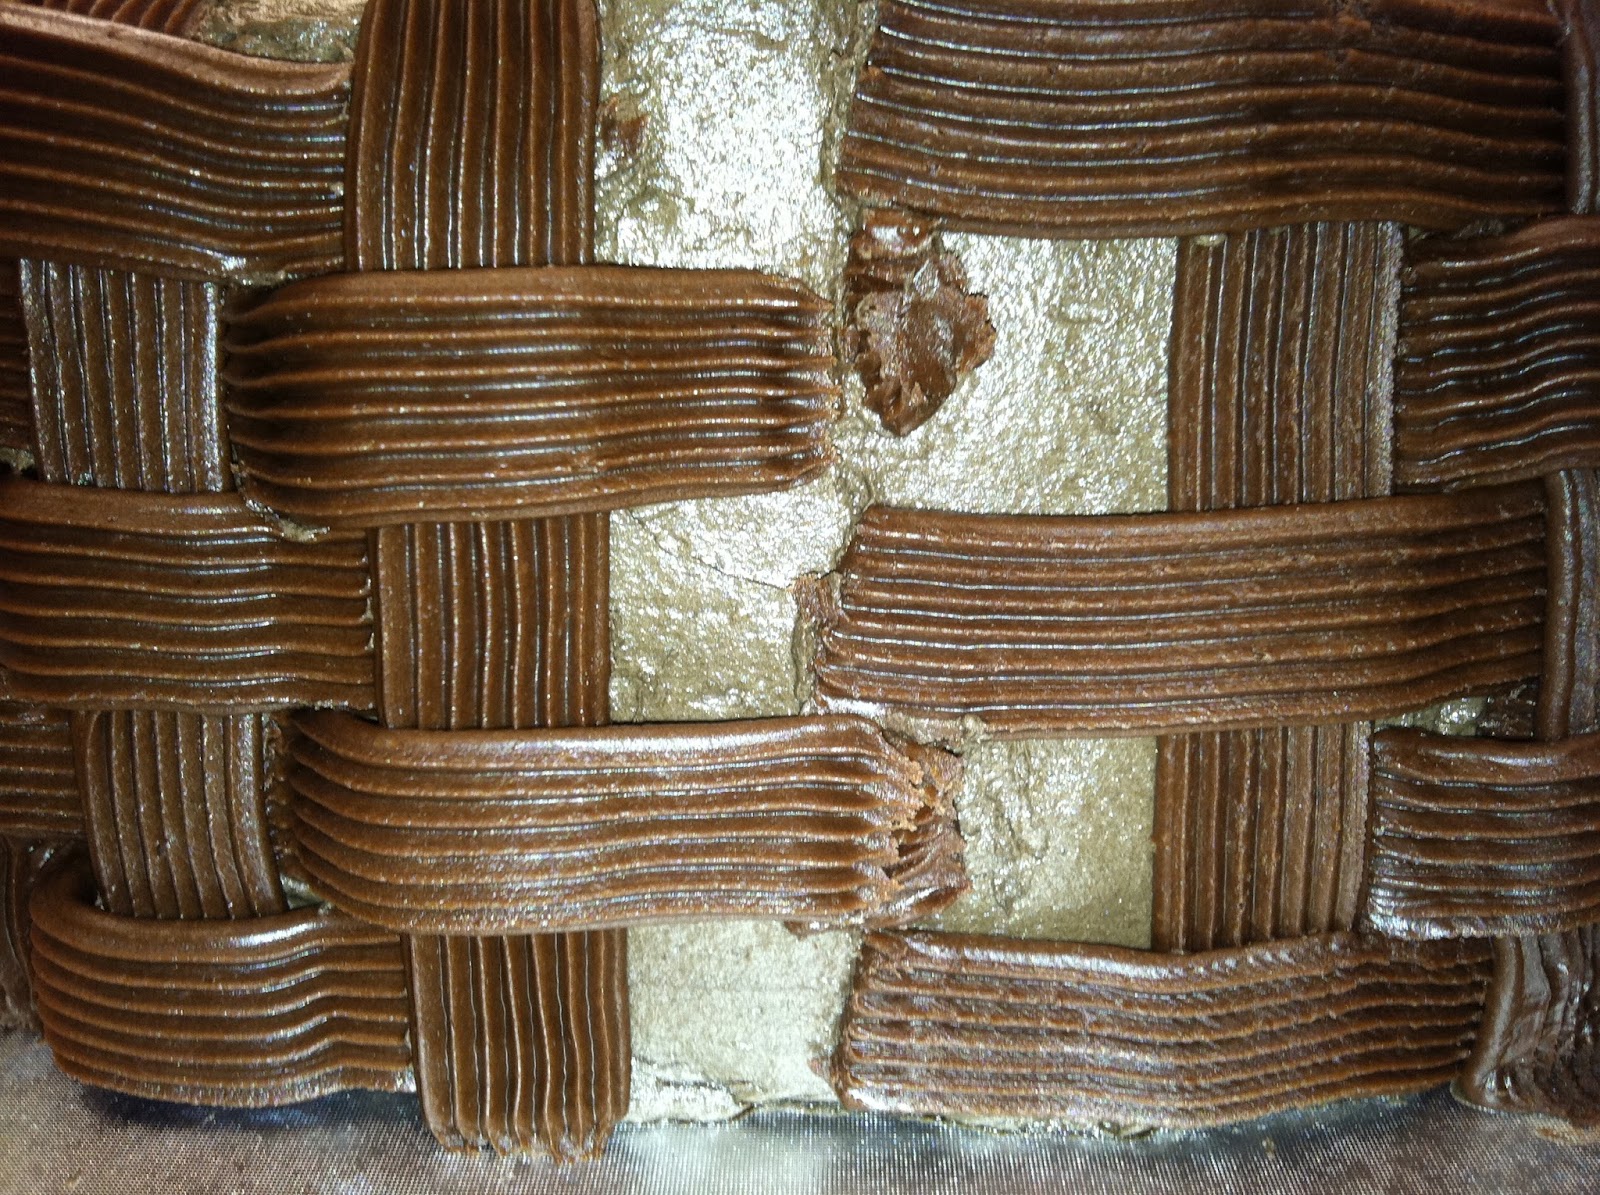
I guess I'm on an unofficial quest to pipe bigger and better things with royal icing. Ever since posting that tiny royal icing basket I piped on the underside of a muffin pan, I've wanted to try something larger. So, I found a bowl that had the shape I was looking for, and fitted a large piping bag with the basketweave tip #2B by Magic Tip, and filled it with stiff consistency royal icing. First I rubbed a thin layer of Crisco all over the bowl, then put it on a turntable.
 The procedure for piping is pretty much the same as for doing basketweave on a cake.
 I left a bit of a gap at the base, just so the icing wouldn't stick to the turntable.
 Eventually I did lift the bowl gently by the edge, and slipped the non-stick rubber material away; that bowl wasn't going anywhere.
 After the sides of the bowl were fully piped…
 …I moved on to the base. It was some of the sloppier work I've done, but I figured it was an experiment and no one was ever going to judge the underside of the bowl too harshly.
 Here it is, fully piped. I allowed this bowl over a week to dry, but it was probably ready after about 5 days.
Next time I try something like this, I'm going to use a tip that's serrated on both sides, so it doesn't fuse to the bowl underneath quite so much. I'm also inclined to try a bowl that has some flexibility to it. When the royal icing bowl finally popped off the bowl underneath, a couple of large pieces broke off, but they were able to be cemented back together easily enough with more royal icing (truly the Krazy Glue of cake decorating). I may pipe a shell border around the edge, just to neaten it up. This bowl will probably be used to display gum paste flowers on top of a cake; I'm still not sure "why" I made it…I just wanted to see if it was possible!

Friday, March 30, 2012

Piping a Shell Border


Shell borders are common as dirt in cake decorating; go into any Safeway or Costco and you'll see shelves of cakes bearing them. However, 90% of the time they look like they've been mashed out of a toothpaste tube, and 100% of the time they're made of a substance that claims to be frosting contained in a 1-gallon drum (OK, I'm guessing on that last part; maybe it's a 5-gallon drum). Anyway, there's not a lot to piping a shell border that actually looks like shells, but there's a bit of technique to it. For starters, it's helpful to pipe onto a frosted cake that's been chilled. If you pipe onto soft, room-temperature icing, it could possibly get caught up in the motion of the shell border (especially in the case of this basketweave cake I'm demonstrating on). You can pipe a shell border with any star tip. I attempted to match the size of the grooves in the basketweave with the size of the grooves in the star tip I'm piping the shell border with, so the border doesn't look like some sort of unassociated appendage (I used Magic Tip's #195 for the shell border and #2B for the basketweave). Load a pastry bag with a large amount of medium consistency icing (I used Wilton's Ready-To-Use Decorator Icing). Starting at wherever you've determined the back of the cake to be, hold the end of the tip just above the surface at a 45 degree angle…
…and pipe the letter J. There's just no other way I can explain it. Imagine the letter J rolled to the left, and then flipped around so the curved end is to the left and the straight end is coming from the piping bag (unless you're left handed; then just imagine the letter J rolled to the left). When you're piping these J's, you'll squeeze the hardest at the curved part, decrease the pressure as you move into the straight part, and stop pressure all together as you come to the end and pull the tip away. If you really want to be thorough, wipe the tip clean every few shells as needed. 
Here's another view:
And here's the end of the line. Do your best to taper the tail of the final shell into the first one; I've never managed to do it cleanly. As long as it's at the back of the cake, it's never worried me much!


Wednesday, February 29, 2012

Basketweave Using Magic Tip #2B

Today I learned how to do the basketweave on a cake for the final project in Wilton Course 2: Flowers and Cake Design. Basketweave can be done with a variety of tips, including star, flat, serrated, or a combination of 2 (one piping vertical lines, one piping horizontal). Based on the sheer size of my cake, I decided to work with a rather large tip, the #2B by Magic Tip, which is a good half inch wide. On one side it's flat: 
And on the other it's serrated. This is the texture I used, so this is the side that was facing away from the cake the whole time I was piping. 
Start by icing a cake and chilling it. It does not necessarily need to be the same color as your basketweave icing. This one is a 13 by 9 oval, made of three alternating vanilla and chocolate layers that took one box mix each to make:
Start by marking vertical lines all the way around the cake. For a cake of this size, I used a large straight spatula as a guide. 
 I traced a guide line in the icing along the spatula's edge with a second, smaller spatula. The lines are one large spatula's width apart.

 Start by loading a large pastry bag with whichever tip you'd like and medium consistency icing. You can either pipe from the top to the bottom or from the bottom to the top (the latter seemed to be the favorite method of most of the folks in the class, including myself):
 I apologize for any piping you see to the left of this vertical line; I hope it won't distract you. I felt like I needed to get a few inches of practice in before I started to take photos. It is OK for the vertical lines to overlap onto the surface of the cake; they'll be covered with borders, flowers, etc. eventually. Begin by piping a horizontal line from one guide line to another; this will form a "T" with your vertical line:
 This short line is known as a "spacer dot." It is piped on the guide line directly below where the top right edge of the "T" ends:
 Repeat these two steps; the horizontal line…
 And the spacer dot. This, by the way, is definitely best practiced on a sheet of parchment or waxed paper before it's attempted on a cake.
 On this cake there was room for one more horizontal line at the base. Notice how the guide line is still barely visible under the spacer dots and right edges of horizontal lines?
 Pipe a vertical line from the base to the top of the cake and finish off that line:
 You will be repeating and reversing this process all the way around the cake. I promise, your speed will improve in no time. I would have finished this cake in well under an hour if I hadn't spent so much time chatting with everyone in the class! So, at the top of the next guide line, pipe a spacer dot:
 Beneath it, tuck the tip into that hole in the icing (that my instructor refers to appropriately as a "window") and pipe a horizontal line from the window over to the guide line, ending below the spacer dot.
 Pipe another spacer dot beneath this horizontal line on the guide line…
  …another horizontal line…
…and a final spacer dot beneath it:
 Pipe a vertical line over all these ends along the guideline, and by now you should be able to see the basketweave take shape:
 When you get to the end (which will undoubtedly become the "back of the cake" where various seams wind up), here is how to finish it off.
Pipe a vertical line over the spacer dots and ends of vertical lines:

 On the left, pipe a short horizontal line that goes from the "window" to the right edge of that vertical line:
 In the next "window" down on the right, pipe a very short horizontal line:
 Repeat the horizontal line that goes from the next "window" down to the vertical line's right edge:
 Pipe another very short line in the next "window" down to the right of the horizontal line:
 And finish with a final horizontal line from the "window" to the right edge of the vertical line:
 As you can probably tell, this cake is a work in progress; more to come soon!