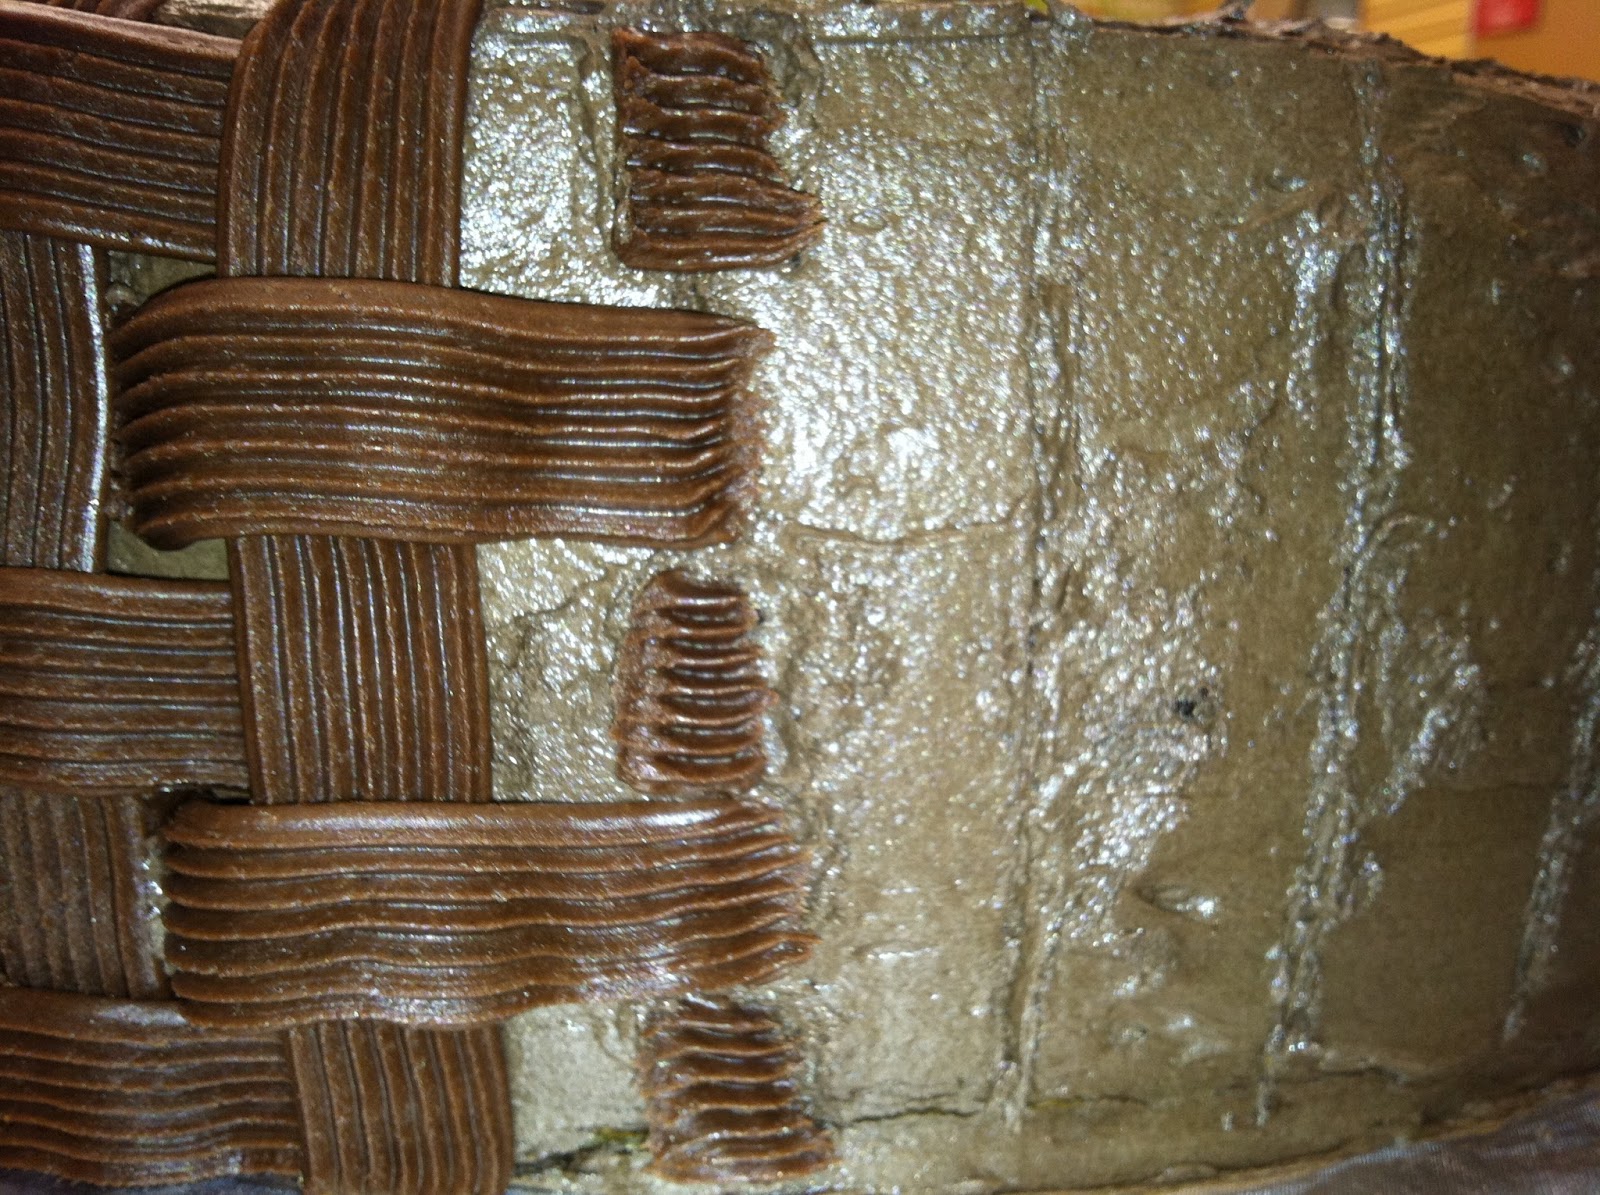
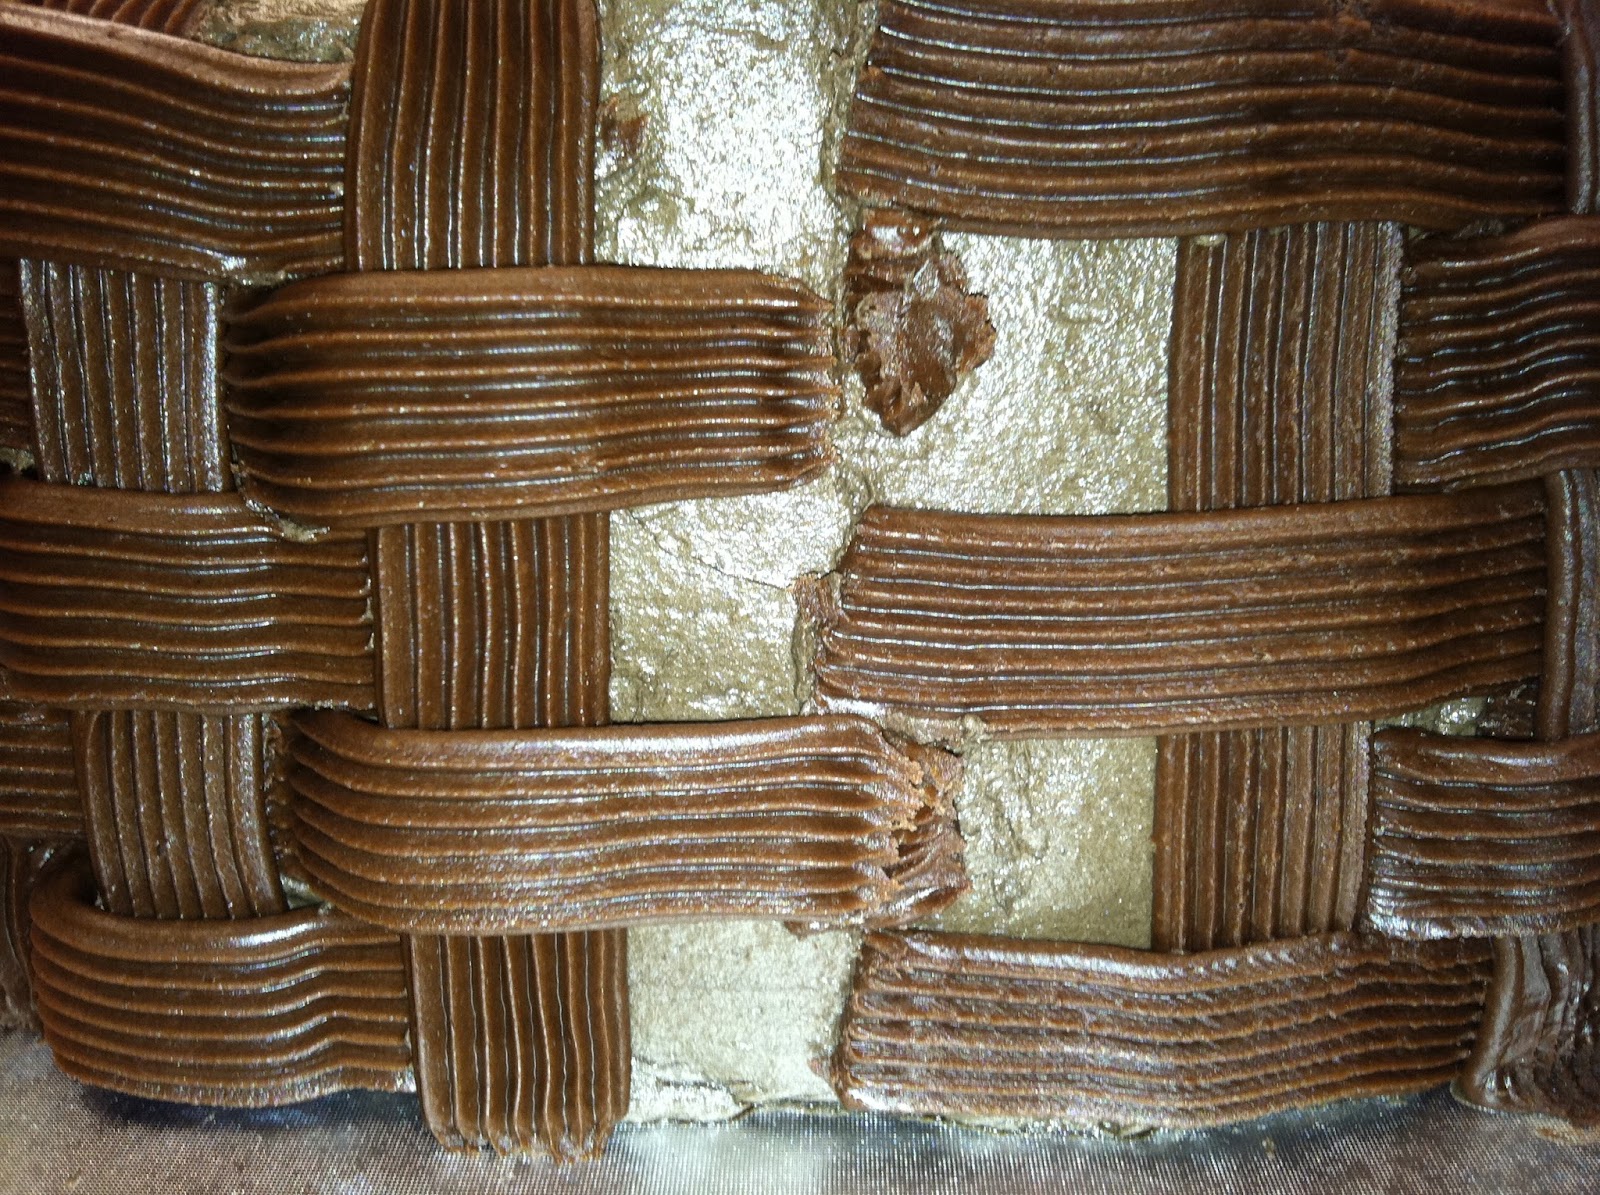
Today I learned how to do the basketweave on a cake for the final project in
Wilton Course 2: Flowers and Cake Design. Basketweave can be done with a variety of tips, including star, flat, serrated, or a combination of 2 (one piping vertical lines, one piping horizontal). Based on the sheer size of my cake, I decided to work with a rather large tip, the #2B by Magic Tip, which is a good half inch wide. On one side it's flat:
And on the other it's serrated. This is the texture I used, so this is the side that was facing away from the cake the whole time I was piping.
Start by icing a cake and chilling it. It does not necessarily need to be the same color as your basketweave icing. This one is a 13 by 9 oval, made of three alternating vanilla and chocolate layers that took one box mix each to make:
Start by marking vertical lines all the way around the cake. For a cake of this size, I used a large straight spatula as a guide.
I traced a guide line in the icing along the spatula's edge with a second, smaller spatula. The lines are one large spatula's width apart.
Start by loading a large pastry bag with whichever tip you'd like and medium consistency icing. You can either pipe from the top to the bottom or from the bottom to the top (the latter seemed to be the favorite method of most of the folks in the class, including myself):
I apologize for any piping you see to the left of this vertical line; I hope it won't distract you. I felt like I needed to get a few inches of practice in before I started to take photos. It is OK for the vertical lines to overlap onto the surface of the cake; they'll be covered with borders, flowers, etc. eventually. Begin by piping a horizontal line from one guide line to another; this will form a "T" with your vertical line:
This short line is known as a "spacer dot." It is piped on the guide line directly below where the top right edge of the "T" ends:
Repeat these two steps; the horizontal line…
And the spacer dot. This, by the way, is definitely best practiced on a sheet of parchment or waxed paper before it's attempted on a cake.
On this cake there was room for one more horizontal line at the base. Notice how the guide line is still barely visible under the spacer dots and right edges of horizontal lines?
Pipe a vertical line from the base to the top of the cake and finish off that line:
You will be repeating and reversing this process all the way around the cake. I promise, your speed will improve in no time. I would have finished this cake in well under an hour if I hadn't spent so much time chatting with everyone in the class! So, at the top of the next guide line, pipe a spacer dot:
Beneath it, tuck the tip into that hole in the icing (that my instructor refers to appropriately as a "window") and pipe a horizontal line from the window over to the guide line, ending below the spacer dot.
Pipe another spacer dot beneath this horizontal line on the guide line…
…another horizontal line…
…and a final spacer dot beneath it:
Pipe a vertical line over all these ends along the guideline, and by now you should be able to see the basketweave take shape:
When you get to the end (which will undoubtedly become the "back of the cake" where various seams wind up), here is how to finish it off.
Pipe a vertical line over the spacer dots and ends of vertical lines:
On the left, pipe a short horizontal line that goes from the "window" to the right edge of that vertical line:
In the next "window" down on the right, pipe a very short horizontal line:
Repeat the horizontal line that goes from the next "window" down to the vertical line's right edge:
Pipe another very short line in the next "window" down to the right of the horizontal line:
And finish with a final horizontal line from the "window" to the right edge of the vertical line:
As you can probably tell, this cake is a work in progress; more to come soon!