Showing posts with label Dogwood. Show all posts

Monday, April 2, 2012

Gum Paste Dogwood Flower

One of the main reasons I acquired Wilton's Gum Paste Flower Cutter Set was the dogwood cutter; I've always loved these flowers. Once I figured out how to make them out of royal icing, I thought I'd better learn to make them out of gum paste as well. Here are the supplies:
You'll need white gum paste, a very small amount of light green gum paste, a container of gum glue adhesive (a pinch of gum paste dissolved in a tablespoon of water), Crisco (to revive gum paste if it's dried out), a mise en place bowl, a tapered spatula, Color Dust in Brown, Red, and Spruce Green, white Pearl Dust, small brushes, a dusting pouch filled with a 50/50 mix of powdered sugar and cornstarch, the veining and ball tools from Wilton's 10-Piece Fondant and Gum Paste Set, a 9" fondant roller with pink (1/16") rings, a 3" flower forming cup, a gum paste storage board to use as a work surface, the dogwood imprint mat from Wilton's Flower Impression Mat Set, thin pink and purple shaping foam, and the dogwood cutter from the Gum Paste Flower Cutter Set. Start by dusting the back of the gum paste storage mat:
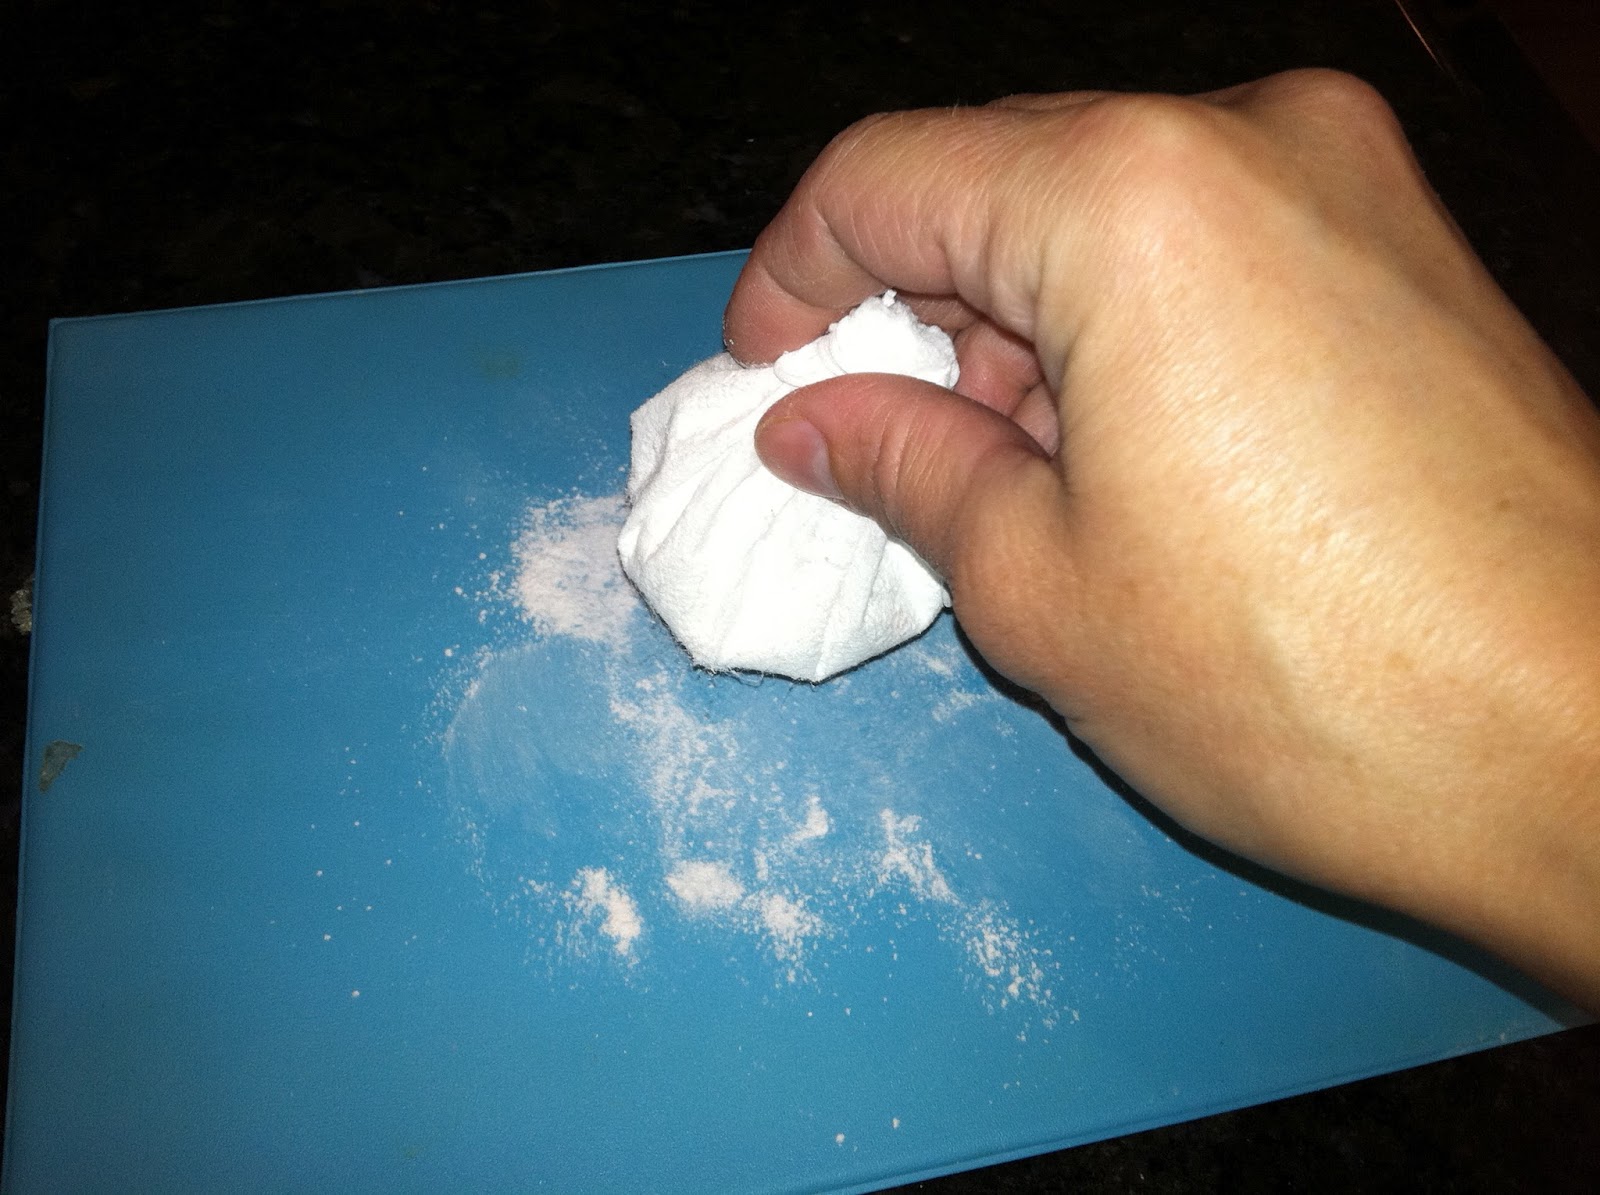
Roll out some white gum paste to 1/16" thick, then slide the rings off and roll it out a little thinner.
 Cut out one dogwood shape and tear away the slack.
 Dust the dogwood petal and center parts of the impression mat:
 Lay the cutout over the petal impression…
 …and press gently but firmly over it with the thin pink shaping foam:

 Place the cutout, imprint side down, on the purple foam. Use the large end of the ball tool to cup each of the two rounded ends of each petal (8 total).
 Flip the cutout back over, imprint side up…
 …and use the large end of the ball tool to lightly thin the edges of each petal.
 Use the wide end of the veining tool, point side down, to form a small peak in between each of the two rounded shapes at the end of each petal.
 Press an indentation with the large end of the ball tool in the center.
 Dust the flower forming cup…
 …and place the flower on it.
 Roll a very small amount of green gum paste into a ball…
 …and press it into the center impression on the mat.
 Use a small brush to place a dab of gum glue adhesive in the center of the flower…
 …and place the green center over it. Allow the flower to dry for a while before coloring it.
Here is the setup for coloring the flower (the Color Dusts and Pearl Dust, the small bowl, brushes, and the angled spatula). 
 Use the tip of the spatula to remove a small amount from the red and brown dust vials, and then mix them together in the bowl.
 Dust the flower with the white pearl dust…
…brush a small amount of the Spruce Green Dust in the center…
 …and use a very small amount of the brown and red mixture in the indent of each petal.
Here's the finished dogwood flower; perfect for any forest-themed cakes.


Friday, March 2, 2012

Piping Dogwood Flowers in Royal Icing

I love dogwood flowers, perhaps because they aren't easy to come by. There's a dogwood tree in my yard that's almost half a century old that started to produce blooms only a few years ago! Dogwood flowers are easy to make using gum paste; all sorts of cutters and impression mats are available. However, I really wanted to try to figure out how to pipe them with royal icing; I definitely plan to incorporate them next time I make a stump cake. I think I came up with a pretty accurate representation of them. Here's the setup; a Styrofoam block (to act as a third hand for holding the flower nail), a non-toxic glue stick, dark pink Color Dust, a small brush, parchment paper squares, a flower nail, a dusting pouch filled with a 50/50 mix of powdered sugar and cornstarch, 3" flower forming cups, a pastry bag filled with royal icing and fitted with a Wilton #101 rose tip, and a pastry bag filled with yellow royal icing and fitted with the Wilton #233 tip:
Dab some glue on the flower nail and stick down a parchment paper square. 
 Holding the rose tip almost flat against the surface with the narrow end of the tip pointing outward and the wide end in the center, pipe a long heart shape all the way to the edge of the nail. Keep the pressure pretty steady and firm the whole time. If you somehow wind up with a hole in the middle of this petal, touch one of your fingers to the dusting pouch and tap the icing down around the hole.
 Make the second petal opposite to the first. Attempt to make them somewhat symmetrical; all the petals will be the same size. If a large accumulation occurs in the center, it can be tapped down with your dusted finger.
 Here's the third petal…
 …and the fourth.
 Slide the parchment paper off the nail (breaking the seal with the glue), and place it on the flower forming cup to dry with a subtle concave shape:
 After the flower has had a chance to firm up for a bit, pipe the yellow center with Tip #233. Hold the tip just above the center and squeeze out a center consisting of very short strands; squeeze, stop the pressure, lift the tip away. Move the tip over the width of one of the strands, and squeeze out a second set.
 This way the center won't be a perfectly spaced, unnatural looking cluster of dots.
 When the petals have dried completely, dust the edges with the pink dust. As you dust each petal, you can shake off the excess away from the rest of the flower.
 Here are all four petals, dusted. Incidentally, this step is optional; the flowers in my yard don't have pink edges. I like how the dogwood flower turned out; it even has the lines running the length of the petals. I plan to figure out how to make more flowers that aren't based on something I learned in a Wilton class soon!