Showing posts with label fondant from scratch. Show all posts

Saturday, April 7, 2012

A Fondant House

You may recall, I recently made quite a few batches of delicious but weird-looking fondant in my quest for the perfect red fondant. Well, I thought of something fun to do with the brick-colored fondant: build a house. I recently found this totally old-school looking cookie cutter set at Sugar N’ Spice, a cake decorating supply store in Daly City that has EVERYTHING:

 I had to take a photo of the date; it just amazes me this is a new product and not some overstock that’s been sitting around since the ‘70s.
 The graphics on the packaging are priceless:
 After lightly greasing my counter with Crisco, I rolled some of the fondant out to a quarter-inch thick.
 I dusted my ruler with a 50/50 mix of powdered sugar and cornstarch…
 …and pressed it against the edges to make sure they were truly straight.
 I cut each piece out and laid them out to dry for a couple of days on a double-thickness of dusted parchment paper on a baking rack.

I filled a pastry bag fitted with a round #8 tip with thick-consistency royal icing. I started by piping a bead along the bottom edge of one of the end walls…

 …and then stuck it to a cake square. For an adjoining wall, I piped along the base and the end that would be touching the end wall…

 …and I repeated the process on the opposite wall.
 For the other end wall, I piped along the bottom and where the two side walls would touch.
 Then I pressed it into place and piped along the three edges that would support one of the roof pieces…
…which I then repeated on the other side.
 The little house is almost done, but it needs a chimney.
 I piped a squiggle on the base of the chimney piece (but not the top, as it sticks up higher than the roof line).
 And then I stuck the chimney in place. I'd say the next step is to decorate it, but I think it looks sort of perfect as is!


Saturday, March 31, 2012

A Baseball-shaped Cake

I'm working on a baseball-themed cake and wanted to incorporate an actual baseball (it's only a half-ball because in the end it'll look like it's stuck in the grass). When I was making the main part of the cake, I set aside some batter to make this ball. Here is the pan (or rather, pans) I used:
On the left is a 4" pan and on the right is a 4" hemisphere pan, both by Fat Daddio's. These are some tremendously sturdy pans; they weigh a ton! And, of course, each of these pans comes in a variety of sizes. I greased and floured the hemisphere pan and filled it about halfway (roughly half a cup), then dropped it into the 4" pan and let it bake about 15 minutes (whenever the toothpick came out clean-ish). 
 The cake came out easily with a firm "whack":
 I cut off the crown…
 and then gave it a buttercream undercoating.
 I rolled out a piece of fondant, somewhere around 1/8" thick:
 I laid the fondant over the hemisphere and smoothed it down. The cake was too small to use a fondant smoother; my hands worked just as well.
 It was also too small to cut away the slack with a pizza cutter; I used a paring knife…
 …and smoothed the edges under the cake a little more tightly by hand.
 To pipe the stitching, I needed a red food-safe marker (I like AmeriColor Gourmet Writers), thinned royal icing colored with AmeriColor's Super Red in a bag fitted with a round #3 tip, and a dusting pouch filled with a 50/50 mix of powdered sugar and cornstarch.
 I used the marker to make dots for guidelines. Without these, I guarantee the final result would be uneven.
 Starting in the middle of the ball, I piped a series of upside-down V's. Any time a peak occurred, I touched a fingertip to the dusting pouch and gently tapped it down.
 And here's the finished baseball cake. Obviously, you could use a hemisphere pan to create anything ball-shaped; I'm sure I'll press it into service again soon.
You can see it peeking out from behind a fondant pennant on the final cake in this shot:


Wednesday, March 21, 2012

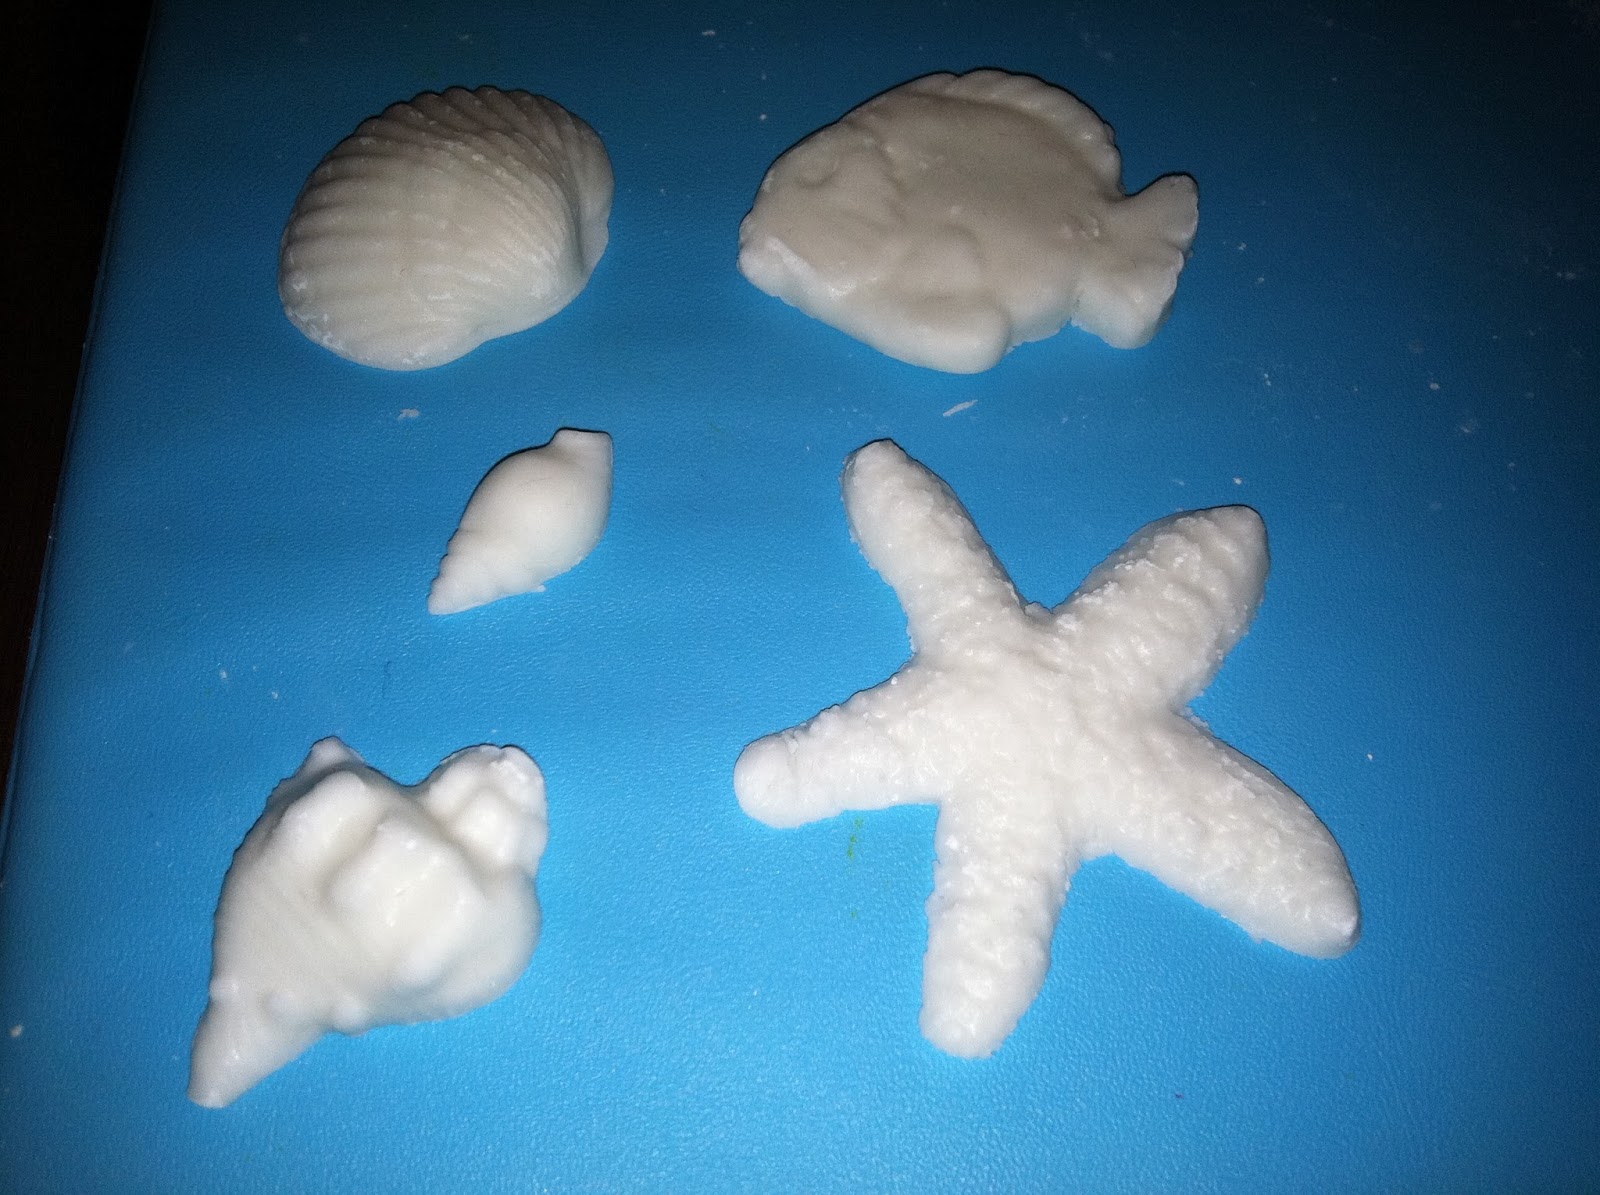
Forming Fondant With Makin's Push Molds

I have a favorite new discovery: Makin's Push Molds. According to the packaging, they're intended for use with clay, but I recently found them near the gum paste department of Sugar 'N Spice in Daly City. As much as I love gum paste, I'd prefer to make cute little things like this out of something more delectable. I had a small amount of a recent batch of fondant left over, so I gave it a try. Other than fondant, all you really need is a mold, a dusting pouch filled with a 50/50 mix of powdered sugar and cornstarch, and a gum paste storage board (the flip side of which makes a great work surface). 
Start by dusting the cavity on the mold you're going to use.
Roll a ball of fondant the approximate size of the mold (you can always add more or less if it doesn't fit; just pry out the first attempt, adjust the size, re-dust, and try again).
Press the fondant into the mold.
Flip the mold over; you can see right through to any overages that should be wiped away.
To make the underside of the mold really flat you might want to press it flat against the storage board.
Push the mold and the piece should pop right out.
Some shapes will deform during the "pressing out" step (especially those that are thicker). For these I dusted the cavity extra generously, molded quickly, and slapped the mold against the counter; the shape popped right out. Allow them to rest on the storage board to dry (or on a piece of parchment paper on a cake cooling rack).
When the shapes are dry, you can dust them with Color Dust
…and maybe also a layer of Pearl Dust
 …or just straight Pearl Dust.
 You could also color the fondant, marble it, draw on the pieces with food-safe markers, paint them with paste food coloring dissolved in a tiny amount of clear vanilla extract; you're limited only by your imagination!

Saturday, March 17, 2012

Fondant Shamrocks

Ever on the quest to provide alternatives to environmentally-hostile plastic cupcake decorations, I made some little fondant shamrocks today. I didn't have quite enough fondant to cover a cake for our St. Patrick's Day dinner, but definitely had enough to make some decorations. Today's project was all about working with leftovers from other projects, so here's what I had on hand: green cupcake papers, shamrock cupcake sprinkles, Duff Goldman's Electric Green paste color, and Wilton's White Pearl Dust. I made the shamrocks with my fondant recipe, rolled the fondant out to about 1/8", cut the shamrocks with a tiny cookie cutter, poured some pearl dust into the palm of my hand, and laid the shamrocks one at a time in the dust, coating them generously. I'm sorry I don't have photos of the whole process; I didn't know I'd be writing about this project for today's post! I think the biggest revelation of today's project is the fact that Pearl Dust doesn't taste bad or have a weird mouthfeel! I was hesitant to eat one of these shamrocks, but when I did I was stunned to find there was no unappetizing, inedible crunchiness. I was also stunned to see that everybody else at the table wolfed down their shamrocks with no complaints, so score one for the Pearl Dust!
 I wanted the dark green cupcake sprinkles to really stand out against the icing, so I didn't use much of the paste color. To ice half a dozen cupcakes, I used about a half of a can of frosting:
 I loaded a disposable pastry bag with the Wilton 1M star tip (and no coupler), and piped a classic swirl. Start near an outer edge with the bag at a right angle to the cake, and spiral around about twice toward the center. The spiral should end at the center, at which time you should stop pressure, then pull the bag away perpendicular to the cupcake.
 See what I mean about those sprinkles popping? The other bonus to not dying the icing a more intense green is no one at the dinner party looked like they'd just arrived from Mars after eating one of these.
 The fondant shamrocks were firm by now; I'd laid them on parchment paper on a baking rack a couple hours prior, and they stiffened up sufficiently.
One last note on the subject of working with what I had on hand; I must say I really like the shamrocks in white! For a moment I thought I should color the fondant green, but let's face it: that's been done. These really came out looking unique and actually rather expensive (which is a hoot, considering they probably cost about a dime each in materials). Definitely making a "note to self" about sparkly white shamrocks for next year's St. Paddy's Day…