Showing posts with label water lily. Show all posts

Tuesday, June 19, 2012

Royal Icing Cattails

Yet another project in the "pond" collection (sounds more appetizing than "swamp", right?), to be company for the frog, lily pads, and water lily. All you need to make cattails are Nilla Wafers, a Styrofoam block, a dusting pouch filled with a 50/50 mix of cornstarch and powdered sugar, stiff consistency brown and green royal icing, round tip #8, leaf tip #352, and dry linguine (spaghetti would probably look more realistic, but I didn't have any on hand). 
 Start by piping a line about 2" long on one side of the linguine. Leave about half an inch bare at the end.
Pipe another line on the other side of the linguine directly opposite it. 
Dust your fingertips especially thoroughly against the dusting pouch and pinch the icing together around the linguine. 
 
Re-dust your fingertips and tap along the seam until it disappears. Don't worry about making the cattails look perfect; last I checked, they aren't perfectly cylindrical in nature, either. 
 Stick the cattails into the Styrofoam block to dry.
 Pipe a cluster of stand-up #352 leaves on a Nilla Wafer. Hold the tip against the cookie's surface, squeeze, then pull upwards. Stop pressure and pull the tip away when the icing is able to stand up on its own (or be propped up by one or more of its neighbors).
 Carefully stick the cattails into the cookie. Hold the linguine as close to the base as possible to lessen the probability of snapping it in half.
 Arrange them as you see fit, then when you place the cattail arrangement on a cake, pipe some more leaves around the base for your swamp (er, pond) creatures to hide in.

Monday, May 14, 2012

Tiny Frog in Royal Icing

Ever since piping the water lily and lily pads, I've meant to get around to piping a royal icing frog to live amongst them. The delay? I simply wasn't sure how to go about doing it! I did some experimenting, and I think I came up with a good procedure. I needed a piping bag filled with green medium consistency royal icing and fitted with a round tip #12, parchment paper squares, a glue stick, and a flower nail (not because the frog needs to be rotated; the nail just makes handling it easier). I also needed round tips #3 and #5, white royal icing in a bag fitted with a round #2 tip, a toothpick, a dusting pouch filled with a 50/50 mix of powdered sugar and cornstarch, and a black AmeriColor Gourmet Writer. 
 First, I stuck a parchment paper square to the nail with a dab from the glue stick.
 Then, with the #12 tip…
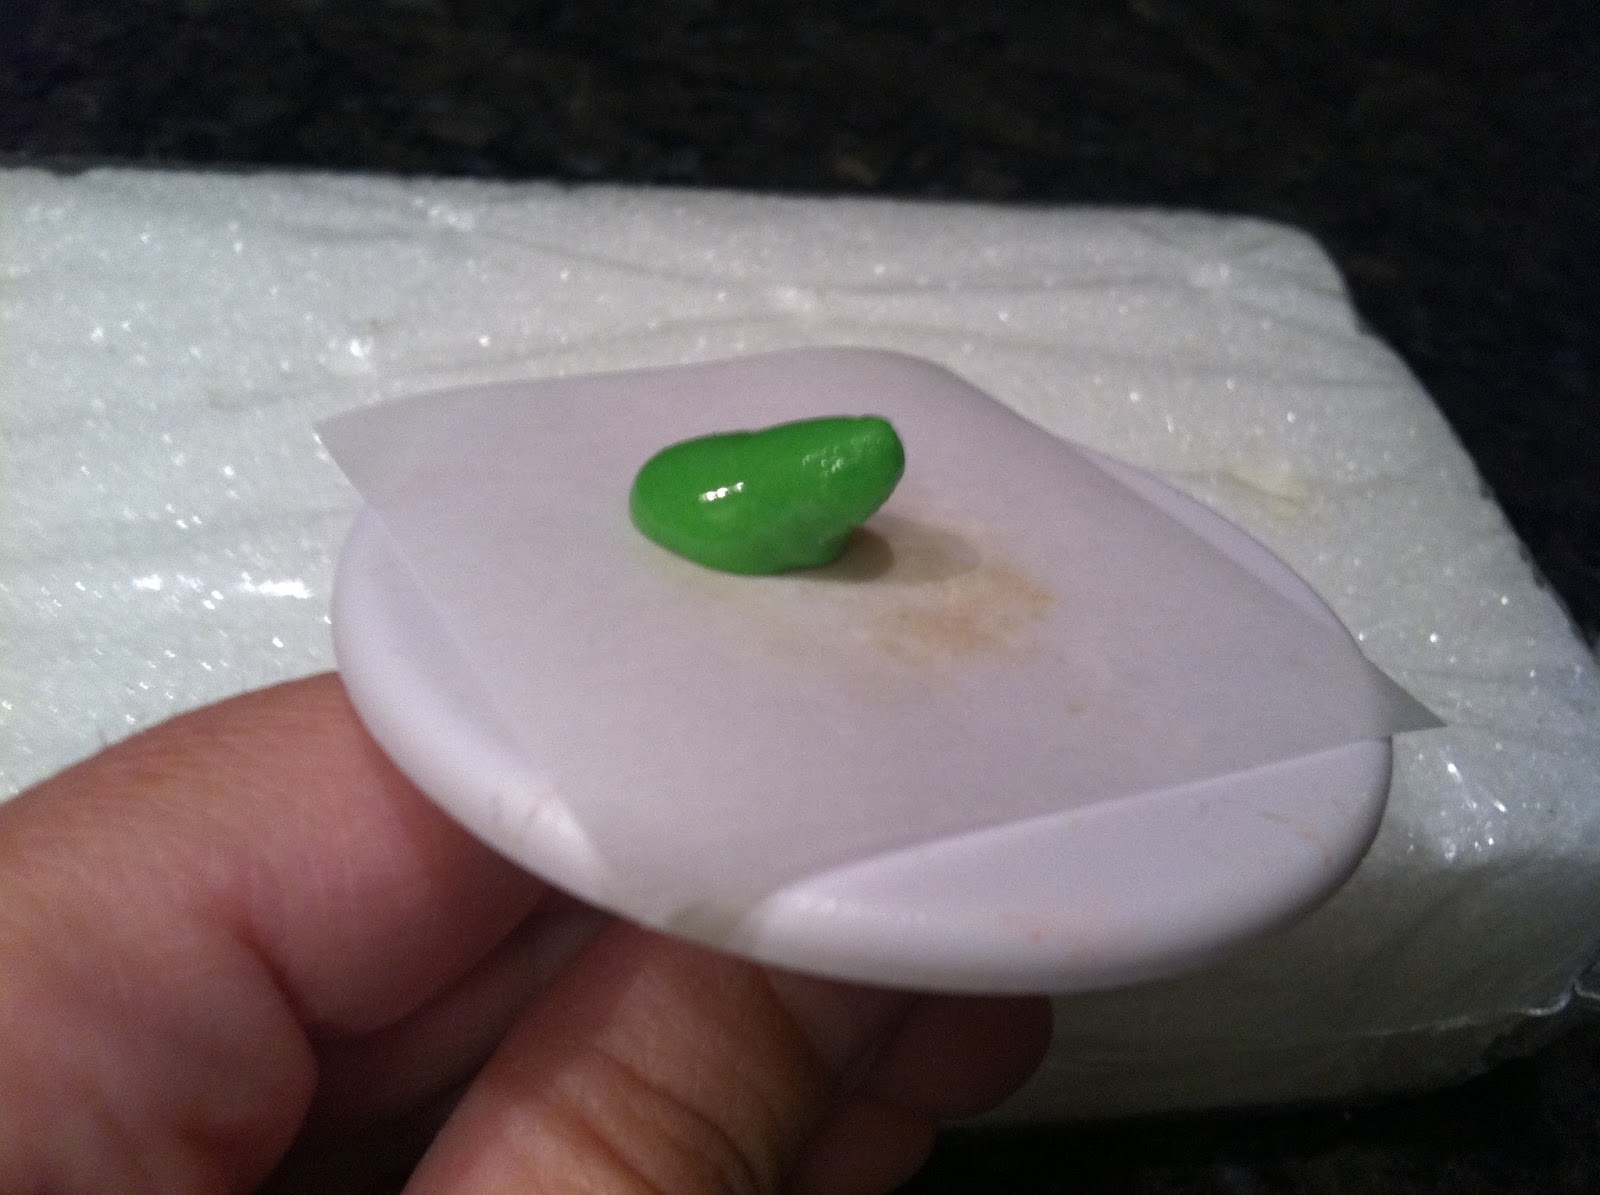
…I piped this shape for the frog's body. I started with the tip perpendicular to and just above the surface, piped a bead, then started to draw the tip away at an angle. After half an inch, I stopped pressure and pulled the tip away. I touched my finger to the dusting pouch, and gently tapped the shape into place.
Here's a view of the frog's body from the back.
 Then, I switched the tip to the round #5, and piped one of the legs, which was nothing more than a little squiggle (like a cursive "n", almost).
 I piped a couple toes, while I was at it.
 I repeated on the other side, and used the toothpick to perfect the toes a bit.
 I also used the toothpick to carve in a couple of nostrils. I switched the tip to the round #3, and piped two front legs. The toes were piped/formed in a similar fashion to those on the back legs.
 Then, I piped two #2 dots in white for the eyes…
 …and when they were dry added black dots with the AmeriColor Gourmet Writer.
 When the frog is dry, he'll easily pop off the parchment. The only problem is, he can't be put on a cake because he's too adorable to eat!

Monday, April 16, 2012

Royal Icing Water Lily

Here's a water lily to accompany yesterday's royal icing lily pad. It's based on a design I found in the recently re-released book by Wilton, The Uses of the Most Popular Decorating Tips (originally published in 1986). The water lily is piped with a curved ribbon tip; I used a Magic Tip #79.
 You'll also need a parchment square for each water lily, stiff consistency royal icing in yellow, green, and purple (put a tip #2 on the yellow bag and the curved ribbon tip on the green; it'll also be used on the purple), a non-toxic glue stick, a flower nail, a dusting pouch filled with a 50/50 mix of powdered sugar and cornstarch, and a Styrofoam block to rest the nail in.
 Start by attaching a parchment paper square to the nail with a dab from the glue stick.
 Holding the back of the tip flat on the nail, pipe six leaves, radiating out from the center.
 Touch your thumb and index finger to the dusting pouch, and pinch the tip of each leaf to a point.
 Stick the nail in the Styrofoam block, and switch the curved ribbon tip to the bag of purple icing. Pipe six petals so they lay in between the green ones below.
 Pinch the ends to points as you did the leaves.
 Pipe another six shorter petals, again staggering them in between the petals below.
 Pinch the tips into points, and pipe a cluster of yellow stamens in the center. To form them, hold the tip perpendicular to the nail, squeeze a small bead for an anchor, then pull up a short distance before stopping pressure and pulling away.