Showing posts with label royal icing rose. Show all posts

Monday, March 26, 2012

Piping Roses with a Striped Edge

Adding a striped edge to a rose takes no special equipment beyond a second color of icing and the cheapest brush you can buy. Needless to say, you can use any two colors you want to make roses for any occasion (patriotic, Christmas, high school colors, etc.). In this case, I used two shades of pink. I started by mixing up a small amount of the darker shade (I used Deep Pink by AmeriColor):
 Then I added a small amount of the deep pink icing to a larger container of white to get a very light shade of pink:
 The set-up includes a piping bag filled with white (or light pink) royal icing fitted with a round #12 tip, an empty bag fitted with a #104 rose tip, a parchment square for each rose, a rose nail, a Styrofoam block (to act as a third hand), a glue stick, and a brush (preferably one that costs no more than fifty cents).
Start by making the bases. Dab the glue stick to the rose nail and stick a parchment square to it. 
Hold the bag with the round #12 tip and pipe a shape similar to a Hershey's Kiss by holding the tip just above the surface, then piping firmly. When the base builds up to about the size of a nickel, start moving the tip up and away from the nail. Stop pressure and pull the tip away. If the shape isn't quite right, either coax it into place with a finger dipped in powdered sugar, or scrape the "Kiss" off and start over.
 No two will probably look alike, but they'll all work, more or less.
 On the empty bag, make sure the narrow end of the rose tip lines up with one of the seams on the bag.
 Cuff the bag over, half the length of the bag:
 Using your brush, paint a stripe on the seam with the darker pink icing (or whichever color you like). Paint as far down into the end of the bag (or the coupler, if you're using one) as you can, and continue up the seam for a few inches.
 Fill the bag with the other color, in this case the lighter pink.
 Pipe out a test squeeze, until the stripe appears. Now you can start piping striped roses!
Official instructions on the Wilton site for The Wilton Rose will tell you exactly which angle to hold your bag at for each row of petals. I just wanted to show you a brief example of what happens when you pipe the first wraparound petal (that should completely hide whatever color the base is)…
 …and then the next row of three petals…
 …then five…
 …and finally seven.
The possibilities really are limitless! Halloween roses, anyone?

Thursday, March 1, 2012

40 Flowers, 40 Years

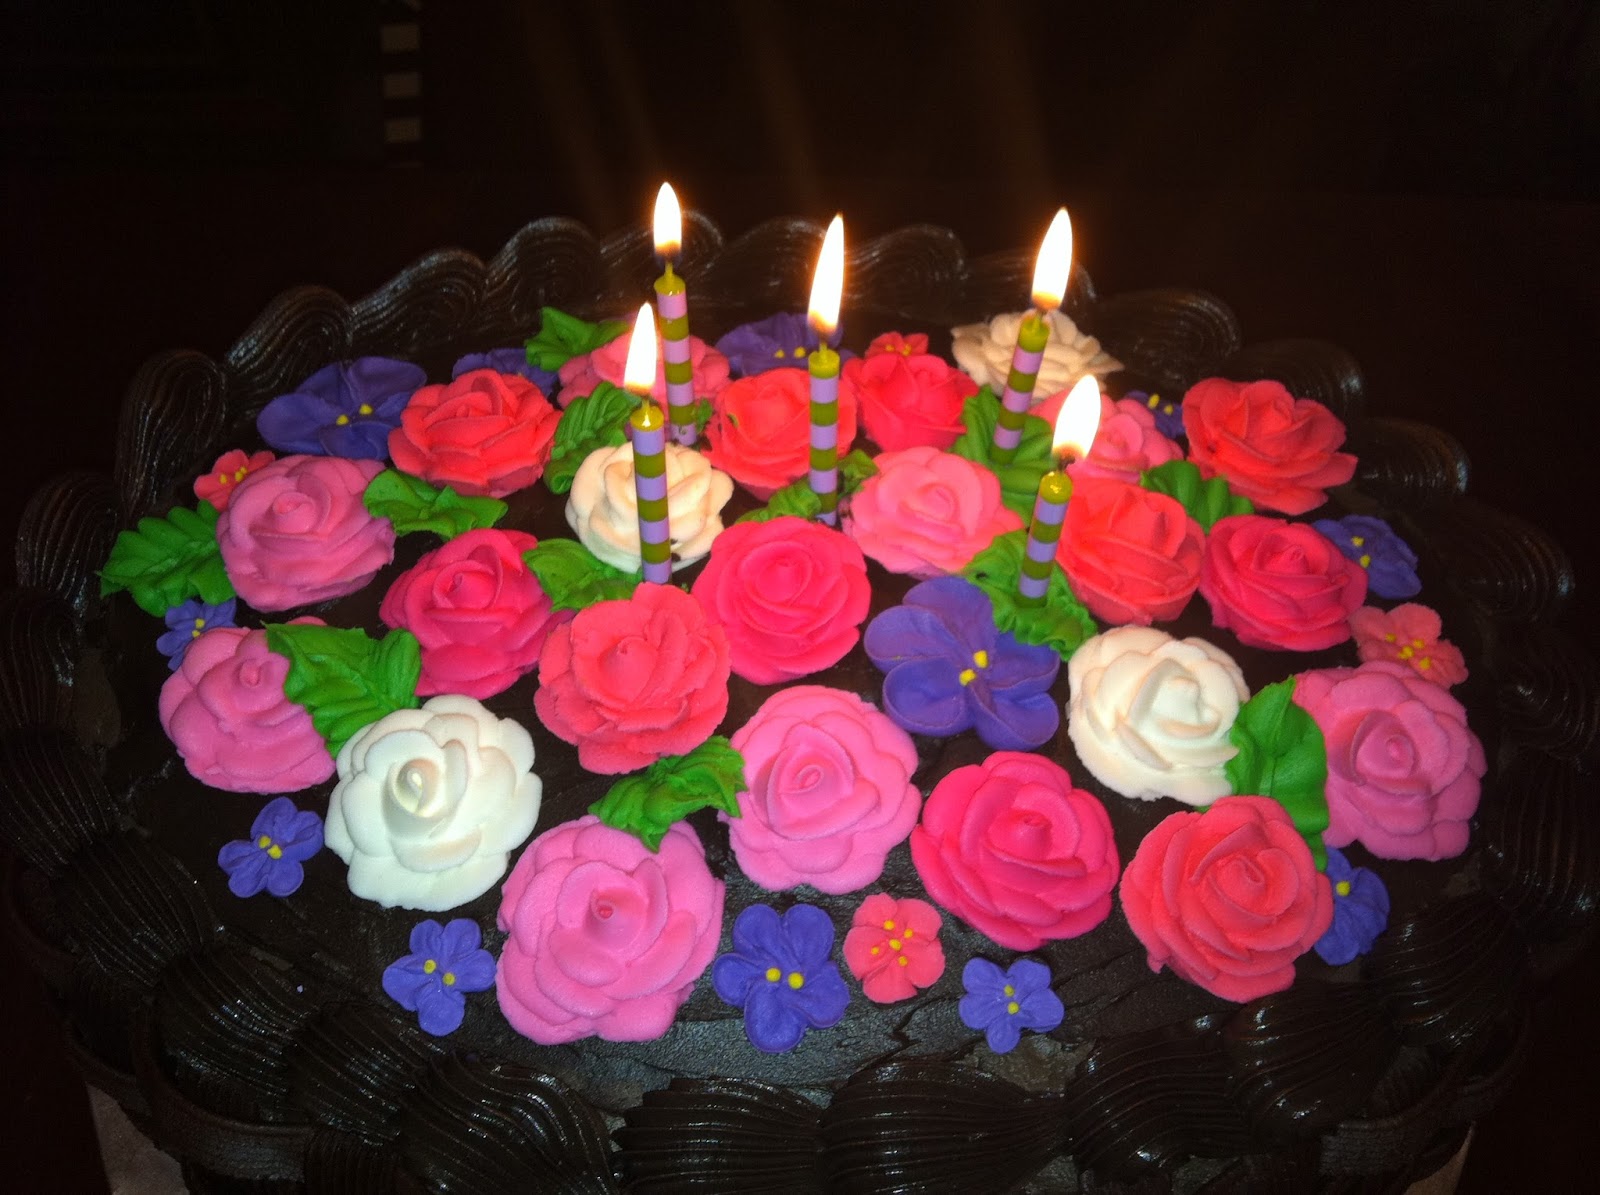
There was no way I was going to bake myself a cake if there was any chance of somebody putting 40 candles on it. So, I came up with the idea of cramming 40 flowers on it, all royal icing and made in advance. I started with the basketweave cake (which is a 13 by 9 stack of three single layer cakes, alternating vanilla and chocolate)…
I made a mound of buttercream on it, using an offset spatula:

 I arranged the 40 flowers in the pan I baked the cake in, just so I could get an idea of how they'd look. It's a lot easier to rearrange them at this stage than moments later when they're embedded in frosting!
 After a few adjustments, here they are in place on the cake:
I wanted to pipe a few leaves in between the flowers with a large leaf tip, the Ateco #112. The icing needed to be on the same level of brightness as the flowers. I started by coloring some Wilton Ready-To-Use Decorator Icing green with Leaf Green by AmeriColor:
This color just looked a little too murky for my taste, so I gave it a shot of the green from Duff's Electric Colors set; the difference is shocking:
 I'm a big fan of doing that in general. Oftentimes I think the neon colors straight up are a bit unappetizing, but they're great to brighten up an otherwise standard color. Ateco and AmeriColor also make neon colors; I've never met one I didn't like.
Well, here's my birthday cake, all fired up. My apologies to all the folks who brought their kids over who got as sugared-up as they did on a school night. A good time was had by all, though, right? 

Thursday, February 9, 2012

Painting Icing Gold

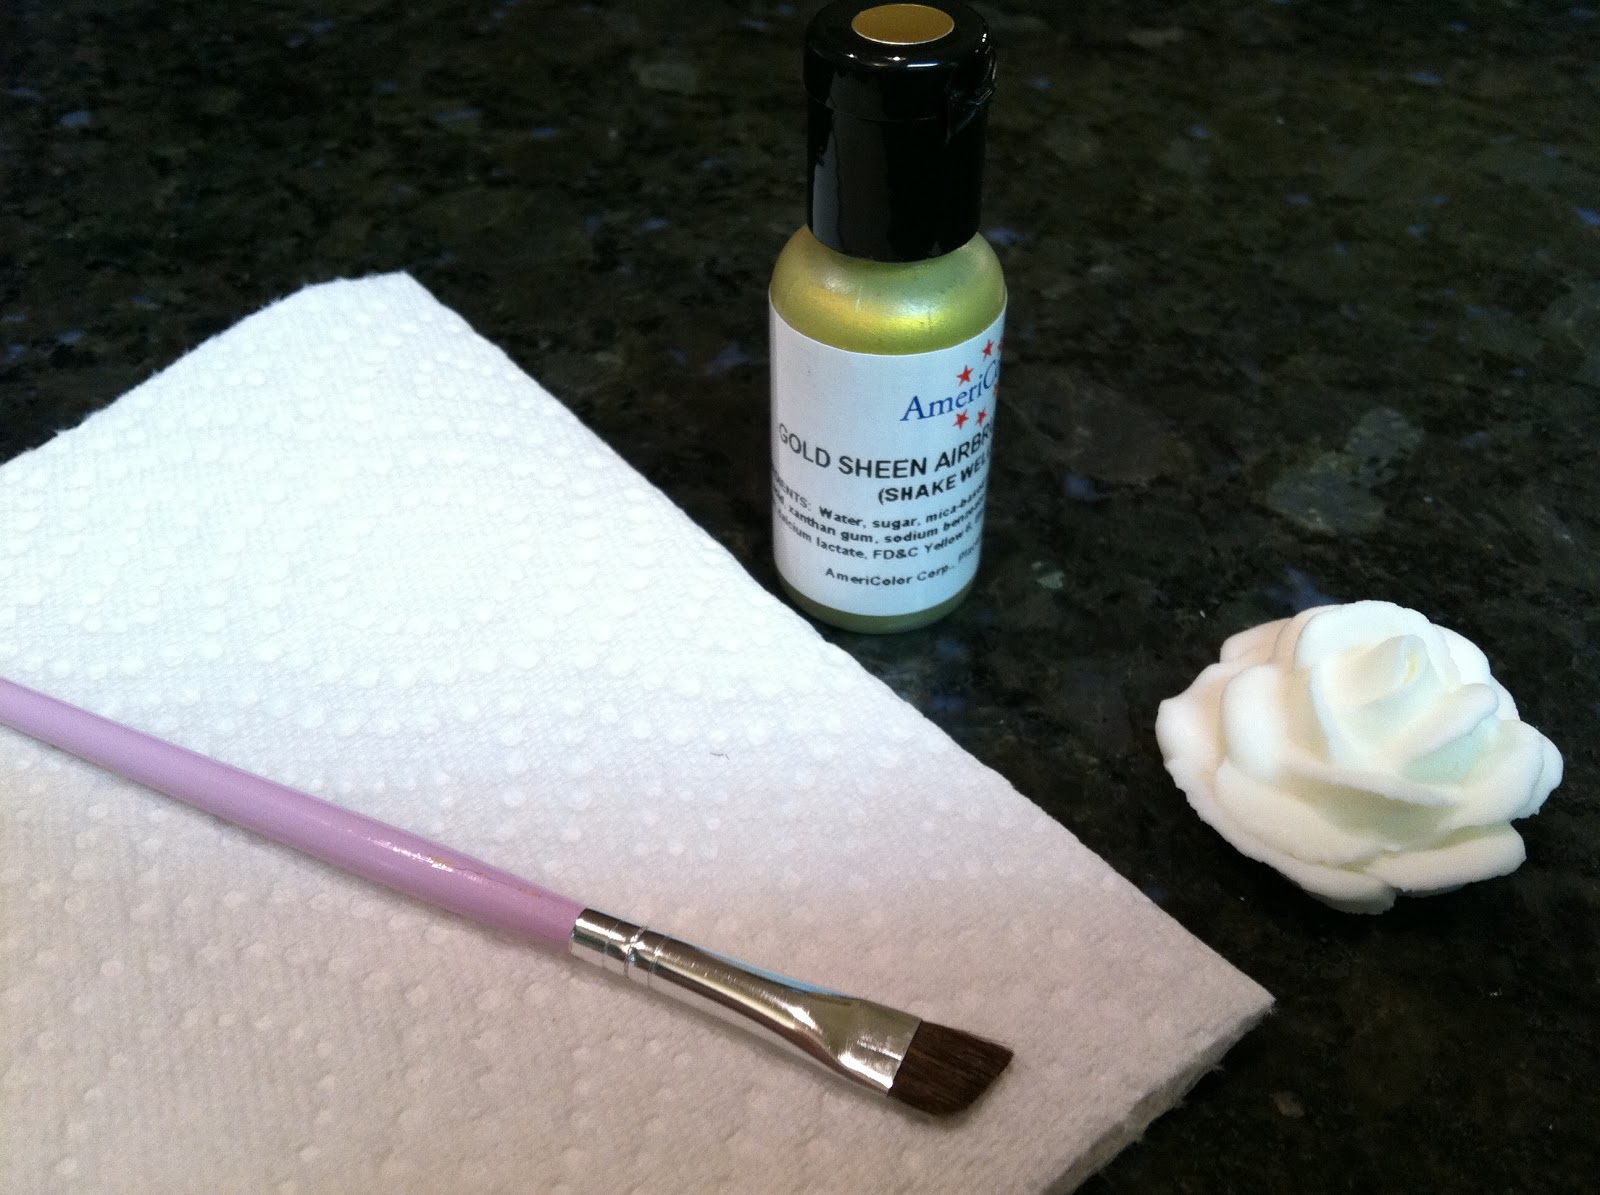
Today's post is all about sharing a tip I learned today. I'm still really new to cake decorating, and it never would have occurred to me to use airbrush color (edible, of course) for anything other than airbrushing. I was shopping at what is rapidly becoming my favorite local cake decorating store, Sugar N Spice in Daly City. I asked if they had anything on hand to paint icing gold with, and was told they were sold out of their traditional supplies, but that in a pinch, airbrush color works just as well. I bought a bottle of Gold Sheen Airbrush Color by AmeriColor (it was $4), and gave it a test run with a royal icing rose:
The tiny angled brush that comes with the Wilton brush set is one of my favorite brushes, ever. It's just narrow enough to dip into the airbrush color bottle, so now I like it even more: 
I started painting the edges in the middle…
…and worked my way to the outer edges. A benefit to painting the edges gold is you can glitz over any imperfections that may have occurred when you piped the rose! Within about ten minutes the paint was still damp, but could be handled (enough to stick the rose on a cupcake and pipe a few leaves around it, anyway). As fun as this project was, now I'm sort of itching to buy an airbrush to use this paint in the way it was intended; any recommendations would be extremely welcome!