I've been enjoying the new Wilton Course 4, Advanced Gum Paste Flowers, but I've got to admit: the flowers we made in Session 1 all looked like Play-Doh cutouts (I'm referring to the
blossom and the
gerbera daisy; don't get me started on that
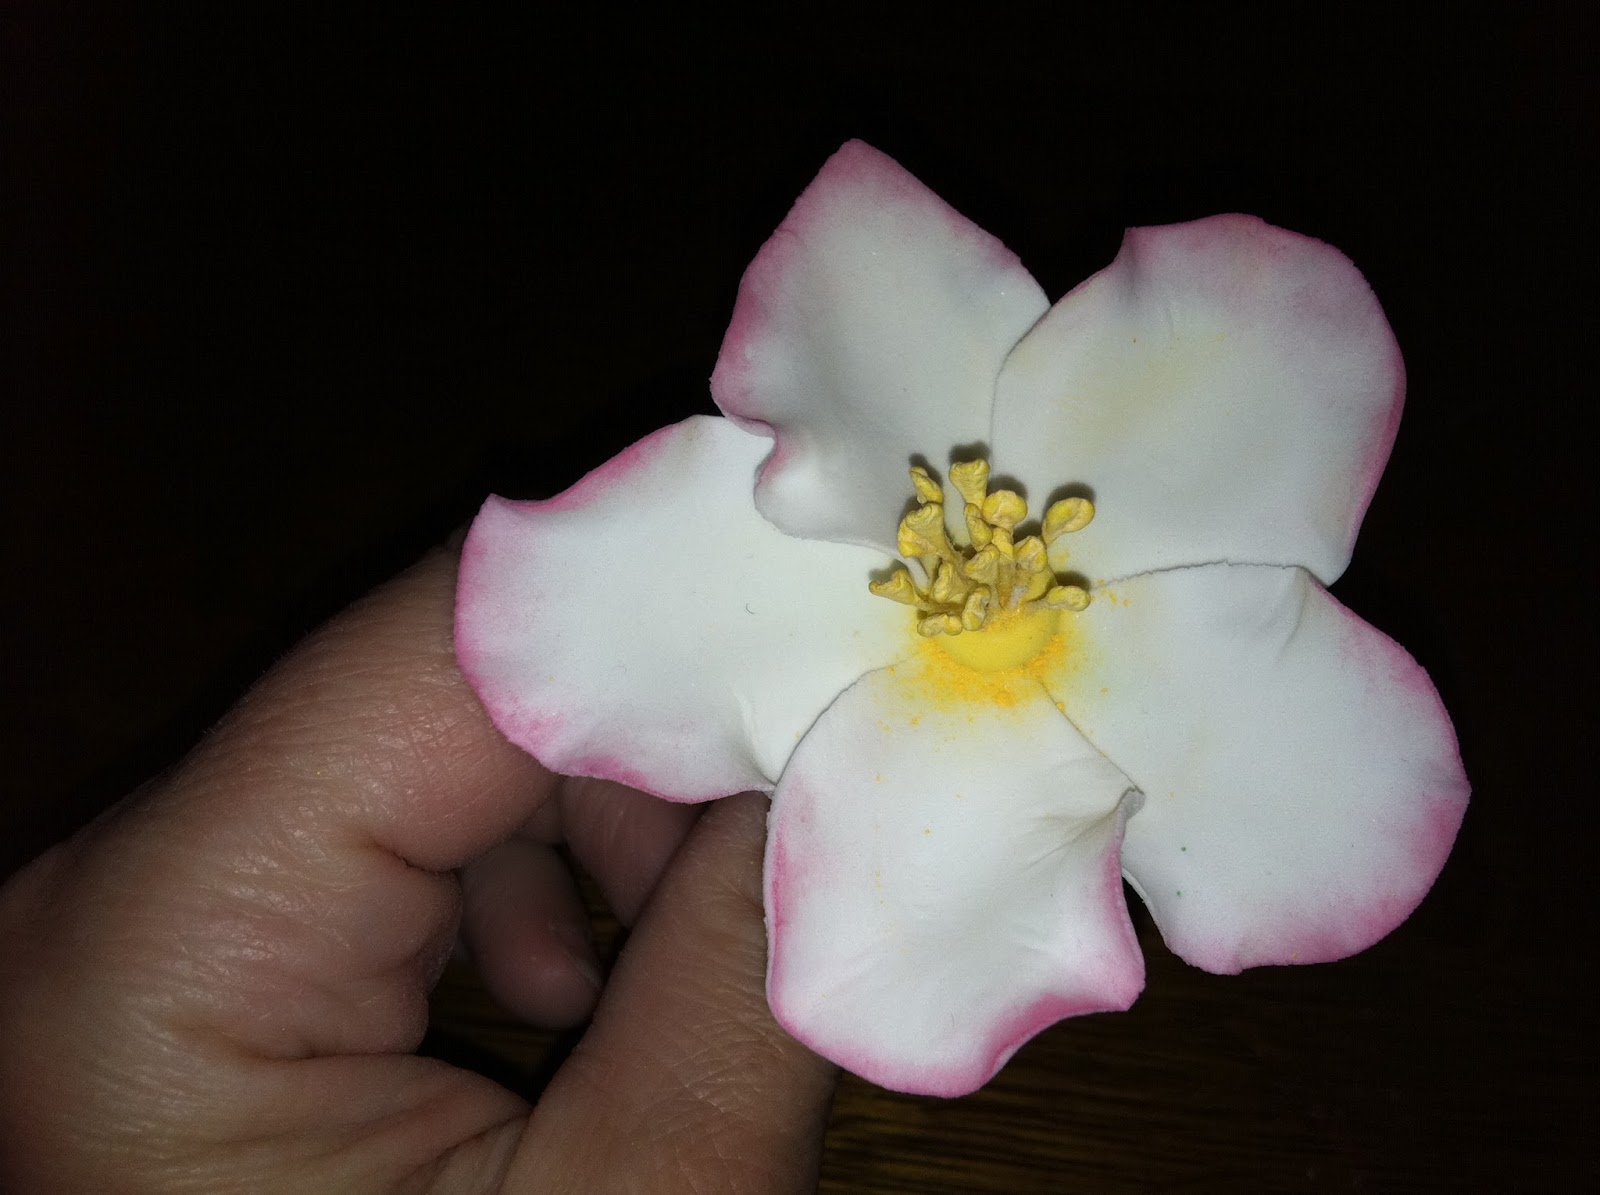
button flower from Course 2!). Finally, in Session 2 of Course 4, we made a flower that I am truly impressed with: the briar rose. This one actually looks like the real deal, and has managed to make me feel like I have a chance at getting competent in this new (to me) medium. The set-up is extensive, but every piece is needed:

It includes gum paste in 3 colors (yellow, green, and white), a dusting pouch filled with a 50/50 mixture of cornstarch and powdered sugar, a gum paste storage board to use as a work surface, at least one small brush, a container of gum glue adhesive (a pinch of gum paste dissolved in a tablespoon of water), a 9" fondant rolling pin with purple rings, a Styrofoam cup with a hole punched in the bottom, needle-nose pliers (the kind used in jewelry making), a piece of 22-gauge green florist wire, a 3" flower forming cup, scissors, a palette knife, a ball tool, a veining tool, and a few items from the Student Kit for Course 4 (fifteen yellow stamens, purple shaping foam, thick pink shaping foam, the small blossom cutter, the small calyx cutter, and the rose cutter). I found having a second storage board came in handy. You'll also want
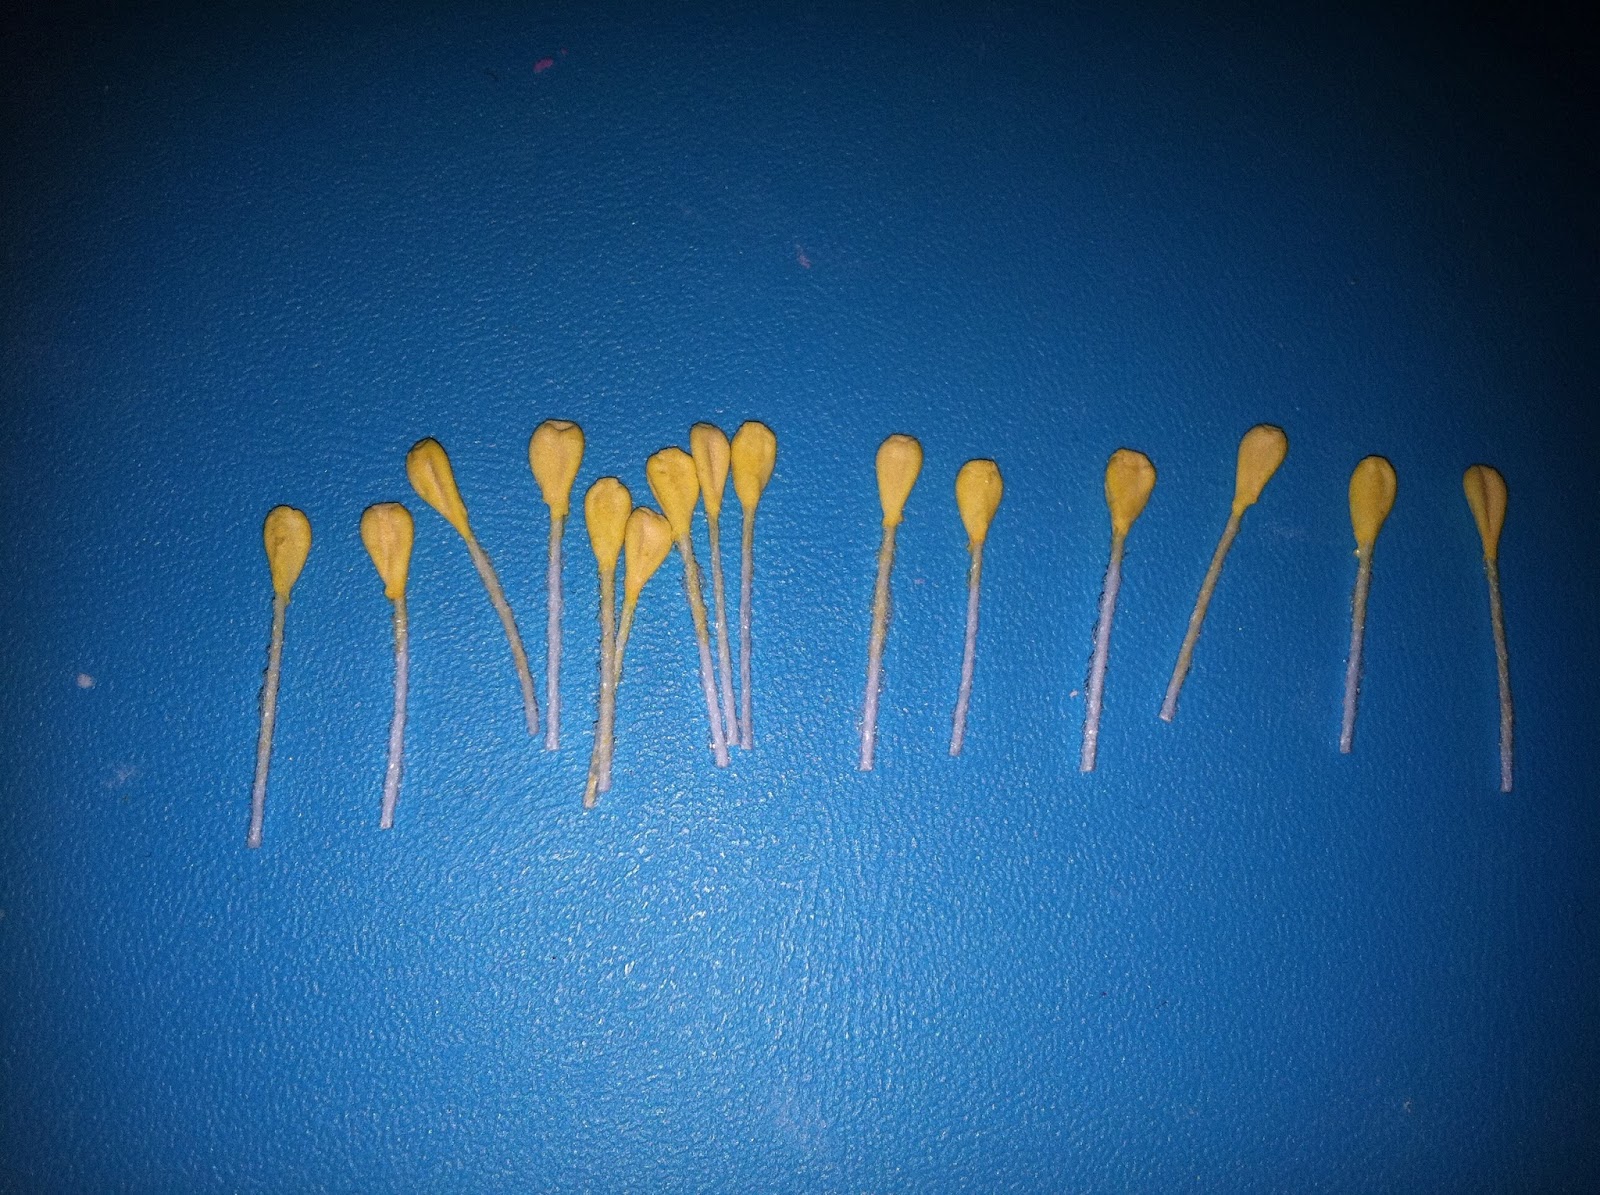
Wilton Color Dust in Goldenrod and Deep Pink if you're going to give your flower some color. The first step is to cut the bunch of yellow stamens in half; here's what half looks like:
Remove 15 of them…
…and trim them to about 1/2":
Bend the tip of the wire with the pliers into an "L" shape. The book says 1/8"; I didn't think that was nearly enough; it pulled right through at the assembly stage. I would say closer to .25", to be safe.
Dust your work surface with the dusting pouch…
…and roll out a very small amount of yellow gum paste, using the roller fitted with purple rings.
Cut out a piece with the small blossom cutter. Return the scrap to the sealed bag with the rest of your yellow gum paste.
Roll the blossom cutout into a tiny ball and then flatten it slightly. The shape is reminiscent of an M&M.
Stick all 15 stamens into it, dabbing each one first in the gum glue adhesive. Here's the first one done:
Here are all 15:
Next, roll out a quarter-sized ball of white gum paste. Do not use rings on the roller; roll the gum paste out very thin; thinner than 1/16". If it sticks or doesn't roll out smoothly, shake the dusting pouch over it (or if it's too dry, work a dab of Crisco into it):
Cut out as many pieces as you can with the rose cutter. You only need 5, but it's nice to have a few extra pieces to practice with (or pick the best 5 from):
This is where I found that second practice board to be very handy. I stored the pieces under the clear plastic flap so they wouldn't dry out while I was working. I'm still getting "up to speed" on this flower.
One at a time, put each petal on the purple foam and roll the large end of the ball tool around the top 2/3 or so of the petal; straddle the edge with the ball so half the ball is on the petal and half is on the foam:
The edge will be as thin as possible, and it should ruffle slightly, like this:
Then, put the petal on the thick pink foam and gently press the ball tool into the center to "cup" the petal. I ran the tool from just inside the point at the bottom to just inside the ruffle, so it wouldn't have too much of a ball tool shape:
Here they are, drying out a little while I moved on to the next step:
Dust the flower forming cup and roll out a gumball-sized piece of green gum paste.
Again, you want the gum paste to be almost paper-thin, so don't use any rings on the roller. Cut out one piece with the small calyx cutter:
Peel away the scrap and store it with the remaining green gum paste.
You might need to use the palette knife to remove this piece; just slide it gently down the sides in between the cutter and the gum paste, anywhere it will fit:
Place this piece in the center of the flower forming cup. You can hold it up to the light to make sure it's centered:
With a small angled brush, dab a little gum glue adhesive to one of the points on the calyx. Also dab some on the underside of one of the petals.
Stick the petal down with the tip lined up as close to the calyx' center as possible.
Repeat the process, overlapping each petal slightly:
Here are four:
And here's the fifth one in place.
You'll either need to cut the wire shorter than the Styrofoam cup, or plan to bend it.
Dip the "L"-shaped end in the gum glue adhesive…
…and stick the other end of the wire into the center of the five petals. Feed it through the hole in the flower forming cup…
…and then stick it into the hole in the Styrofoam cup. Make sure the flower is as level as possible.
Put a dab of gum glue adhesive in the center, and attach the yellow piece you made earlier with the stamens. You might need to tap it down lightly with the narrow end of the veining tool, or you could just use your fingers:
Allow it to dry for as long as it takes; I gave it overnight.
If you're going to add some color with Wilton Color Dust, use one of the fluffier brushes (not the hard, angled one). I practiced first on a leftover "practice petal" to find the effect I liked best with the Deep Pink dust:
I like to concentrate the dust around the edges, and barely draw it in to the center of the petal. The chunks you can see on this petal's edge were easily shaken off:
Here it is, with just the edges dusted. I figured I could always add more color later:
I wiped the brush as clean as possible on a dry paper towel and moved on to the Goldenrod dust for the center. This week I'll be taking the third of the four classes; I'll try to have more to show you soon!