Showing posts with label Wilton Course 4. Show all posts

Saturday, May 12, 2012

Briar Rose in Royal Icing

Would you believe, the gum paste briar rose post I wrote back on February 25th has the second-highest number of page views on this blog? No doubt, that has something to do with it being one of the prettiest (yet easiest) flowers in Wilton's Course 4: Advanced Gum Paste Flowers. I loved every minute of that class, but there's no way I'll ever feel about gum paste the way I do about royal icing. I wanted to try piping a briar rose, and wasn't sure which tip I'd need. I did know I'd need a piping bag of white royal icing, a glue stick, parchment paper squares, and a flower nail (I used a 5-petal template decal, just to keep the petals somewhat equilateral). 
 After fumbling around with different tips, here are three specimens I came up with. I thought the #97 might work, but I wasn't crazy about the end result.
Tip #61 wasn't much better; the petals sort of blurred together, too. 
I was a little hesitant to try petal tip #104, because it's so pedestrian; it gets enough of a workout for more than its fair share of flowers, and I really want to press those other tips into service! However, I really think the flower it piped looks closest to the briar rose, so here's how I did it…
…I started by sticking a parchment paper square to the flower nail with a dab from the glue stick.
 Then, I piped a petal, staying in between the lines of one of the wedges. While squeezing, hold the tip almost flat on the nail's surface, with the wide end in the center, and gently wave the outward-turned narrow end up and down while moving the tip in a small, upside-down U formation. As you reach the right side of the petal, stop pressure and draw the tip toward you.
 Tuck the tip against the right edge of the petal, and start squeezing the second petal. As you start to squeeze, the second petal will catch on the right edge of the first, curl over slightly, and really differentiate the petals.
 Repeat for a third petal…
 …and a fourth…
 …and a fifth.
 For the stamens, load a bag with yellow royal icing and a #2 round tip, and pipe several stand-up dots. Hold the tip just above the center of the flower, squeeze, and as the icing builds up, slowly back the tip away. When it's the right height, stop pressure and pull the tip away.
To give the petals a pink edge, you can pipe them using a striped bag, or brush some Deep Pink Color Dust on the edges. 


Tuesday, April 10, 2012

Stargazer Lily Pistil and Stamens

One of the most valuable things you'll learn from the book "How to Make Beautiful Gum Paste Flowers" that comes with Wilton's Gum Paste Flower Cutter Set is how to make your own pistil and stamens for the stargazer lily (adjust the colors and you can use them for the tiger lily, Easter lily, and probably many other similar flowers). Compare the prefab pistil and stamens in the photo below to the photo above if you need further motivation to learn this neat trick:
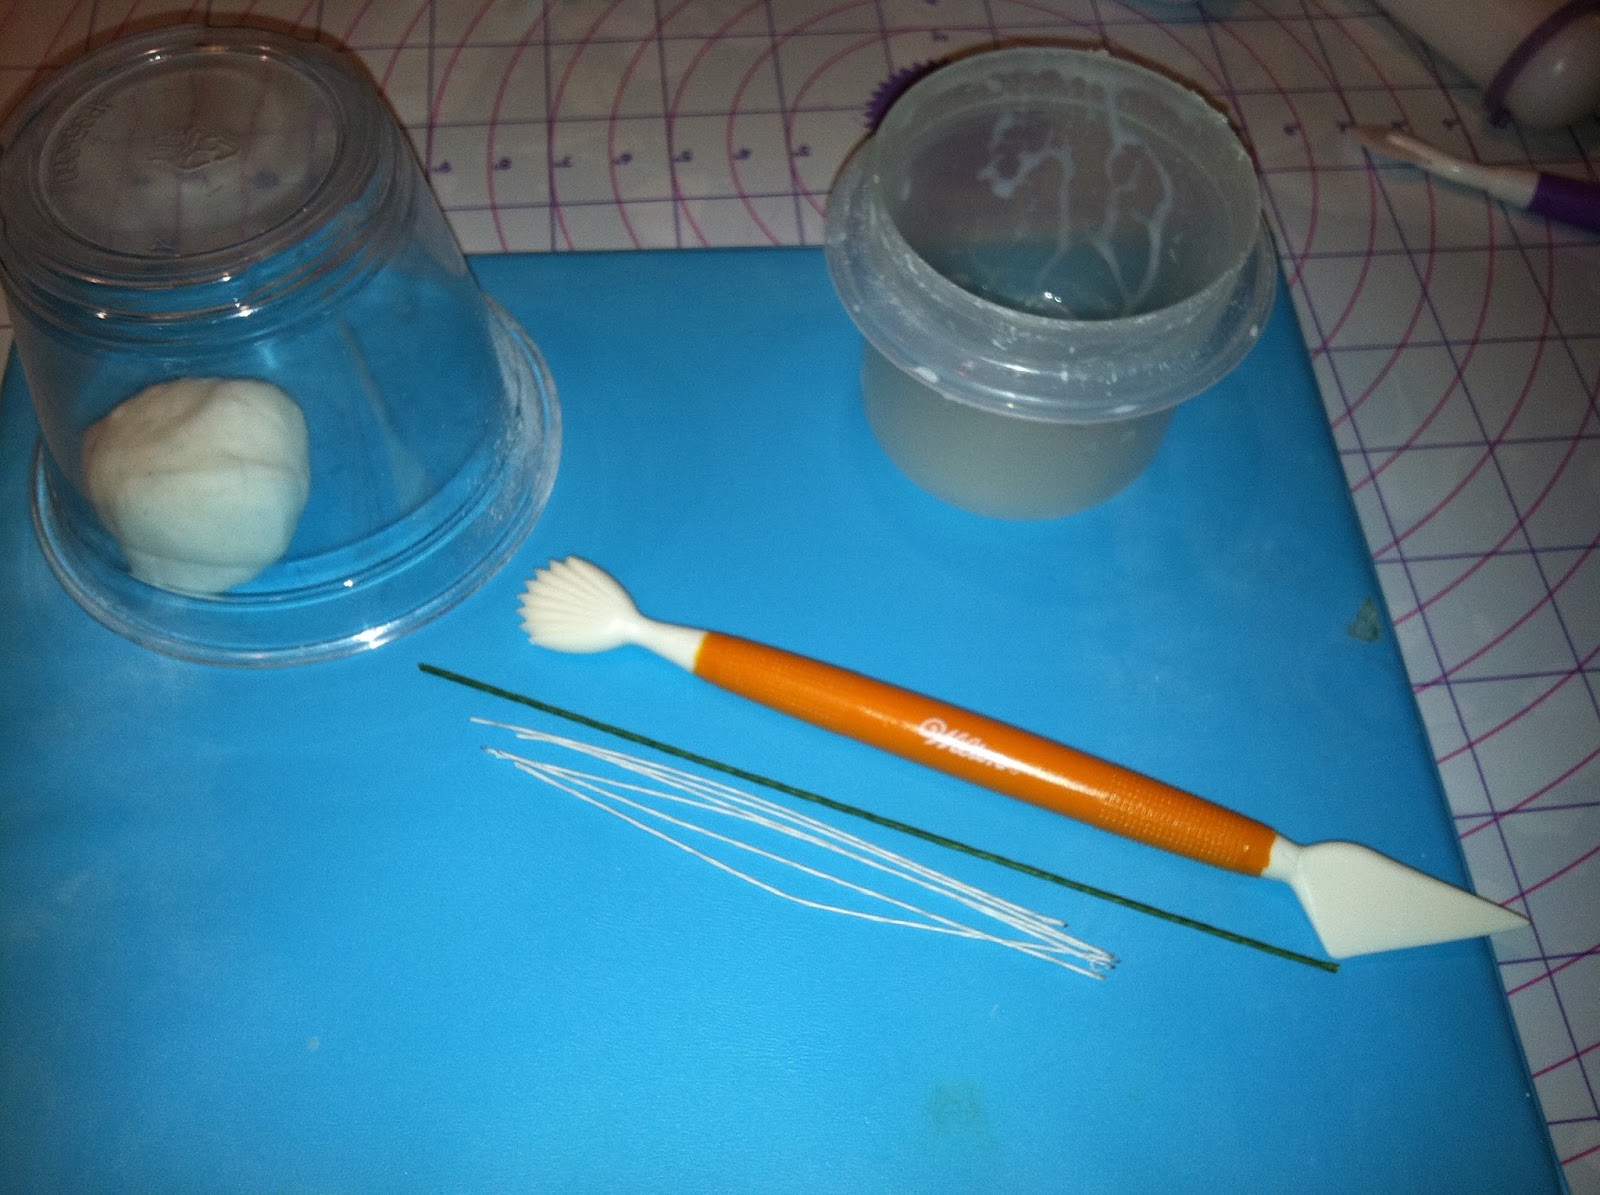
To start, all you'll need is some white gum paste, a container of gum glue adhesive (a pinch of gum paste dissolved in a tablespoon of water), the knife tool from Wilton's 10-piece Fondant and Gum Paste Tool Set, a gum paste storage board to use as a work surface, a 6" piece of 20-gauge green florist's wire for the pistil, six pieces of 4" 26-gauge white florist's wire for the stamens, and a Styrofoam block to dry them in. 
 Form a half-inch ball of gum paste.
Shape it into a 2.5" long log with a slight ball-shape on one end. You might want to roll it on the back side of the gum paste storage board, then work one end between your thumb and forefinger to form the ball.

 Paint 2" of one end of the 20-gauge wire…
 …and insert it into the narrow end of the gum paste shape, stopping before the point where the ball end starts.
 Flatten the ball end slightly. Using the knife tool, press a trio of indentations into it, essentially in an equilateral "Y" formation. Stick the wire into the Styrofoam block.
To make a stamen, roll a ball of gum paste 1/8".
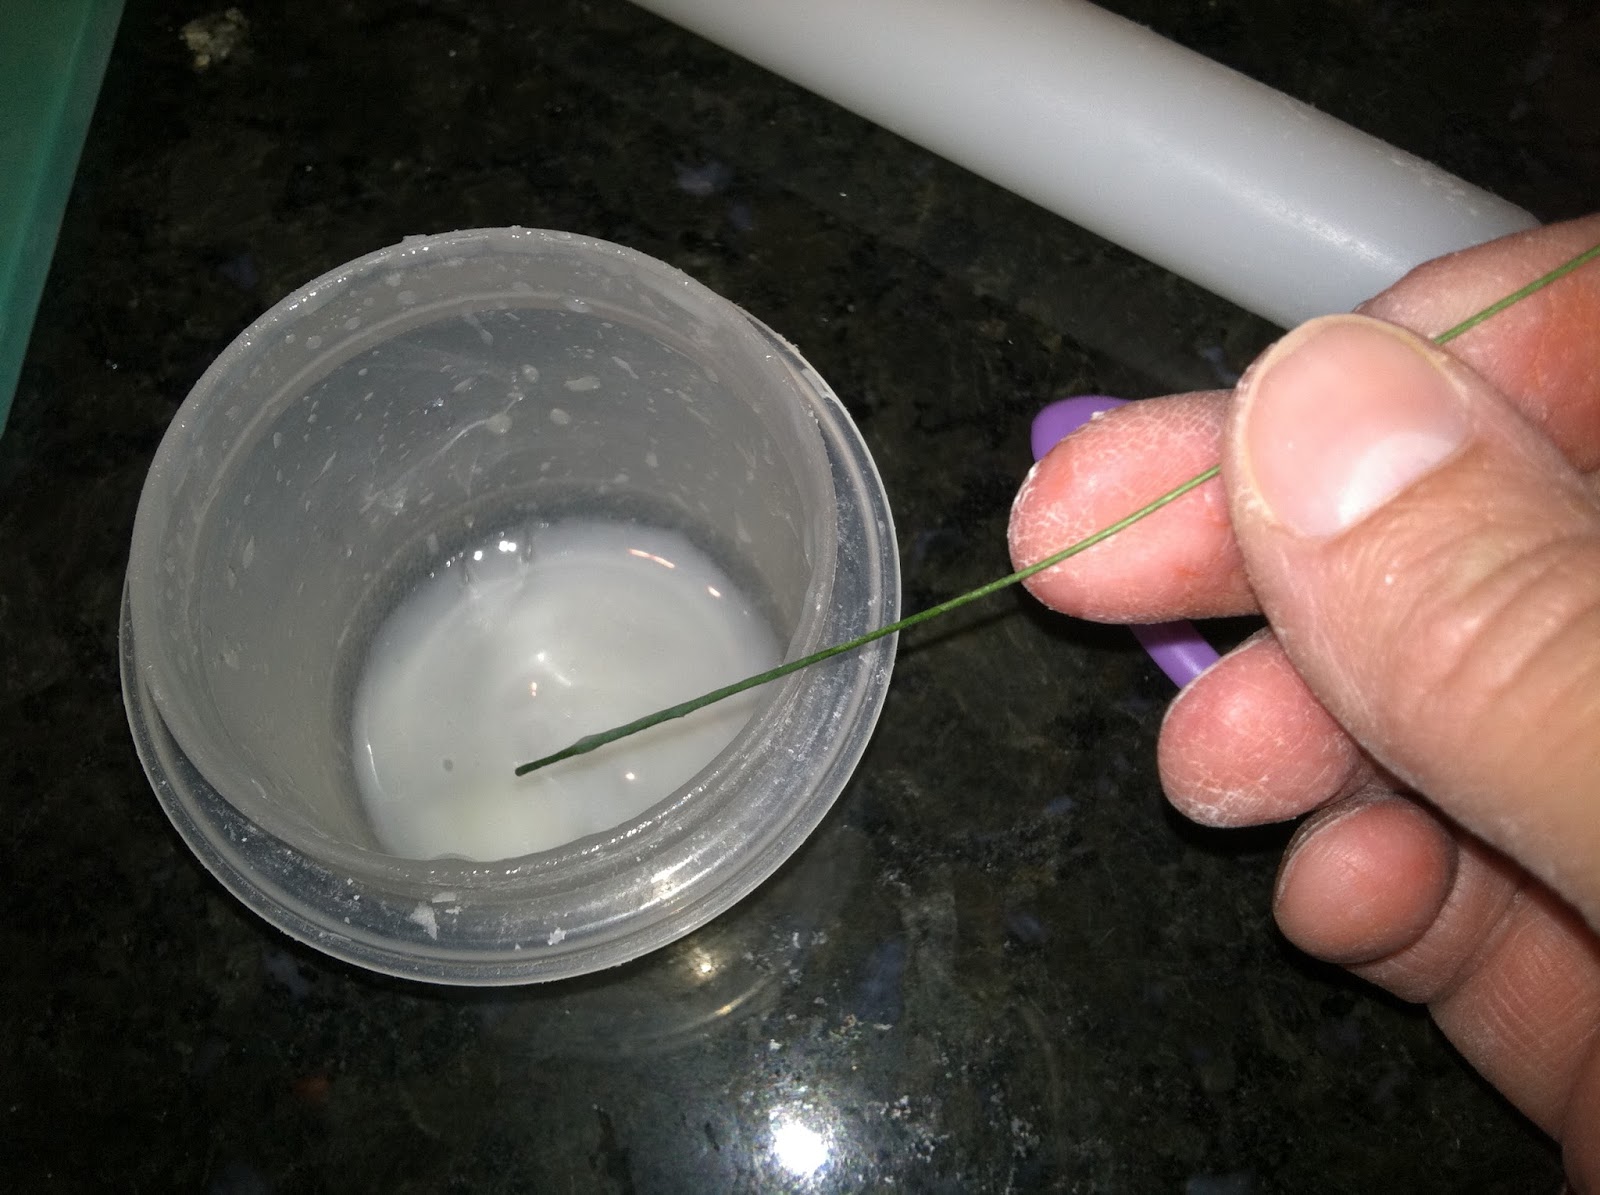
 Dip the end of a piece of white florist's wire into the gum glue…
 …and insert it into the ball. Form the ball into an oval, and stick the wire in the Styrofoam. Repeat for a total of six stamens.
 Allow them to dry, and then you can begin coloring them.
 To color the stamens and pistil, you'll need vanilla extract, a mise en place bowl, small brushes, and Color Dust in Lime Green, Deep Pink, and Brown.
 Place a small amount of the brown dust in the bowl (I like to use the small palette knife from the 10-piece tool set to remove it from the vial) and a few drops of the vanilla extract. Mix it around with a brush…
 …and then paint the oval tip of each stamen generously; you might need to do two coats.

 Dust the lower third of the pistil with the lime green dust…
 …and lightly dust the upper third with the deep pink dust. Be very light-handed; you can always add more.

Here are all the parts of the stargazer lily; 3 large petals, 3 small petals, 3 leaves, 1 bud, and the pistil and stamens. You'll also need green florist's tape and scissors. 
 Start by wrapping one stamen alongside the pistil. It should be slightly higher than the top of the pistil. I didn't wrap the tape all the way to the bottom of the pistil's wire…
 …but I did wrap each stamen individually. Make sure the six stamens are evenly spaced around the pistil.
 Continue to assemble the lily by attaching each petal and leaf individually; I go into greater detail about how to do this here. Start with the three large petals…
 …continue with the three small petals…
 …add the bud…
 …and the three green leaves. I think this flower might actually be done!

Tuesday, April 3, 2012

Gum Paste Tiger Lily

The capstone flower in Wilton's Course 4: Advanced Gum Paste Flowers is the stargazer lily. It's a very versatile flower; with just a few adaptations, you can make a tiger lily. You'll need orange gum paste, thin pink and purple shaping foam, gum glue adhesive (a pinch of gum paste dissolved in a tablespoon of water), a 9" fondant roller, a dusting pouch filled with a 50/50 mix of powdered sugar and cornstarch, a brown food-safe pen (I like AmeriColor's Gourmet Writers), the ball tool and veining tool from Wilton's 10-piece Fondant and Gum Paste Tool Set, the large and small lily cutters from the Course 4 Student Kit, orange and red Color Dust, small brushes, green florist's tape, six 6" pieces of 22-gauge florist's wire, the petal veining mat from Wilton's Flower Impression Mat set (you can see for yourself why this impression mat is superior to the one that comes with the Course 4 Student Kit here). You'll also need a wave flower former
 Start by dusting the reverse side of the impression mat, including the groove.
 Press a log of orange gum paste over the groove…
 …and roll out the gum paste, thinner than 1/16" (you won't need the roller's rings).
 Flip the rolled-out gum paste over…
 …and position one of the lily cutters over the ridge formed by the groove. The ridge should run from the base about 2/3 of the way to the tip. Press down on the cutter and tear away the slack.
 Dip one of the wires into the gum glue adhesive…
 …and position it alongside the ridge.
 Gently press the ridge over the wire.
 Dust the petal section of the impression mat…
 …and lay the petal on it diagonally, so the tip is in one of the corners (wire side up).
 Lay the thin pink shaping foam over the petal, and gently press down to imprint the impression on it.
 Gently taper the base of the petal between your thumb and index finger.
 Place the petal, wire side down, on the purple shaping foam. Run the large end of the ball tool around the edge to it (don't ruffle it by running the ball tool back and forth).
 Use the narrow end of the veining tool to draw a line from the base to the tip.
 Gently curve the wire inside the petal so the petal will lie on the wave flower former. Bend the visible wire in any way you need in order for the petal to lie properly. You'll need to make three narrow and three wide petals for each lily.
Here's the set-up for coloring and finishing the petals (red and orange Color Dusts), brushes, the brown food-safe marker, and florist's tape. 
Brush the petals with orange dust, both front and back.
As you can see, the dust will cover up any remaining cornstarch on the petals (the one on the right hasn't been dusted yet).
Dust around the edges with red. I like to use a small, stubby brush in diagonal strokes that follow the imprint on the petal. If you do an image search for tiger lilies, you'll see that they come in many varieties; some are pure orange, so you could omit this step if you like.
I gave all of the petals a very light dusting with red, using a larger soft brush.
Give each petal a sprinkling of dots with the marker. Try to make these dots as random as possible; no polka-dot patterns.
At this point, you'll want to wrap all of the wires with florist's tape and follow the directions for the stargazer lily; the assembly is exactly the same. I think this is officially my new favorite gum paste flower!