Not for nothing is the stargazer lily the final flower in
Wilton's Course 4: Advanced Gum Paste Flowers; there are a lot of steps! But the spectacular final product is well worth it. You'll need just about every piece of gum paste equipment including a wave flower former, a container of gum glue adhesive (a pinch of gum paste dissolved in a tablespoon of water), white and green gum paste, florist's tape, a dusting pouch filled with a 50/50 mix of powdered sugar and cornstarch, three 4" pieces of 26-gauge florist's wire for the leaves, six 4" pieces of 26-gauge white florist's wire for the petals, one 4" piece of 20-gauge florist's wire, a cluster of brown stamens, a 9" fondant roller, thin pink and purple shaping foam, three small brushes,
Color Dust in Lime Green, Deep Pink and Spruce Green, the narrow and wide lily cutters from the Course 4 Student Kit, the ball tool and the veining tool from
Wilton's 10-piece Fondant and Gum Paste Tool Set, a brown food-safe marker (like
AmeriColor Gourmet Writers), and a petal impression mat (
preferably not the one that came in the Student Kit).

Flip over the impression mat to the grooved side and powder it with the dusting pouch. Make a small log of green gum paste and place it on the groove.
Roll it out paper thin. You may need to give the gum paste a dusting to keep it from sticking to the roller.
Peel the piece up and put it ridge-side up.
Place the narrow lily cutter over the ridge, allowing about 3/4" between the end of the ridge and the tip of the cutter. Press down and tear away the slack.
Dip one of the 26-gauge pieces of wire in gum glue, and lie it against one side of the ridge.
Press the ridge over the wire and gently stick it into place.
Dust one quadrant of the petal impression mat, and place the leaf face-down on it.
Lay the thin pink shaping foam over the leaf and press down:
Lay the leaf face-up on the purple shaping foam…
…and pinch the base of the leaf so it tapers naturally into the wire.
Thin the edges of the leaf (that is, make them look like they weren't cut out) by running the large end of the ball tool around the edge; keep the ball half on the leaf, half on the foam.
Draw a line from the wire to the tip of the leaf with the narrow end of the veining tool.
Curve the wire inside the leaf gently over your fingers.
Place the leaf over one of the convex ridges on the wave former. It's more natural if they all look unique. You may need to bend the remainder of the wire at an odd angle to keep the leaves in place (you'll only need three leaves; I made a bunch to use up the last of my green gum paste):
The process for making the petals is very similar, except for 1) you'll use white gum paste, 2) you'll use white wire instead of green, and 3) you'll run the ball tool back and forth on the edge to slightly ruffle the edge of each petal. You'll make three petals using the wide lily cutter and three using the narrow lily cutter.
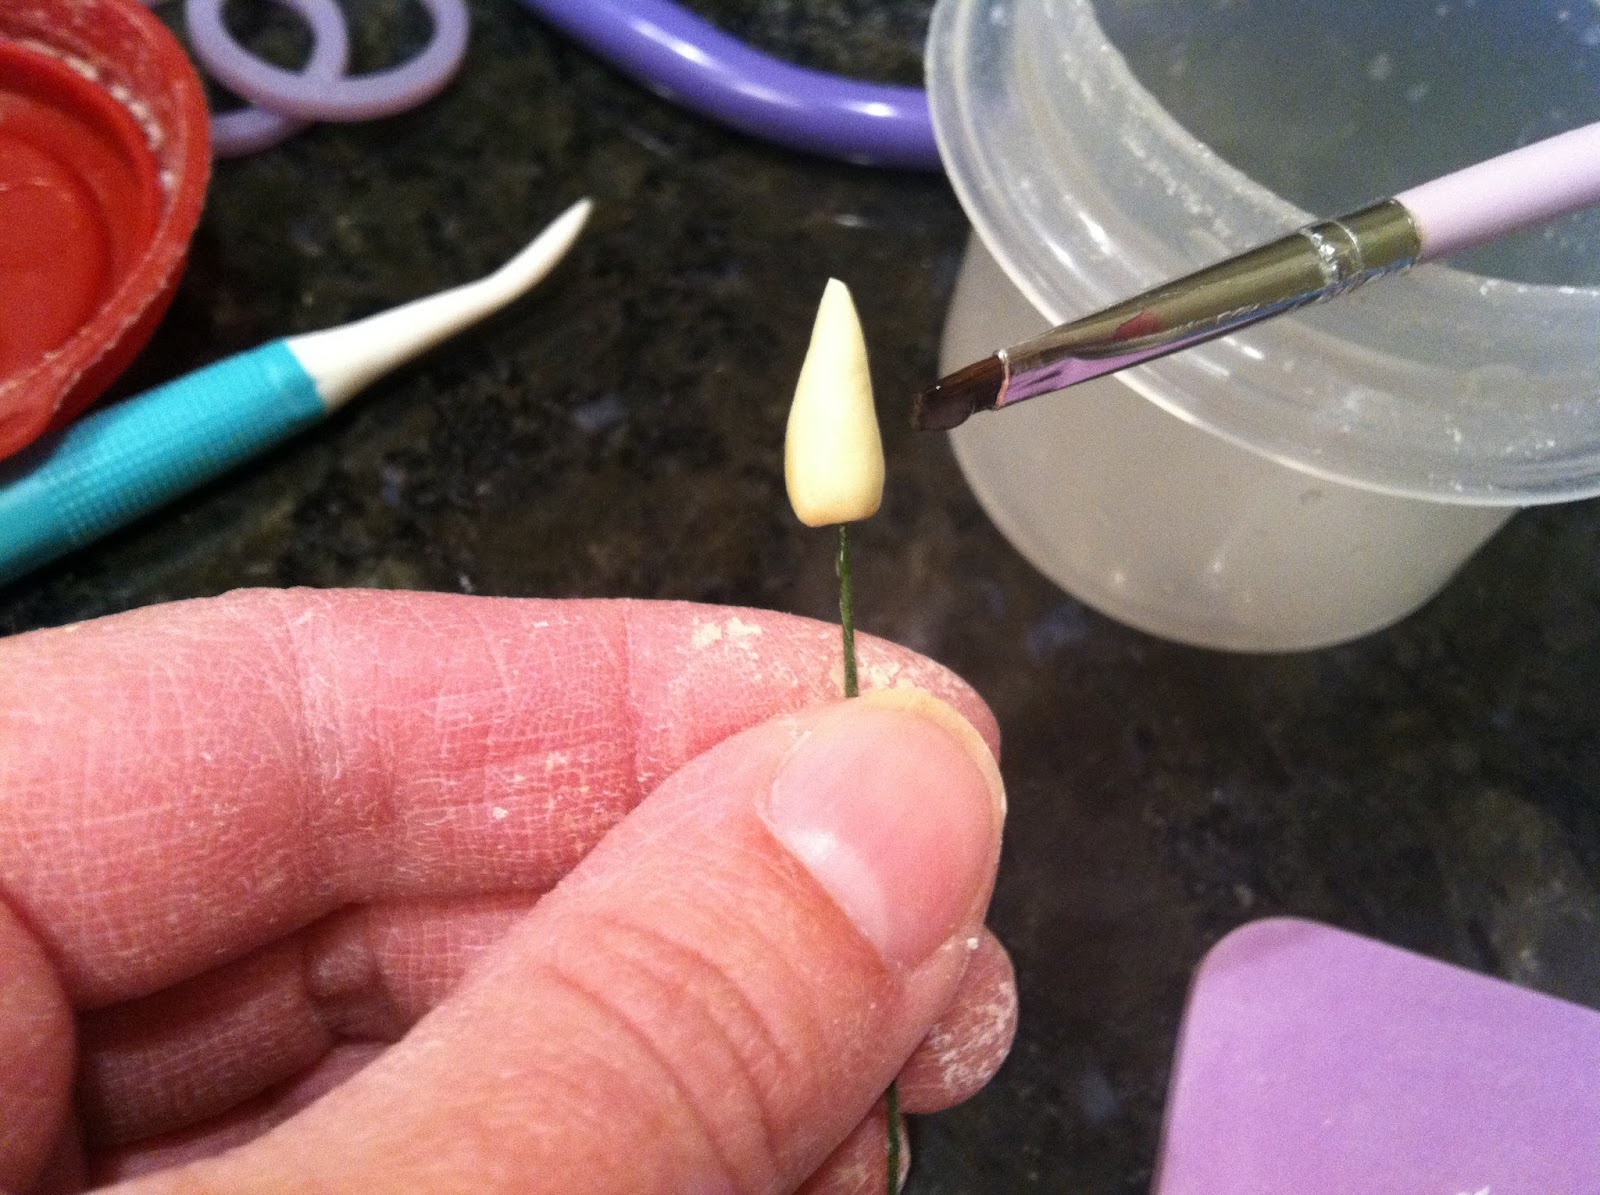
Allow them to dry in all sorts of different positions on the wave former. You definitely don't want your petals to look popped out of a mold. At this time, you might also consider making a
stargazer lily bud or two.
When your leaves and petals are dry, you'll need to wrap all their wires with green florist's tape. Cut off about six inches of tape for each one.
Pull one end of the tape to activate the adhesive in the tape; it will turn a lighter shade of green when this occurs.
Start wrapping a half-inch or so below the leaf (or petal). Once you've wrapped the tape around a few times…
…slide the tape up snugly against the base of the leaf or petal and wrap the remainder of the wire to the end. Snip away any leftover tape.
Here are the three leaves with their wires wrapped:
The bundle of stamens is wrapped with white tape. Remove some or all of the white tape, and start wrapping the stamens to the piece of 20-gauge wire, starting at about the middle of where the tape was and continuing to the end. Fan out the stamens to make them look less bundled and more natural.
One of the final stages is adding color to the petals and leaves:
This part is very open to personal interpretation. I like to use a domed brush to deposit a heavy line of deep pink dust down the center of each petal (avoiding the base and the tip).
Use the brush to blur out the line and add more color if you like.
I found a small tapered brush to do a good job of concentrating some Lime Green dust at the base. I went a little heavy on it, because the base is hard to see once the lily is assembled if the color is too subtle.
Use the brown food-safe marker to add a scattering of dots on the pink portion. Be sure they are
random (not in a polka dot pattern).
For the leaves, I did the highlight of Lime Green down the center first…
…then dusted in the sides with Spruce Green using short, diagonal, scrubbing strokes.
The whole backside of the leaf is also Spruce Green. As with the petal, you can do your dusting in any way you like; these are merely suggestions.
The project is in the home stretch! Here are all the pieces, ready to be taped together. Each piece has to be taped individually in order to give the final piece stability and to make each piece easier to position.
Start by taping a triad of large petals around the stamen. Here's the first one…
…the second one…
…and the third.
Tape the small petals in between the three large ones.
Finally, tape the three leaves underneath at varying heights on the stem.
Place in a vase and count the seconds before somebody tries to water it. If you like the stargazer lily, give the
tiger lily a try!