The capstone flower in Wilton's Course 4: Advanced Gum Paste Flowers is the
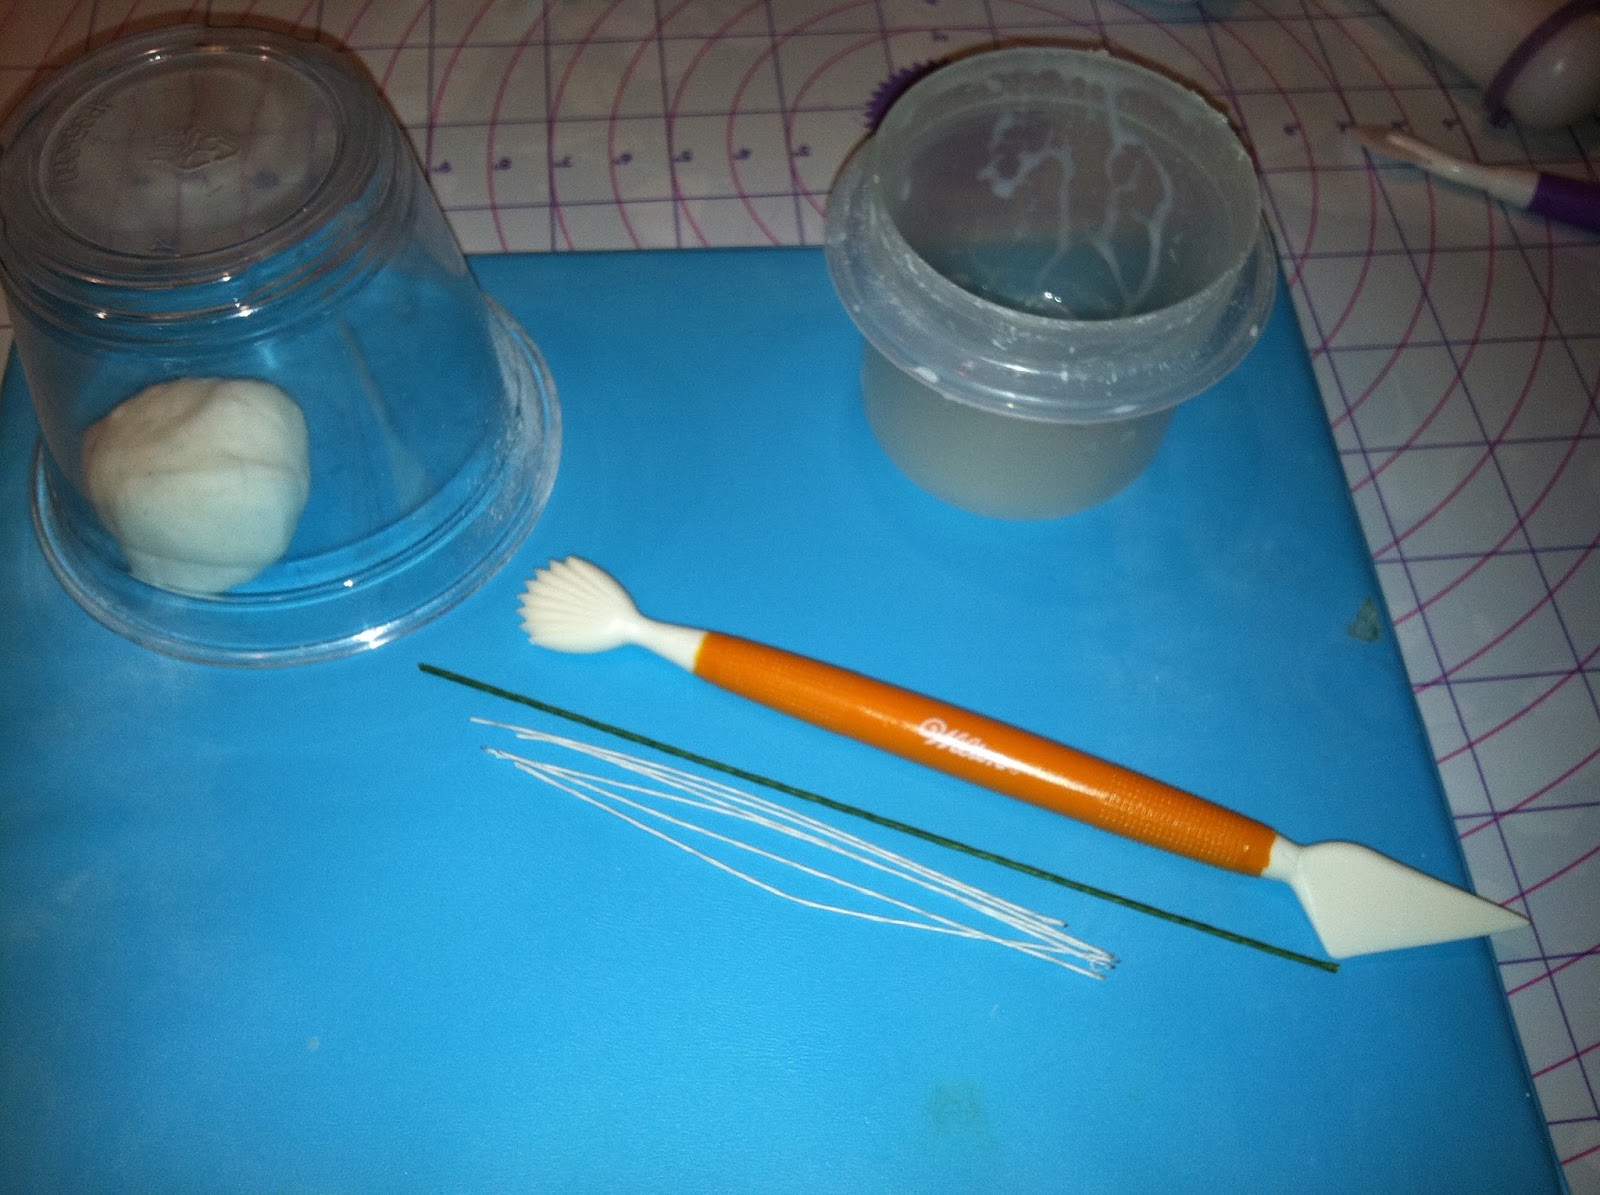
stargazer lily. It's a very versatile flower; with just a few adaptations, you can make a tiger lily. You'll need orange gum paste, thin pink and purple shaping foam, gum glue adhesive (a pinch of gum paste dissolved in a tablespoon of water), a 9" fondant roller, a dusting pouch filled with a 50/50 mix of powdered sugar and cornstarch, a brown food-safe pen (I like
AmeriColor's Gourmet Writers), the ball tool and veining tool from
Wilton's 10-piece Fondant and Gum Paste Tool Set, the large and small lily cutters from the Course 4 Student Kit, orange and red
Color Dust, small brushes, green florist's tape, six 6" pieces of 22-gauge florist's wire, the petal veining mat from
Wilton's Flower Impression Mat set (you can see for yourself why this impression mat is superior to the one that comes with the Course 4 Student Kit
here). You'll also need a
wave flower former.

Start by dusting the reverse side of the impression mat, including the groove.
Press a log of orange gum paste over the groove…
…and roll out the gum paste, thinner than 1/16" (you won't need the roller's rings).
Flip the rolled-out gum paste over…
…and position one of the lily cutters over the ridge formed by the groove. The ridge should run from the base about 2/3 of the way to the tip. Press down on the cutter and tear away the slack.
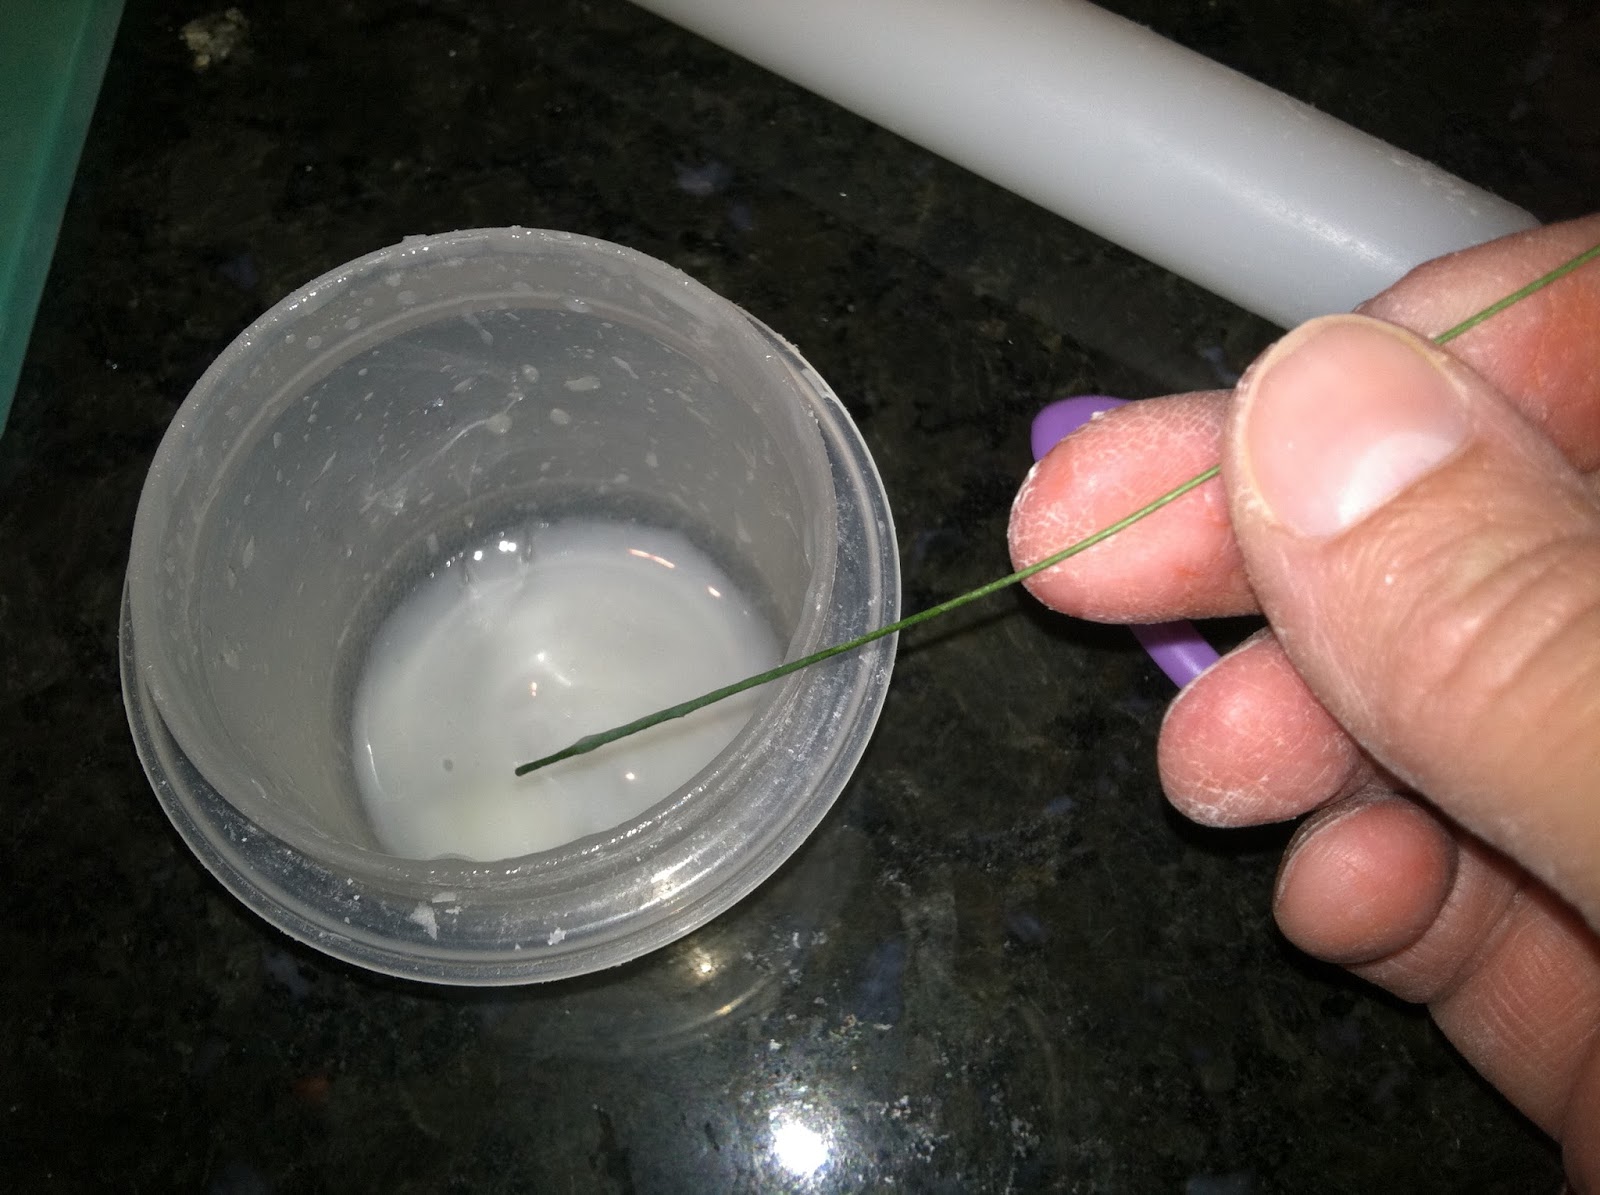
Dip one of the wires into the gum glue adhesive…
…and position it alongside the ridge.
Gently press the ridge over the wire.
Dust the petal section of the impression mat…
…and lay the petal on it diagonally, so the tip is in one of the corners (wire side up).
Lay the thin pink shaping foam over the petal, and gently press down to imprint the impression on it.
Gently taper the base of the petal between your thumb and index finger.
Place the petal, wire side down, on the purple shaping foam. Run the large end of the ball tool around the edge to it (don't ruffle it by running the ball tool back and forth).
Use the narrow end of the veining tool to draw a line from the base to the tip.
Gently curve the wire inside the petal so the petal will lie on the wave flower former. Bend the visible wire in any way you need in order for the petal to lie properly. You'll need to make three narrow and three wide petals for each lily.
Here's the set-up for coloring and finishing the petals (red and orange Color Dusts), brushes, the brown food-safe marker, and florist's tape.
Brush the petals with orange dust, both front and back.
As you can see, the dust will cover up any remaining cornstarch on the petals (the one on the right hasn't been dusted yet).
Dust around the edges with red. I like to use a small, stubby brush in diagonal strokes that follow the imprint on the petal. If you do an image search for tiger lilies, you'll see that they come in many varieties; some are pure orange, so you could omit this step if you like.
I gave all of the petals a very light dusting with red, using a larger soft brush.
Give each petal a sprinkling of dots with the marker. Try to make these dots as random as possible; no polka-dot patterns.
At this point, you'll want to wrap all of the wires with florist's tape and follow the directions for the
stargazer lily; the assembly is exactly the same. I think this is officially my new favorite gum paste flower!