Showing posts with label Daisy. Show all posts

Sunday, June 24, 2012

Royal Icing Gerbera Daisy

When I first started writing this blog six months ago on December 31st, 2011 as a New Year's Resolution, I really had no idea how many people might read it, if any. I never thought I'd reach a page view number in the 5 digits (or if I did it would take years to do). Well, today The Iced Queen had its 30,000th page view, and in honor of this big number, I piped a big flower: a gerbera daisy. To pipe a big flower, you need big parchment paper squares, and a big flower nail; I used an Ateco 914, which is 3" across:
You also need a dusting pouch filled with a 50/50 blend of powdered sugar and cornstarch, stiff consistency royal icing in two bright colors, a glue stick, petal tip #104, and round tip #5.
 Start by sticking a 3" parchment square to the nail with a dab from the glue stick.
 Make a dot in the middle of the square to help keep your petals centered.
 Pipe about 16 petals with the #104 tip that start in the center and radiate outwards, almost to the edge of the nail. Hold the wide end of the tip at the center with the narrow end aimed toward the outer edge. Hold the tip almost flat on the surface, with the narrow end slightly higher.
 As you pipe outward, increase pressure only at the outer edge to build up the curved edge. Decrease pressure as you move the tip back in to the center.
 Rotate the nail and pipe more petals. I like piping them at 12 and 6, then 9 and 3 to keep the flower balanced.
 Pipe 4 more petals in between them…
 …and another petal in between each of these for a total of 16 (or thereabouts).
 Here is a side view; you can see the jaunty upward angle of the petals' edges from here.
 Tap a fingertip to the the center to flatten out the beginnings and ends of the petals. Set the flower aside to firm up before piping the center (it will smooth out a little on its own, too).
Pipe a cluster of #5 pull-up dots in the center. Hold the tip just above the surface of the flower's center, squeeze, pull the tip up about 2 millimeters, stop pressure, and pull the tip away. If any of the dots are significantly taller than the others, you can touch a fingertip to the dusting pouch and flatten them slightly. Give the parchment a gentle tug to remove the flower from the nail. Allow the gerbera daisy ample time to dry before you peel away the parchment paper; you can speed up the drying time by placing it under a desk lamp. 
Thanks to all of you who have contributed to this blog's 30,000 views thus far; keep piping! 
P.S. That's my shower curtain in the background. 

Thursday, March 22, 2012

Fondant Daisies

2012 marks the 100th Birthday of Girl Scouts of the USA, and the celebration is continuing all year! I’ll try to quickly post everything I learn that has to do with daisies (the Girl Scouts’ official flower), so you can make daisies for a commemorative cake (surely there’s a cooking badge that this project could apply toward). When I learned this daisy in the third session of Wilton's Course 3: Gum Paste and Fondant, it was made with a 50/50 mix of gum paste and fondant. I know that gum paste is supposedly edible (and has a kosher rating and all), but I just can't imagine serving up a cupcake that's likely to get eaten by kids, decorated with something that isn't edible so much as it's "food safe" or "non toxic" (as though it were a kids' crafting supply). I tried to make the daisies out of straight fondant, and found the process is just as easy and effective (and far more delicious). 

Here’s what you’ll need: a 9” fondant roller fitted with 1/16” pink rings, a dusting pouch filled with a 50/50 mix of powdered sugar and cornstarch, a container of gum glue adhesive (a pinch of gum paste dissolved in a tablespoon of water), a small brush, a large mum cutter (part of the Course 3 Student kit or the Wilton Ultimate Decorating Set, a piece of thin pink shaping foam, the veiner tool from the Wilton 10-piece Fondant & Gum Paste Tool Set, yellow and white fondant, a gum paste storage board (to use as a work surface), yellow sugar (optional), and flower forming cups (large for petals that are more spread out, small if you want your daisies to be more “cupped.” 

 Start by dusting the back side of the storage board:
 Roll out a ball of fondant. When it's as thin as it can be, slide off the pink rings and roll it just a little thinner.
 Cut out two shapes with the large mum cutter for each daisy. You'll need to press firmly…
 …and possibly roll the fondant roller over the cutter to really show it who's boss.
 Tear away the excess…
 …and smooth the edges of each petal with your finger against the cutter from the tips to the base. The cutout should pop out of the cutter easily.
 Lay one cutout on the pink foam, and draw the wide end of the veiner tool from the tip to the center on all the petals.
 Repeat this on both cutouts.
 Place a dab of gum glue adhesive in the center of one cutout…
 …and place the other cutout on top; stagger them so the petals aren't lined up on top of each other.
Roll a pea-sized piece of yellow fondant into a ball:
Flatten it slightly on the storage board…
 …and stick the narrow end of the veining tool into it.
 Paint the top half with gum glue adhesive:
 Dip it into the yellow sugar.
 Place a dab of gum glue adhesive in the middle of the top daisy cutout…
 …and stick the yellow center on it, sugar side up.
 Here are two daisies drying; the one on the left is on a large flower former, the one on the right is on a small. You could also dry the daisies flat on the back side of the storage board, if you like.
 I'll try to keep the daisy ideas coming! Happy Birthday, Girl Scouts!

Sunday, March 11, 2012

Attaching Stems to Royal Icing Flowers

If the products on display in 99.9% of all bakeries are any indication, there's nothing else to do with royal icing flowers other than squish them into a swirl of buttercream icing atop a cupcake. With a few extra steps, you can easily elevate royal icing flowers to new heights by adding stems (and leaves!) to them. In addition to pre-made royal icing flowers (in this case daisies; perfect on cakes honoring the 100th birthday of Girl Scouts of the USA, as they're the official flower), here's what you'll need: 
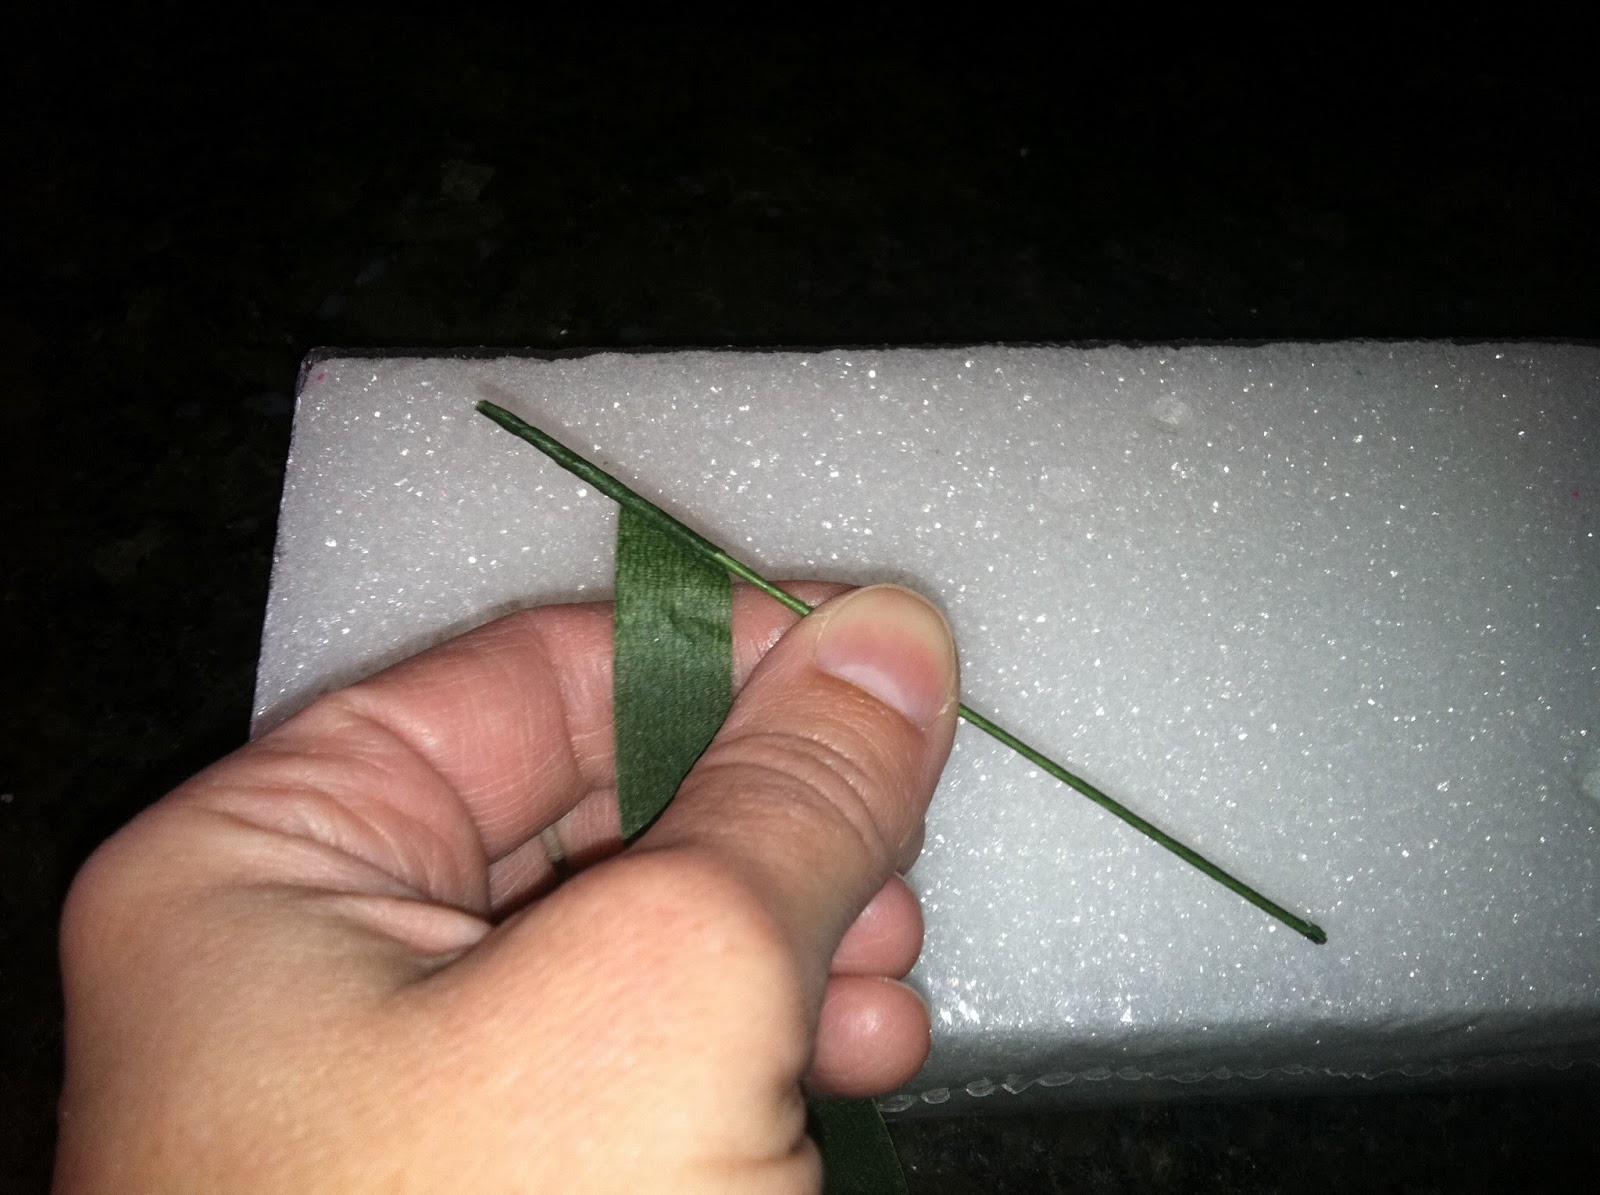
 Parchment paper squares, florist's tape, scissors, needle-nose pliers (the kind used in jewelry-making), a Styrofoam block, 20-gauge florist's wire for the stem, 26-gauge wire for leaves, stiff-consistency green royal icing in a pastry bag fitted with a coupler and a round tip #8, a small brush, and a leaf tip, if you're making leaves (I used an Ateco tip #69). Start by cutting off about 6" of florist's tape, if you're wrapping a 4" 20-gauge wire for the stem:
 Pull the tape at one end gently to activate the adhesive; it will turn a lighter shade of green when it's sticky:
 Wrap the whole wire, pulling the tape as you go so it will stick to itself the length of the wire. Trim off any excess.
 Use your pliers to bend one end into a hook; a little less than a quarter-inch.
 Pipe a penny-sized ball of icing on a parchment paper square. Hold the bag perpendicular to and just above the surface of the square. Keep it buried in the icing as it builds up, stop the pressure when it's about half an inch high, and pull the tip away. It will look a bit like a Hershey's Kiss:
 Stick the hooked end of the wire in the middle…
 …and use the brush to gently smooth the icing a little way up the stem.
 It was at this point I realized my green icing wasn't stiff enough to do the next step: stick the wire stem into the Styrofoam block and allow the icing to dry. So I had to improvise by using some clear tape to brace the stem straight up along the side of the block. I'm glad I never took off the plastic wrap!
 To make leaves, wrap two small wires in florist's tape and make tiny hooks at one end with the needle-nose pliers:
 Pipe dabs of icing in the centers of parchment paper squares and lie the wires down with the hooks in the icing:
 Change the tip on your pastry bag of green icing to the leaf tip, and pipe leaves over the hooks. Set them aside to dry.
 I let my leaves and the base dry for about five hours. Then I wrapped the leaves to the stem, each with their own piece of florist's tape (don't try to wrap both leaves with one piece of tape; the end result won't be as stable):

 Pipe a #8 bead of icing on the underside of the flower you're going to mount to the stem. Use green or whatever color the flower is:
 Gently press the flower onto the bead of icing on the stem. Allow it to dry for a couple of hours.
 Remember, you can't stick florist's wire or tape directly into cakes; next time you're someplace that has those tiny coffee stirrer straws, grab a supply (The Iced Queen does not generally condone theft, mind you). Stick the straw into the cupcake, cake, whatever, and insert the flower stem into it. Use larger straws if you're grouping several flowers together. From all the horrific accounts I've read on the dangers of florist's wire and tape, the deal is the wire contains lead, and the tape contains latex, which can leach out into the icing and cause anaphylactic shock in latex-sensitive individuals. What a way to end a party! I've never heard of this actually happening, but with my luck it would be at my house. You might be wondering if the flower is still safe to eat after being mounted on a wire-and-tape stem. I think it would be, because it never actually comes into contact with either of these items; by the time it's mounted by the bead of icing to the green base containing the wire, the base is dry. Personally, I would hope the cake it's rooted in has such a generous supply of icing that it never enters anybody's head to eat the decorations, but you know…you can never have too much icing.