Violets are yet another flower that is taught in the
Wilton Flowers & Cake Designer class. They are quick and easy, and a great
complement to yesterday's daffodils (the #2 tip on a bag of yellow icing is used to pipe those two dots; that exact arrangement is needed for the "coil" step of the daffodil). In addition to purple and yellow royal icing, you'll need a glue stick, 2" squares of parchment paper, a flower nail (this one has a decal of the "Violet" template), a dusting pouch full of powdered sugar and cornstarch, and a Styrofoam brick so you'll have someplace to set your flower nail when you're switching colors.
You'll also need a tip with a teardrop-shaped hole for piping violets. The one we used in class was a Wilton #59. By chance I also had on hand two larger ones, the Ateco #59 (which you'd think would be the same size as the Wilton of the same number but it isn't; it's larger) and a Bakery Crafts #61, which is the largest one to the right:
Incidentally, if you're a lefty you'll need left-handed versions of these tips; they curve in the opposite directions. Start by putting a dab of glue from the glue stick onto the nail and attach one of the parchment squares to it:
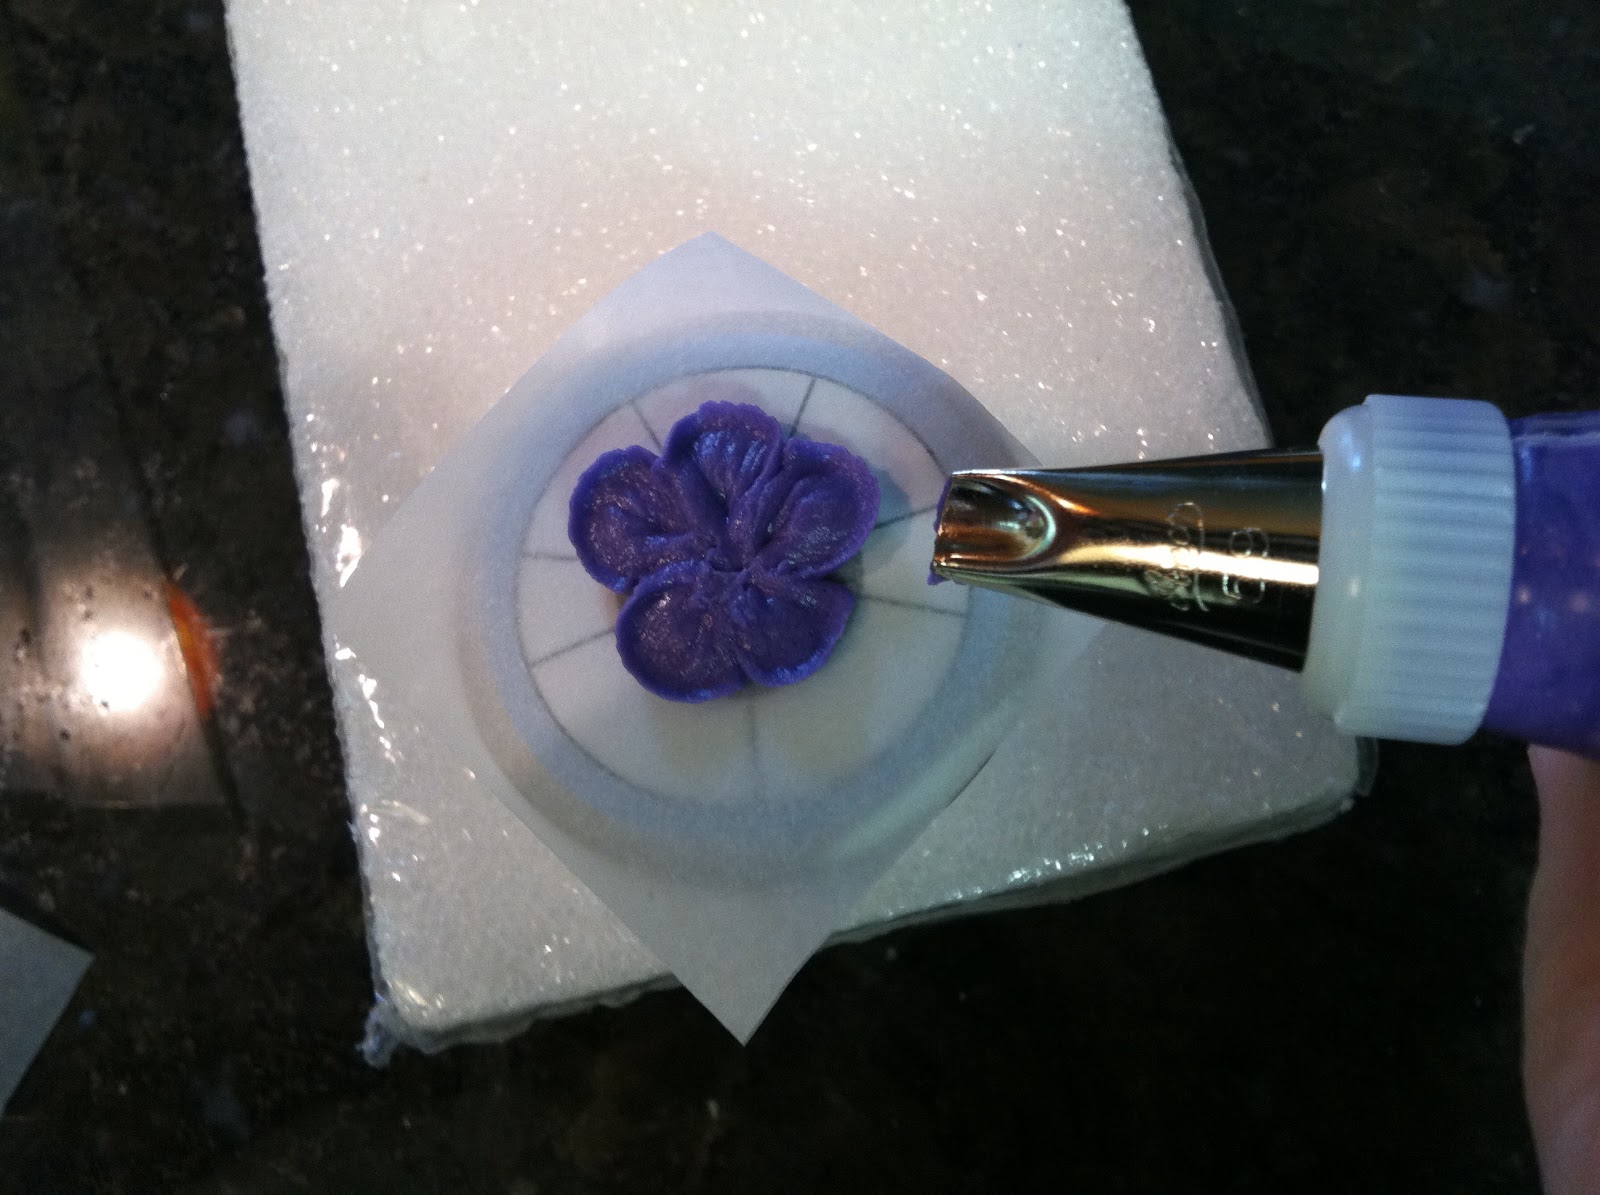
No matter what size tip you're using, you'll be piping 5 petals. I'm using the Wilton #59, so I can make petals tiny enough to fit those three neighboring wedge shapes on the template. The wide side of the teardrop-shaped hole in the tip is placed in the center of the nail, and while holding the bag at a 45 degree angle to the nail with the narrow end of the teardrop-shaped hole just 1/8" above the surface, squeeze out one petal. Your hand will move in a small upside-down "U" motion.
If the shape isn't a perfect teardrop, touch a fingertip to the dusting pouch and coax it into shape. You might want to wipe the tip off in between petals on a damp towel (or an unscented baby wipe; ubiquitous in my house for everything from taking off makeup to…whatever).
Pipe the two remaining petals in those last tiny wedge shapes. If you thought the first 3 petals were small, you ain't seen nothing yet:
Finish off the violet by piping two small dots from the bag of yellow icing; you could use a #1 or #2 tip. Anything larger and the dots would probably look too much like cartoon eyes staring out:
Slide the finished flower on its parchment square off the nail by giving it a gentle tug to break the seal, and set it aside to dry. I switched to the Ateco #59 tip, just to show you how much larger of a violet it pipes. It'll be somewhere on the template in between the little one and the largest one you can pipe on the 1.5" nail:
And then I switched to the #61 tip by Bakery Crafts (not a tip company I'm familiar with). This one petal is almost as big as one small violet! Check out that depth; it casts a shadow!
It was actually tricky to pipe 5 huge petals in the space of this size nail; it wasn't the cleanest work I've ever done. More often than not, I found myself eating the evidence (or at least reaching for the dusting pouch in an effort to smooth things out). Finally, though, I was able to pipe a few of these:
And then I laid them all out flat to dry. I'm realizing I have quite a few purple and yellow royal icing flowers stashed away, so some sort of Mardi Gras cake (purple and yellow flowers along with lots of green leaves) will probably be forthcoming. Royal icing flowers will keep indefinitely, if you treat them right (which means keeping them in a cardboard box away from heat and light). Make more than you think you'll need so you won't feel bad about eating a few while you wait for your next project that calls for them to come up.