Showing posts with label tip #5. Show all posts

Wednesday, November 21, 2012

Royal Icing Turkey Leg

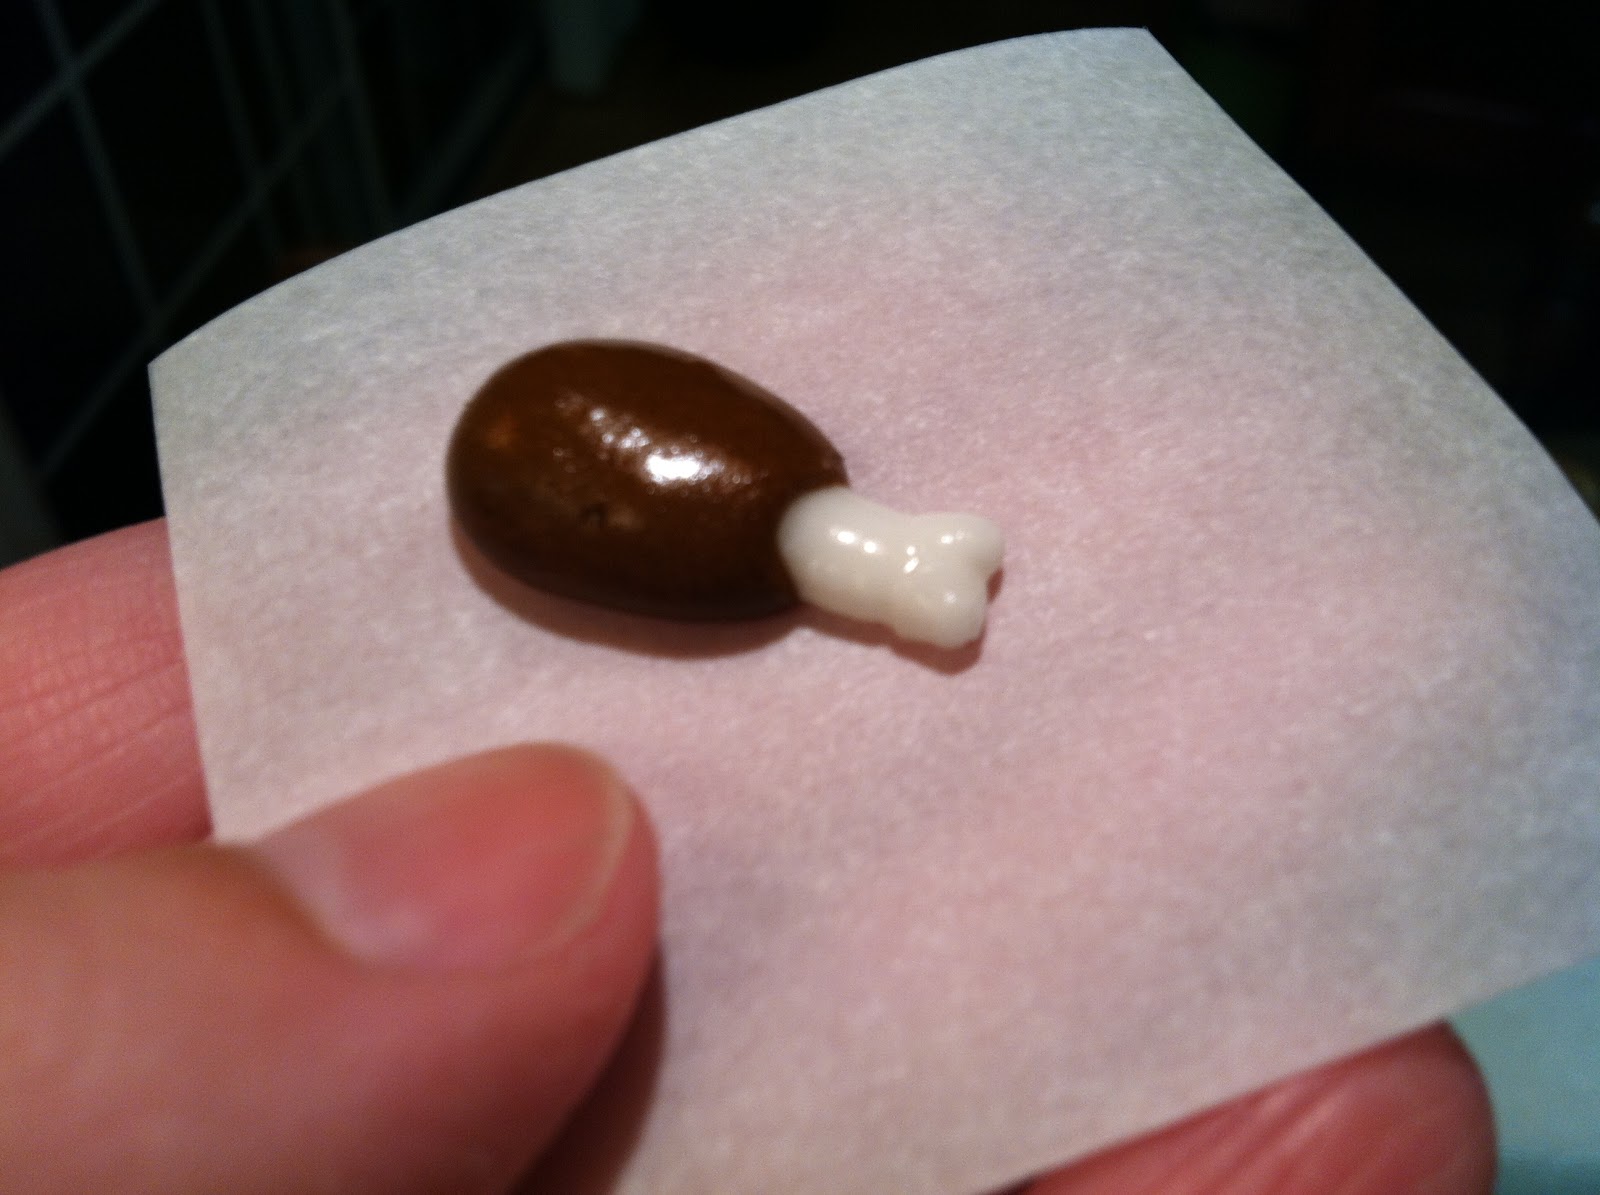
It's one of those rare days that I'm making real, actual food in the kitchen, so today's post is extra short and sweet. If, for some bizarre reason, you find yourself in the situation where you need to pipe tiny turkey legs, you're in luck! They're the easiest thing in the world (way easier than any other thing you might be likely to cook for Thanksgiving, anyway). All you'll need is stiff consistency royal icing in brown and white (I'm using colors more suitable for a cartoon turkey leg than the real thing, of course), round tips #12 and #5, a flower nail, parchment paper squares, a glue stick, a Styrofoam block to rest the nail in, and a dusting pouch filled with a 50/50 blend of cornstarch and powdered sugar. Start by sticking a parchment square to the flower nail with a dab from the glue stick. 
 Hold the #12 tip just above and at a 45 degree angle to the surface. Pipe a ball of brown icing, then move the tip along for a few millimeters while decreasing pressure. Stop pressure and pull the tip away. Touch a fingertip to the dusting pouch and tap down the peak, if one remains. Essentially, you're left with a shape like a bean or an egg.
 Stick the #5 tip into the icing at the narrow end so the tip disappears a millimeter or so in. Squeeze while moving the tip along for a few millimeters. Stop pressure and pull the tip away. Pipe two tiny balls at the end of the leg bone, tapping down any peaks with a dusted fingertip if need be. These would be sweet on any miniature cupcakes, petits fours, or even cubes of fudge for Thanksgiving.

Wednesday, October 24, 2012

Royal Icing Calendula

The official flower of October is the calendula, a member of the daisy family which comes in colors ranging from yellow to orange. And, like the daisy, it's very easy to pipe. All you'll need is stiff consistency royal icing in a golden yellow or orange, round tip #5, petal tip #101, parchment paper squares, a flower nail, a Styrofoam block to rest the nail in, a glue stick, and a dusting pouch filled with a 50/50 mix of cornstarch and powdered sugar. Start by sticking a parchment square to the nail with a dab from the glue stick. 
 Pipe the petals by moving your hand in a tight "U" formation, starting from the center, moving the tip out toward the edge, then back in again. Keep the narrow end of the petal tip facing outward and slightly upward off the surface, while moving the wide end along the surface. Usually I like to pipe four petals first in the 12-3-6-9 positions to keep the flower balanced; I didn't do that this time. I just made sure to rotate the nail steadily while keeping the petals basically the same length, and the end result was pretty even. Touch a fingertip to the dusting pouch and gently tap the center flat.
 Repeat, piping a smaller flower on top of the first one. Try not to line the petals right on top of each other; attempt to stagger them. Again, flatten the center with a dusted fingertip when you are finished.
 Pipe a cluster of #5 dots in the center. You can pipe them in a deeper color to give the center some contrast. Look at actual photos of the many varieties of calendula for inspiration when piping this autumn bloom!

Tuesday, October 23, 2012

Royal Icing Trick or Treat Bucket

As I was putting this post together, it occurred to me that people outside of the USA might not know what a trick or treat bucket is. I'm not sure when these hollow plastic squashes painted with Jack o'lantern faces became de rigueur for collecting treats, but I can clearly remember them from the '70s. I found a few on eBay which were described as vintage (but didn't actually include a year). To pipe an approximation of this Halloween classic, you'll need stiff consistency royal icing in black and orange (or almost any color; they can be found in a variety of neon shades at stores like Target), round tips #12 and #5, a flower nail, a Styrofoam block to rest the nail in, flat toothpicks, parchment paper squares, a black food-safe marker like the AmeriColor Gourmet Writer, and a dusting pouch filled with a 50/50 mix of cornstarch and powdered sugar. Start by sticking a parchment square to the flower nail with a dab from the glue stick. 
 Hold the #12 tip just above and at a right angle to the surface. Squeeze while moving the tip upwards about 3/4". Stop pressure and pull the tip away.
 Touch a fingertip to the dusting pouch and tap the icing down into a rounded shape with a slightly flattened top.
 Tap the narrow end of a flat toothpick against the dusting pouch and gently press it vertically  into the icing at intervals to give the pumpkin that sectioned look. Leave a gap, though, for painting in the face later.
Pipe a few handles with the #5 tip and black icing. These were left over from when I made royal icing cauldrons. They would have probably been cuter if piped with a #3 or #4 tip, but they would have been so much more breakable. Always pipe more than you need for this reason. Allow them to firm up completely before peeling them off the parchment. 
 Switch to the #5 tip on the orange icing and pipe a circular ring around the top of the pumpkin. Tap the ends gently with a dusted fingertip to blend them (this should be in the back or off to one of the sides; not in the front where the face is going to go).
 Press a handle into the icing while it's still wet. It should stand upright, no problem.
Lastly, when the icing is completely dry, draw in a tiny pumpkin face on the front with the food-safe marker. A perfect topper for cupcakes, petits fours, ANY pumpkin-flavored treat, etc.! 

Friday, October 19, 2012

Royal Icing Treat Bag

This tiny treat bag would probably not hold even one M&M, but it would look very cute on cupcakes or petits fours (in any color you like, of course). You'll need stiff consistency royal icing, round tips #8 and #5, a glue stick, a flower nail, a Styrofoam block to rest the nail in, parchment paper squares, food-safe markers like AmeriColor Gourmet Writers, and a dusting pouch filled with a 50/50 mix of powdered sugar and cornstarch. Start by sticking a parchment square to the flower nail with a dab from the glue stick. Alternately, you can pipe the icing on the squares directly on your countertop. 
 Hold the tip just above the surface and pipe a tight "U" shape.
 Touch a fingertip to the dusting pouch and tap the surface and the sides flat into a rectangle.
 You might prefer to use an offset spatula; tap it against the dusting pouch, then against the sides of the rectangle. Allow the icing to firm up for an hour or so.
Pipe the handles with the #5 tip and allow them to dry. Always pipe more than you need to allow for breakage. These are actually leftover from when I made royal icing cauldrons
When the handles are firm enough to, um, handle, glue one on the bag with two dots of icing piped from the #5 tip. 

 Use the food-safe markers to decorate the bag any way you like!

Thursday, October 18, 2012

Royal Icing Spiderweb Cookie

Tonight's project is sweet and simple and can be done with store-bought cookies (I'm partial to gingersnaps). All you'll need is black stiff consistency royal icing (you could use any color, really; they'd look great in purple, orange or green) and a round #5 tip (or pick a smaller number if you want a thinner web). Start by piping a cross. Hold the tip at a 45 degree angle and just above the surface. Allow the icing to flow out and drop down onto the cookie as you go; don't pull or stretch the icing. 
 Repeat, for a total of 8 spokes.
 Start piping a spiral of drop strings from the middle. This actually looks pretty cool at the halfway point! You could stop here on some of your cookies, or make the center point off to one side so the web is asymmetrical.
 Continue piping drop strings until you run out of room. If you serve a plate of these, you might scatter a few royal icing spiders around to complete the scene.

Wednesday, October 17, 2012

Royal Icing Cauldron

I can honestly say this is one of my favorite projects ever, because it turned out exactly how I pictured it in my head (that doesn't always happen). To pipe a tiny cauldron, you'll need stiff consistency royal icing in black and neon green, round tips #12, #10, and #5, parchment paper squares, and a dusting pouch filled with a 50/50 blend of powdered sugar and cornstarch. Start with the #12 tip on the black icing. Hold the tip just above a parchment square. Squeeze until the icing is about the size of a penny, then pull the tip upward while keeping it buried in the icing. Stop pressure and pull the tip away, leaving a shape comparable to a Hershey's Kiss.
 Touch a fingertip to the dusting pouch and tap down the peak to round it.
 On  a separate square, pipe a bunch of C-shaped handles with the #5 tip. Always make more than you think you need to allow for breakage, variations in size, etc.
 Also use the #5 tip to pipe three or four small feet on the underside of the cauldron, if you like (feet are optional, but SO cute).
 When the cauldron is dry enough to handle, flip it over and pipe a #10 dollop of neon green icing in the center. Tap it flat with a fingertip after touching it to the dusting pouch.
 Pipe the lip of the cauldron with the #5 tip around the edge of the green icing…
 …and stick one of the handles into the icing while it's wet.
 This would definitely be a good accompaniment for the witch hat and the broom on Halloween cupcakes!

Friday, September 28, 2012

Scotch Bonnet Seashell

Piping a seashell can be tricky; they have so many tiny details that make them unique (and last I checked there isn't a piping tip marked "seashell"; you just make do with the same tips you use for everything else). The official state shell of North Carolina is the Scotch Bonnet (pronounced "bonay") and the only tips you'll need to pipe an approximation of it are round tips #12 and #5. You'll also need stiff consistency royal icing, a flower nail, parchment paper squares, a glue stick, a Styrofoam block to rest the nail in, and a dusting pouch filled with a 50/50 mix of powdered sugar and cornstarch. Start by sticking a parchment square to the flower nail with a dab from the glue stick. 
 Hold the #12 tip just above and at a 45 degree angle to the surface. Squeeze out a ball to anchor it, then increase pressure while pulsing the tip in and out to create ridges. As the icing builds up, decrease pressure while continuing to form ridges, then stop pressure and pull the tip away.
 You might need to dust your fingertips to adjust the tip or pinch off any excess.
 Switch to the #5 tip and pipe a lip around the lower left half of the shell. When the icing is dry, peel away the parchment. You can use a brown food-safe marker like the Gourmet Writer by AmeriColor or a small brush and some brown Color Dust to dab in a pattern of dots (in this photo you can see why the shell's name was inspired by Scottish tartan).

Thursday, September 27, 2012

Royal Icing Western Wheatgrass

Western wheatgrass at one time covered almost the entire state of North Dakota, where it was designated the official state grass in 1977. In most photos I found, it is yellow to yellowish-green (not quite the vivid green I went with). All you'll need to pipe this hardy prairie grass is medium consistency royal icing, oval tip #55, round tip #5, a glue stick, parchment paper squares, a flower nail, and a Styrofoam block to rest the nail in. Start by sticking a parchment square to the nail with a dab from the glue stick. 
 Pipe the stem with the #5 tip. I piped it as though it were a drop string; holding the tip above the surface and allowing the icing to smoothly pour out as I moved the tip along in a gentle arc. At the end, I stopped pressure, touched the tip to the surface, and pulled the tip away.
 Switch to the #55 tip, and pipe a "V" at the curved end. One side should overlap the other.
 Repeat all the way down the stem…
 …taking care to keep the sides in "V" formation; I had a tendency to allow them to get too flat.
 At the bottom, though, I made sure those final two shots of icing were nice and "V"-shaped to finish the grass head off. I also filled in a little gap that looked weak with a shot of icing; it could have broken after the parchment is pulled away when the icing is dry. These could be piped in yellow to represent wheat as part of a harvest-themed dessert, or any cake or cupcake to do with farms, prairies, etc.