Showing posts with label Dutch. Show all posts

Saturday, June 30, 2012

Royal Icing Wooden Shoes

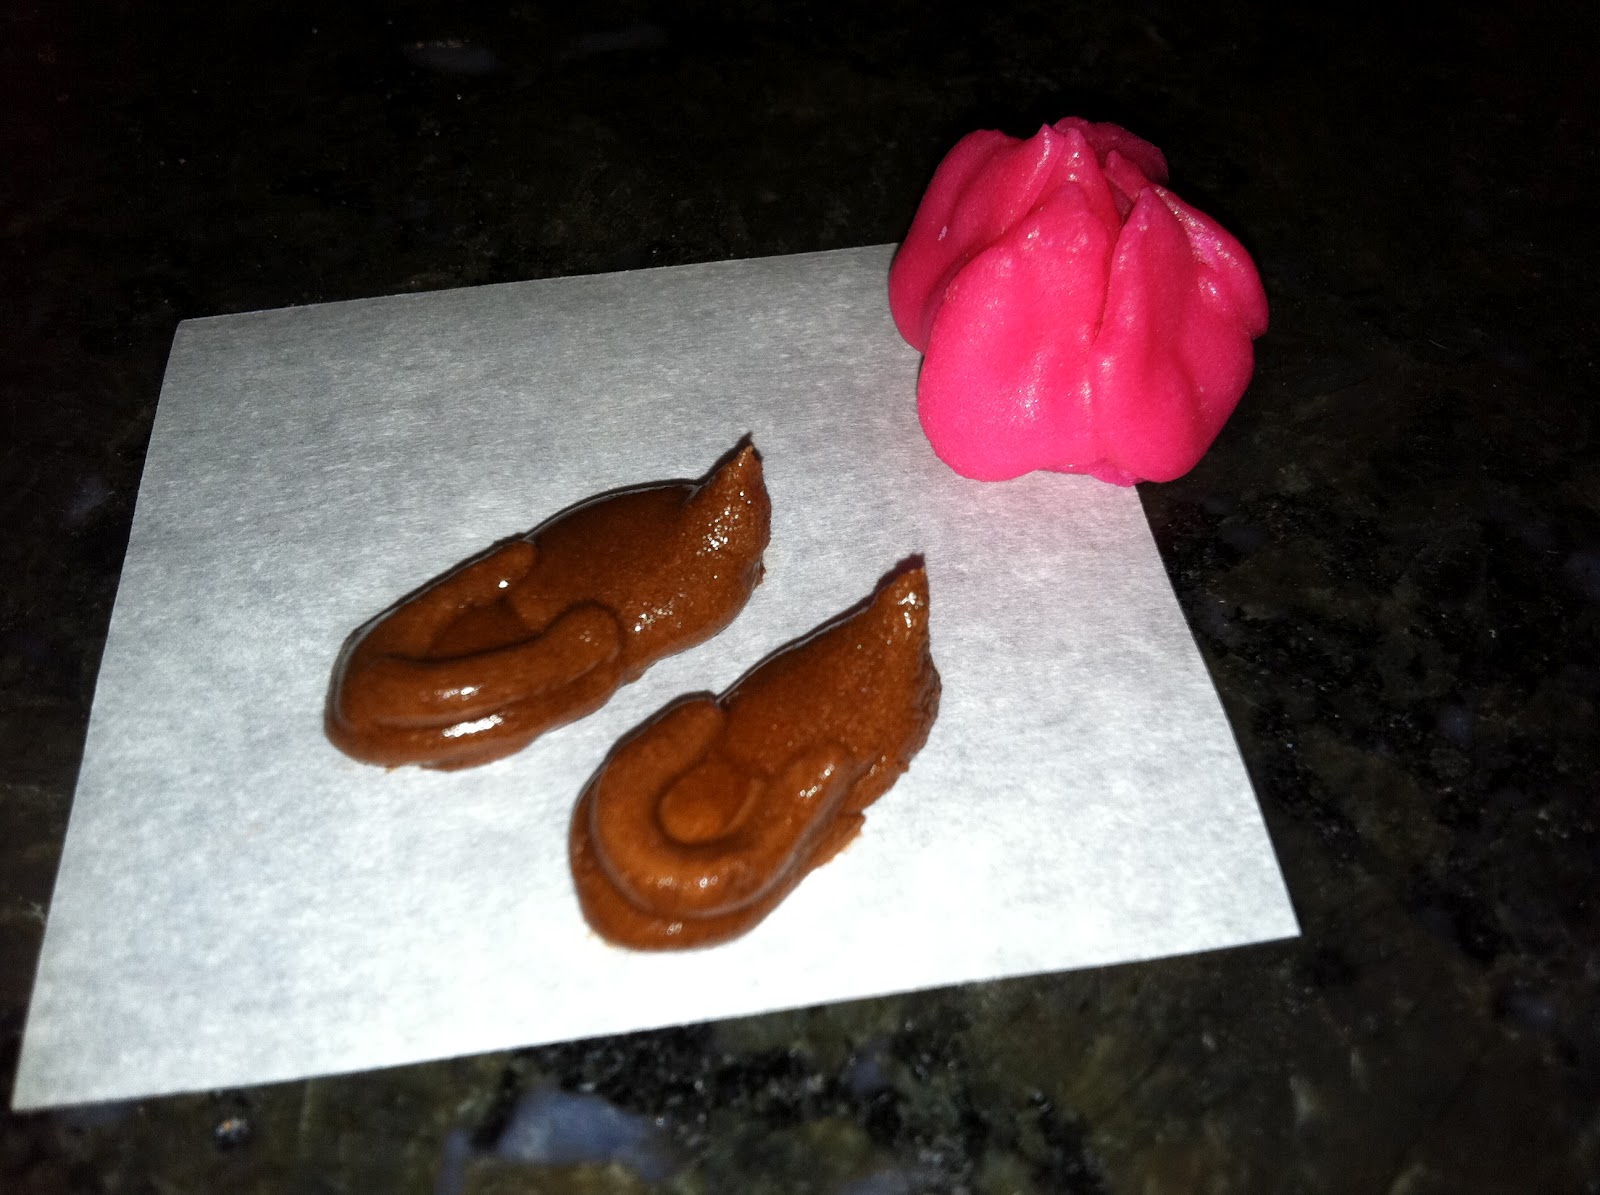
OK; I know this project doesn't look a whole lot like what it's supposed to be, but I really wanted to pipe some approximation of wooden shoes to accompany yesterday's tulip. And can you believe there aren't a whole lot of hits when you do a Google image search for "royal icing wooden shoes"? ;) So, here's what I came up with. All you'll need are parchment paper squares, brown stiff consistency royal icing, round tips #12 and #3, and a dusting pouch filled with a 50/50 mix of cornstarch and powdered sugar. You'll have an easier time of piping them the same size if they're next to each other on the same parchment square. Start by holding the #12 tip at a 45 degree angle and just above the surface. Pipe a 1/2" long strip, then stop pressure and pull the tip up and away to form a peak. Touch a fingertip to the dusting pouch and use it to refine the peak, if need be. 
 Next, pipe the "insoles." Hold the tip just above the surface and directly behind the shapes you just piped, squeeze a small amount of icing out, and pull the tip away. Tap this part flat with a fingertip.
 Switch to the #3 tip, and pipe a line around the insoles to connect them to the front of the shoes. Touch your fingertip to the dusting pouch and use it to blend the tips of the line to the front.
 Pipe one more line with the #3 tip to give the shoes a more defined "heel."
 It occurs to me now that on the subject of footwear, I should stick to piping what I know…which would be 4" platforms from Hot Topic. Another post for another day! Until then, tot ziens! (Dutch for "See you later")


Friday, June 29, 2012

Royal Icing Tulip

Getting this project "right" is still a work in progress; the notion of piping a tulip came to me after a fairly exhaustive online search that turned up nothing (nothing 3D, that is). I started by piping a bunch of loose petals with stiff consistency royal icing on a parchment paper square with a tip #97 (the tip with the "S" shaped cut used to pipe the Victorian Rose). Hold the tip almost flat against the surface, and while squeezing move the tip in a small upside-down "U" formation with an end that tapers to a point. I used 5 of these 7 petals; it's always good to make a few extra for breakage/rejects/snacking. 
 Pipe a base for each tulip. Switch the tip to a round #12, hold it just above the surface of a parchment square, and squeeze until the icing is the size of a dime. Continue to squeeze and pull upwards at a 90 degree angle. Stop the pressure and pull the tip away after about 1/2". It should look like a tall Hershey's Kiss.
 Allow the petals and bases to dry for at least an hour. You can start assembling the tulips when the petals peel off the paper easily.
 Switch the tip to a small round tip, like a #2 or #3. Squeeze a small amount on the backside of a petal at the wide end…
 …and stick it to the base, point up. Repeat with more petals, overlapping, until the base is covered.
 Allow the tulip to dry completely, until the paper can be peeled away easily from the base. These would be especially cute if piped with a striped edge.
 Don't worry; I'll get started on wooden shoes soon!