Showing posts with label Coastal Repertory Theater. Show all posts

Saturday, March 24, 2012

Gum Paste Artichoke

Yes, you read the title of this post correctly. After weeks of lovely flowers, it's time to do something completely unrelated: an artichoke. A friend of mine is producing the play "Artichoke" at Coastal Repertory Theatre in Half Moon Bay, and I wanted to make some sort of custom cupcake topper for the opening night gala. Basically, the artichoke is the mum from Wilton's Course 3: Gum Paste and Fondant, but not in a traditional mum color (I used Avocado by AmeriColor). Besides gum paste (stored under a plastic cup to keep it from drying out), you'll need thick and thin pink shaping foam, a gum paste storage board to use as a work surface, a container of gum glue adhesive (a pinch of gum paste dissolved in a tablespoon of water), a small brush, the large modeling stick from Wilton's 10-piece Fondant and Gum Paste Tool Set, one toothpick for each artichoke, a dusting pouch filled with a 50/50 mix of powdered sugar and cornstarch, a 9" fondant roller with pink 1/16" rings, and the large and small mum cutters from either the Course 3 Student Kit or the Ultimate Decorating Set. You'll also need a second gum paste storage board, a Styrofoam block, small flower forming cups and Styrofoam cups.
 Start by rolling a 1/2" ball of gum paste to make the base.
 Dip a toothpick into the gum glue…
 …and insert it into the ball. Allow it to firm up a bit (or overnight).
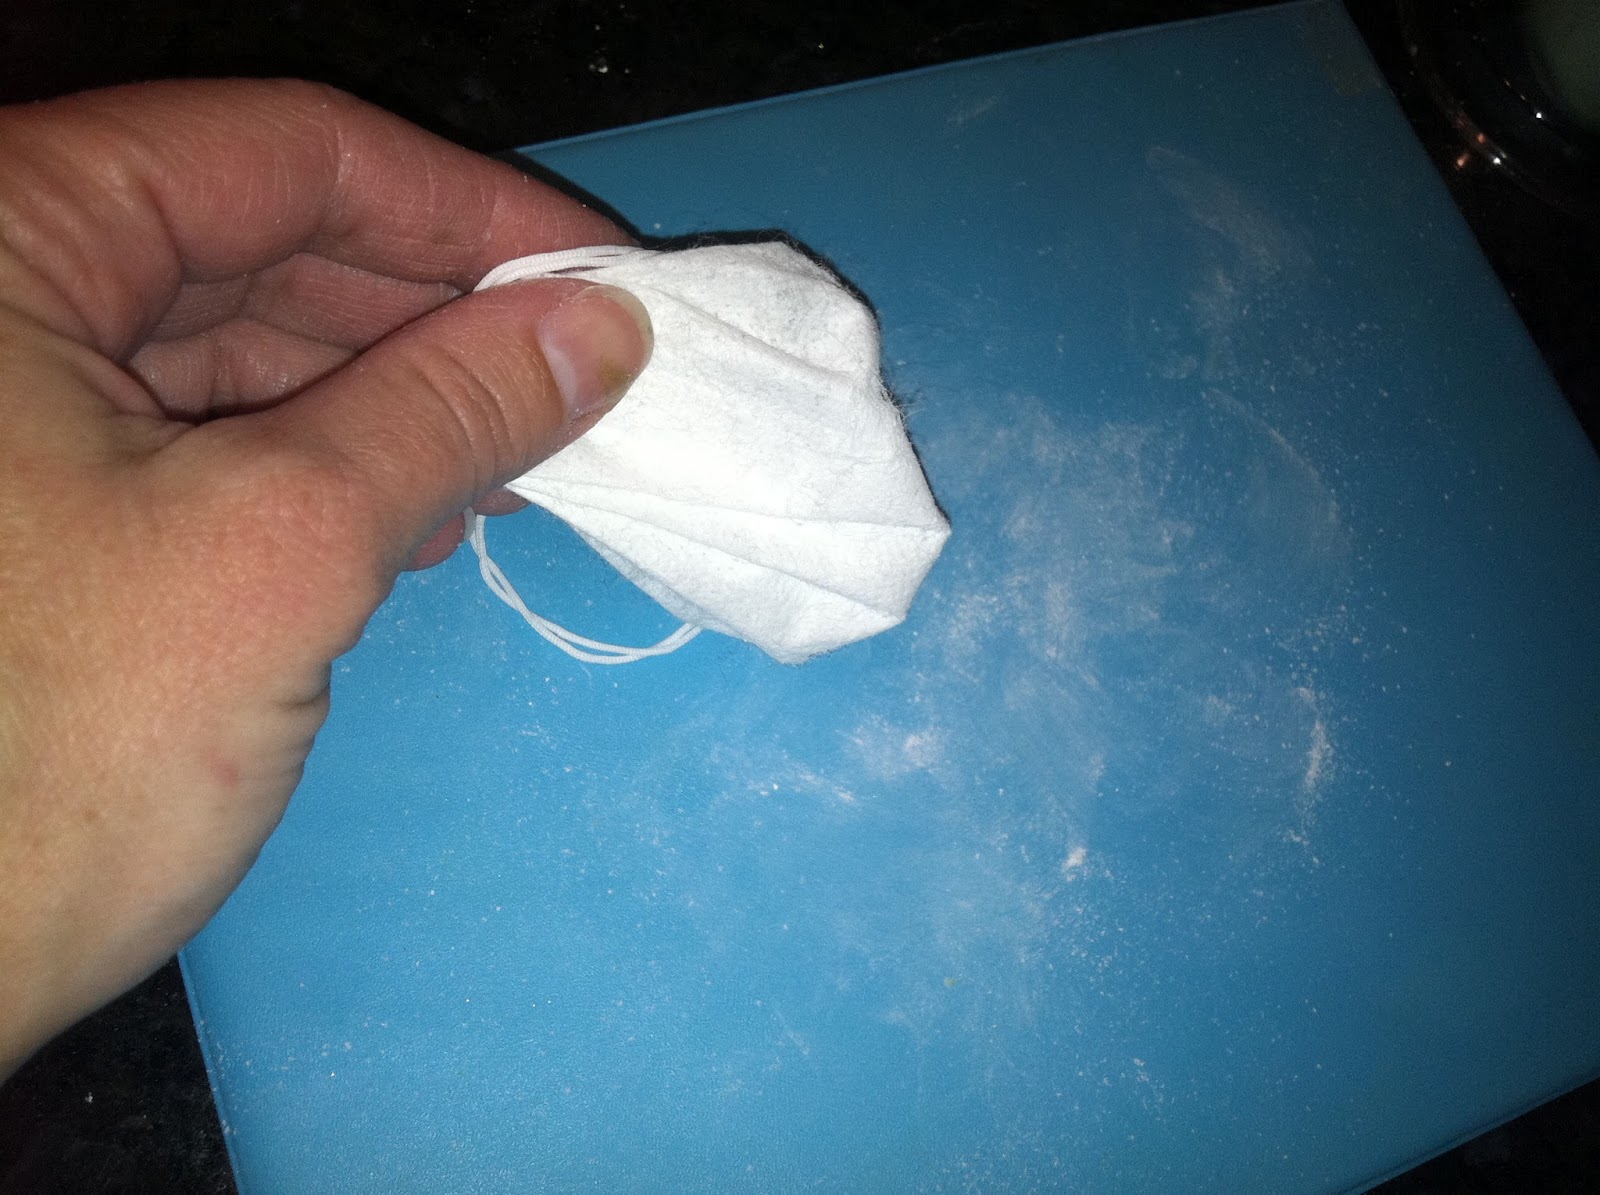
 Dust the work surface…
 …and roll out the gum paste. When it gets to 1/16", slide off the rings and roll it out a little thinner.
 Cut out three large and three small shapes with the mum cutters. You may need to press down on the cutters with the roller.
 Tear away the slack from the cutter…
 …and neaten the edges by running a fingertip from the end of the petal to the base on the underside of the cutter while the cutout is still in it.
 Place all but the one you're working on under the flap on the other storage board.
 Move one of the small cutouts to the thin pink foam, and using the round end of the modeling tool draw the tool from the tip to the base of each petal to make them curl up.
 Paint some gum glue adhesive on the base.
 Stick the toothpick in the center of the small cutout and slide it up to the base.
 Wrap all the petals around the base; it's OK if they overlap.
 Paint the lower half with gum glue adhesive and repeat the process with the remaining two small cutouts…
 …which will look like this when you're finished (and you could stop here for a very small artichoke).
Alternately, keep going with the remaining three large cutouts. To dry, dust the inside of a flower forming cup, place it on an upside-down Styrofoam cup with a hole in the center of the bottom, and stick the toothpick through both holes. 
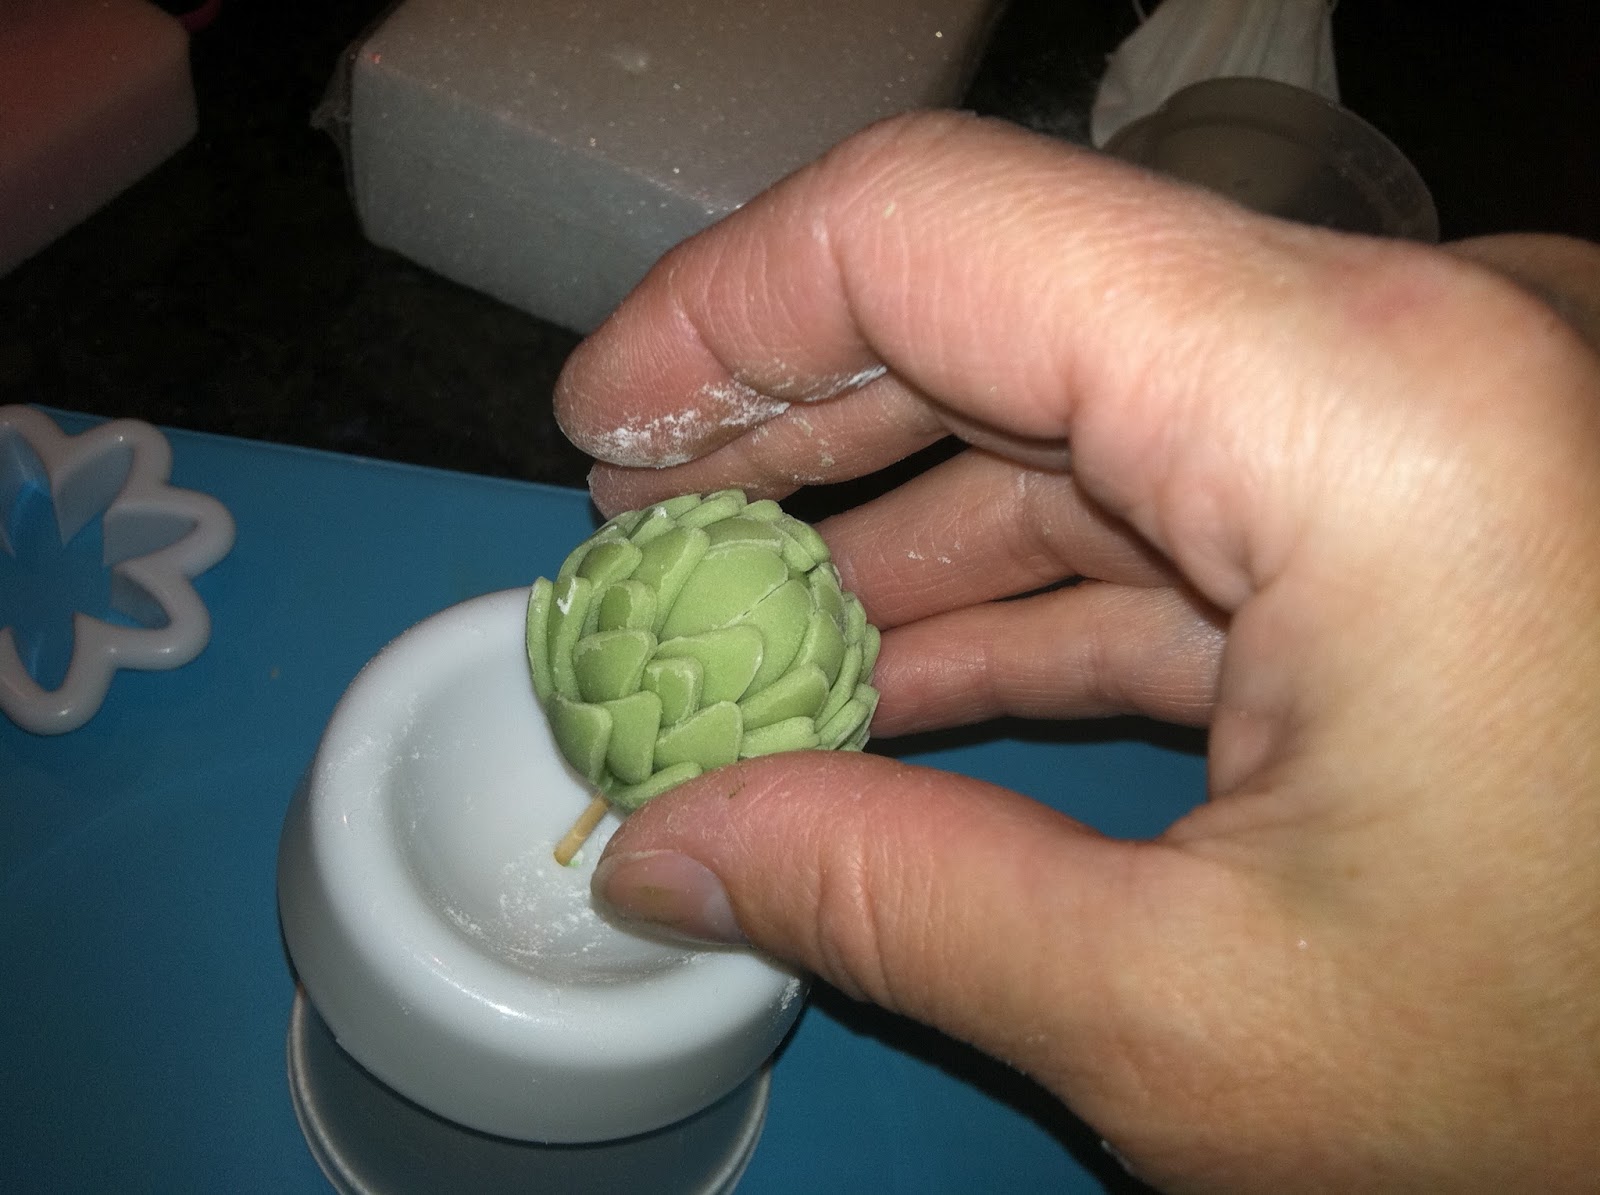
 And here it is! Bring on the Hollandaise sauce! 

Saturday, January 28, 2012

Mardi Gras Cupcakes for Evan

Today about 200 people gathered together to remember the life of Evan Saunders, who had to leave us way too soon. Evan loved everything to do with New Orleans, and could wear a mask like no one I've ever known:
Another case in point, along with his son Aidan and wife Lisa, who designed and made all their costumes:
I wanted to pay tribute to Evan's love of partying, costumes and desserts (he was always among the first in line to sample the goodies I brought to the theater to keep the cast and crew going). I thought that cupcakes bearing some sort of Mardi Gras iconography would do the job. I started with my usual fondant set-up; powdered sugar, a rolling pin fitted with purple rings, homemade fondant in purple, green and gold, a small spatula for helping to remove cut pieces from the cutter, which in this case is a tiny Mardi Gras mask. To the right is one of those multi-purpose plastic scrapers; you can find these at almost any kitchen supply store. They're great for removing fondant from the work surface:
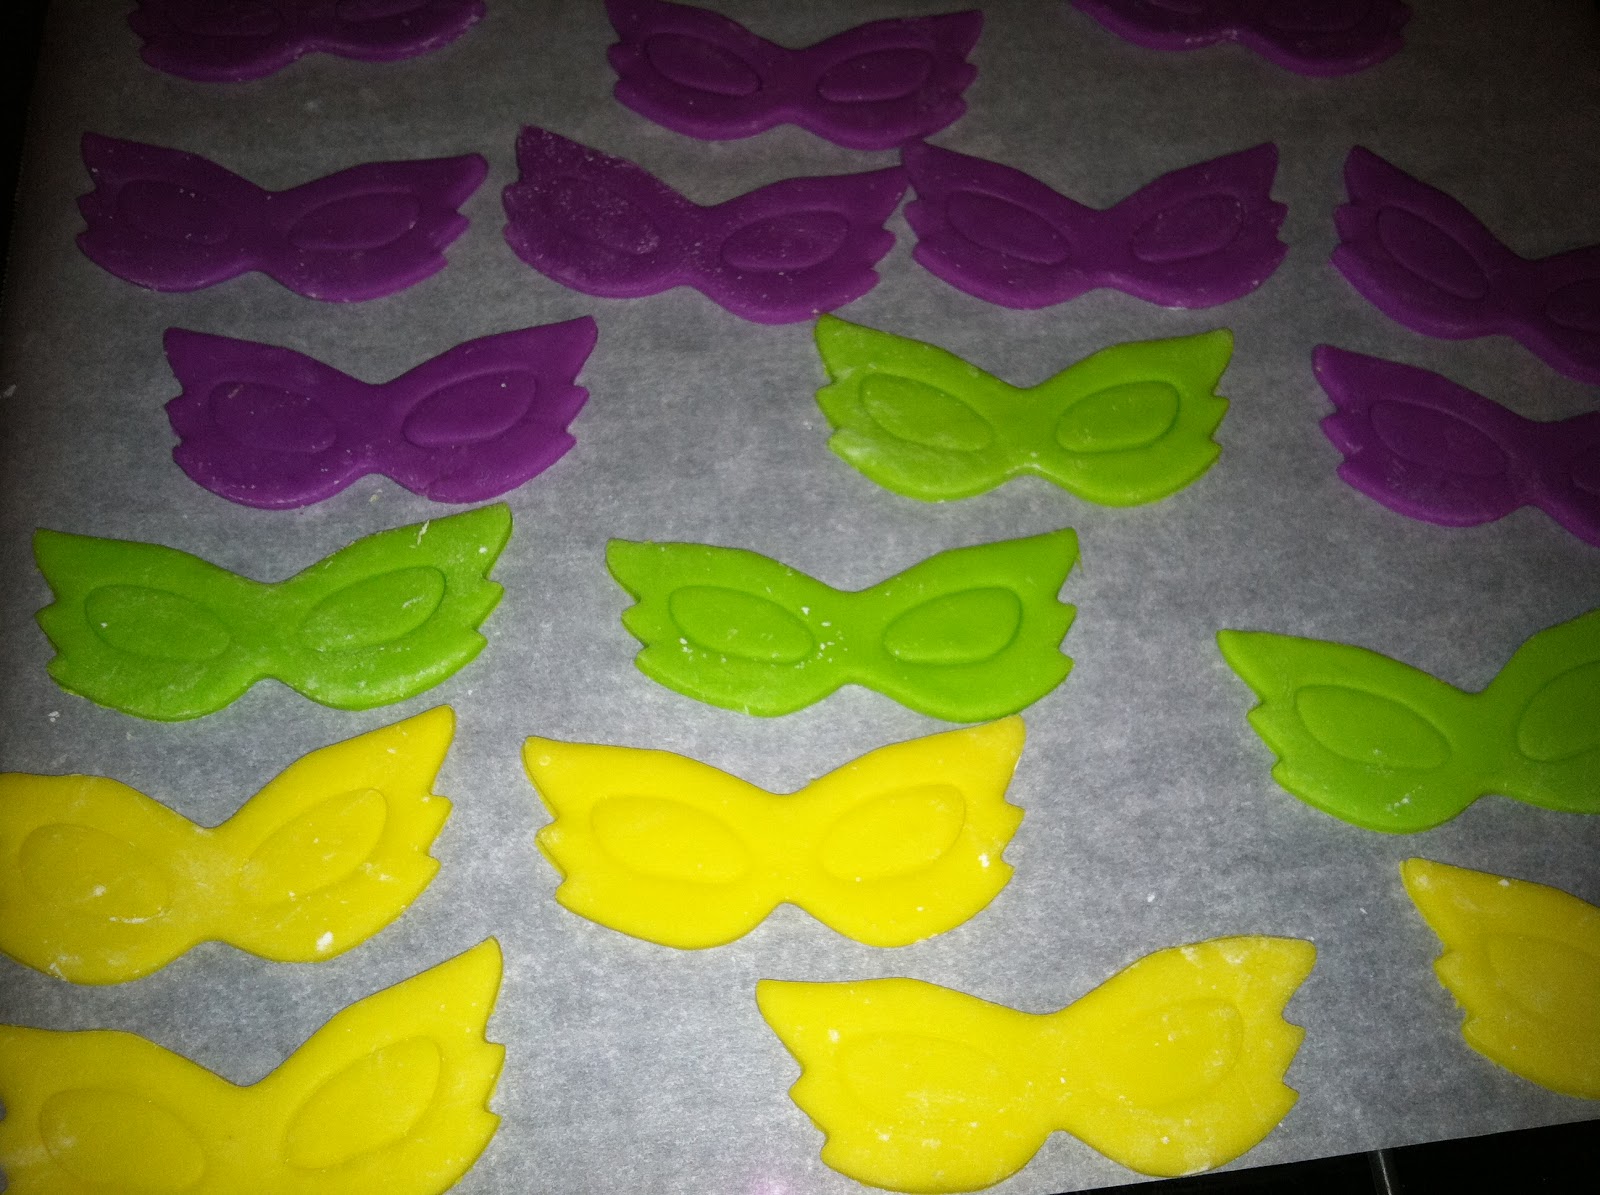
After powdering the work surface, I cut out the masks, one for each cupcake:
Then I laid them out on a piece of parchment paper spread over a baking rack to dry:
I'd baked lemon cupcakes the night before in camouflage cups. When he wasn't in costume, Evan was almost always clad in camouflage pants; I thought the cupcakes should reflect that by having camo on their lower halves:
While the fondant masks dried, I piped rows of different shaped "beads" across the cupcakes surfaces. I used lemon frosting colored even more yellow for this row, piped with a round #12 tip; the bag is held perpendicular to the cake, and as a bead is piped the tip remains buried in the icing. When it's pulled out any peaks that remain can be tapped out with a powdered sugar-covered fingertip:
Between rows of beads I put the cupcakes in the fridge to firm up the icing a bit; I didn't want one row smearing into its neighbor. This row of "beads" was piped using purple-colored vanilla frosting. I love this tip; it's an Ateco #105. It's almost shaped like a little castle turret, and pipes squarish grooves; very different from all the soft round edges you see in piping:
Then I piped the green beads (made from lemon frosting colored green) with an Ateco #363 tip that has lots of tiny grooves:
I finished by making duplicate rows wherever they'd fit:
I let them chill in the fridge overnight:
I decorated the masks with royal icing tip #2 dots and #16 stars…
…and the next day I assembled them at the theater. Watching Evan's son Aidan inhale all the frosting off one of them answered my internal question, "Would Evan have liked these?". I'm pretty sure they were a hit.