

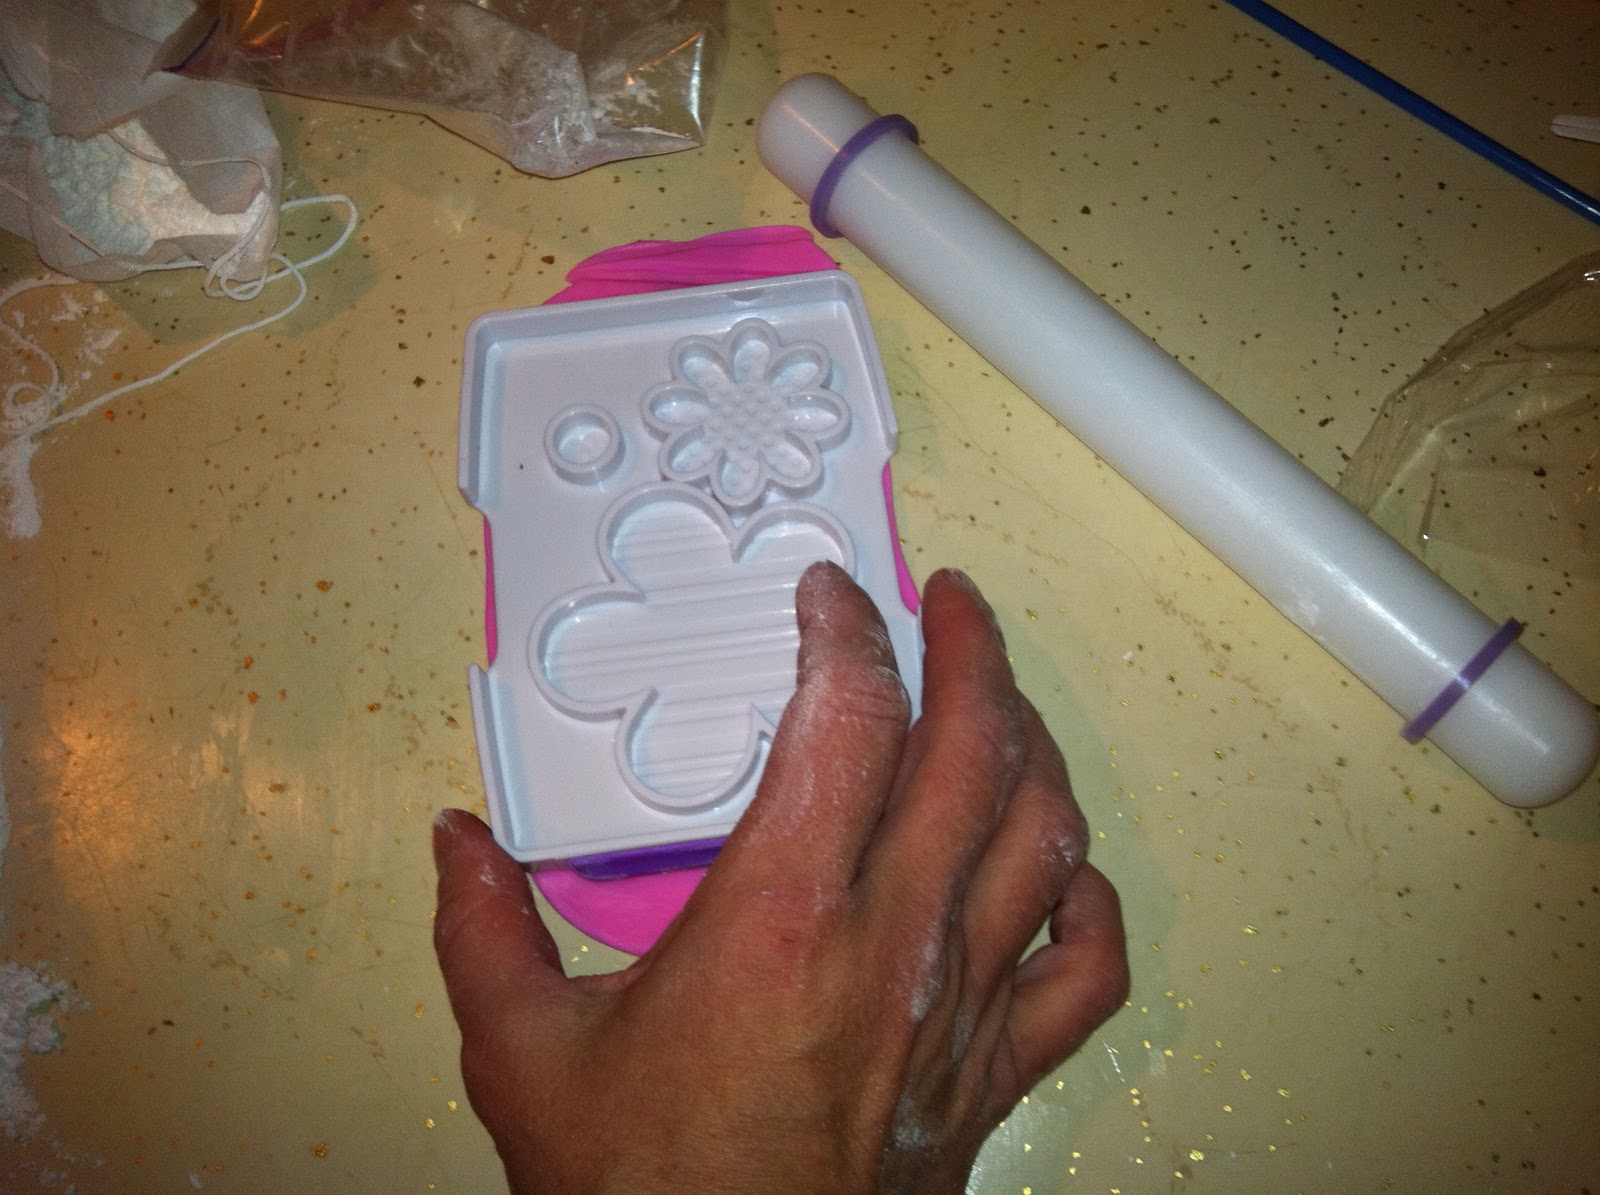
It would have been easy to write button flowers off as a skill I never need to learn, but the thing is, when they turn out right they're pretty cute. They'd be perfect for decorating a cake for a "groovy" event, a Girl Scout happening (in traditional Daisy colors), a girly-girl's party, a garden party, etc. So once I got out of the classroom and into my own environment, I pulled out all the supplies and got to work. Being on my own turf made all the difference. They're made with a mold that looks like this:

You'll need to prepare some gum paste adhesive, which is nothing more than a 1/4 teaspoon of gum paste dissolved in a small airtight container with a tablespoon of water. It doesn't need to be completely dissolved to work; you can slide your brush over the dissolving ball of gum paste to pick up enough sticky stuff to hold the flower together. It took a while to dissolve all the way.


Note the ubiquitous pile of powdered sugar to the left of my hand and the small white handled bowl with the smear of Crisco in it. These are at the ready to knead in if the mixture starts feeling too sticky (add powdered sugar) or too dry (work in the tiniest amount of Crisco).

Start by smearing the finest imaginable film of Crisco over the work area. Wipe your hand off on a 9" rolling pin fitted with purple rings (these take all the guesswork out of determining the thickness of whatever you're rolling; in this case the rings are 1/8" thick, so the gum paste/fondant will be, too). Every so often while you're rolling, peel the mixture up and rotate it so you can roll it from another direction; don't flip it. Eventually you'll want it to be about the size of your mold (which you'll also coat with an almost nonexistent layer of Crisco; use an angled brush to get into all the crevices).

Press the outside of the mold with the rectangular shape on it into the mixture…

…like this:
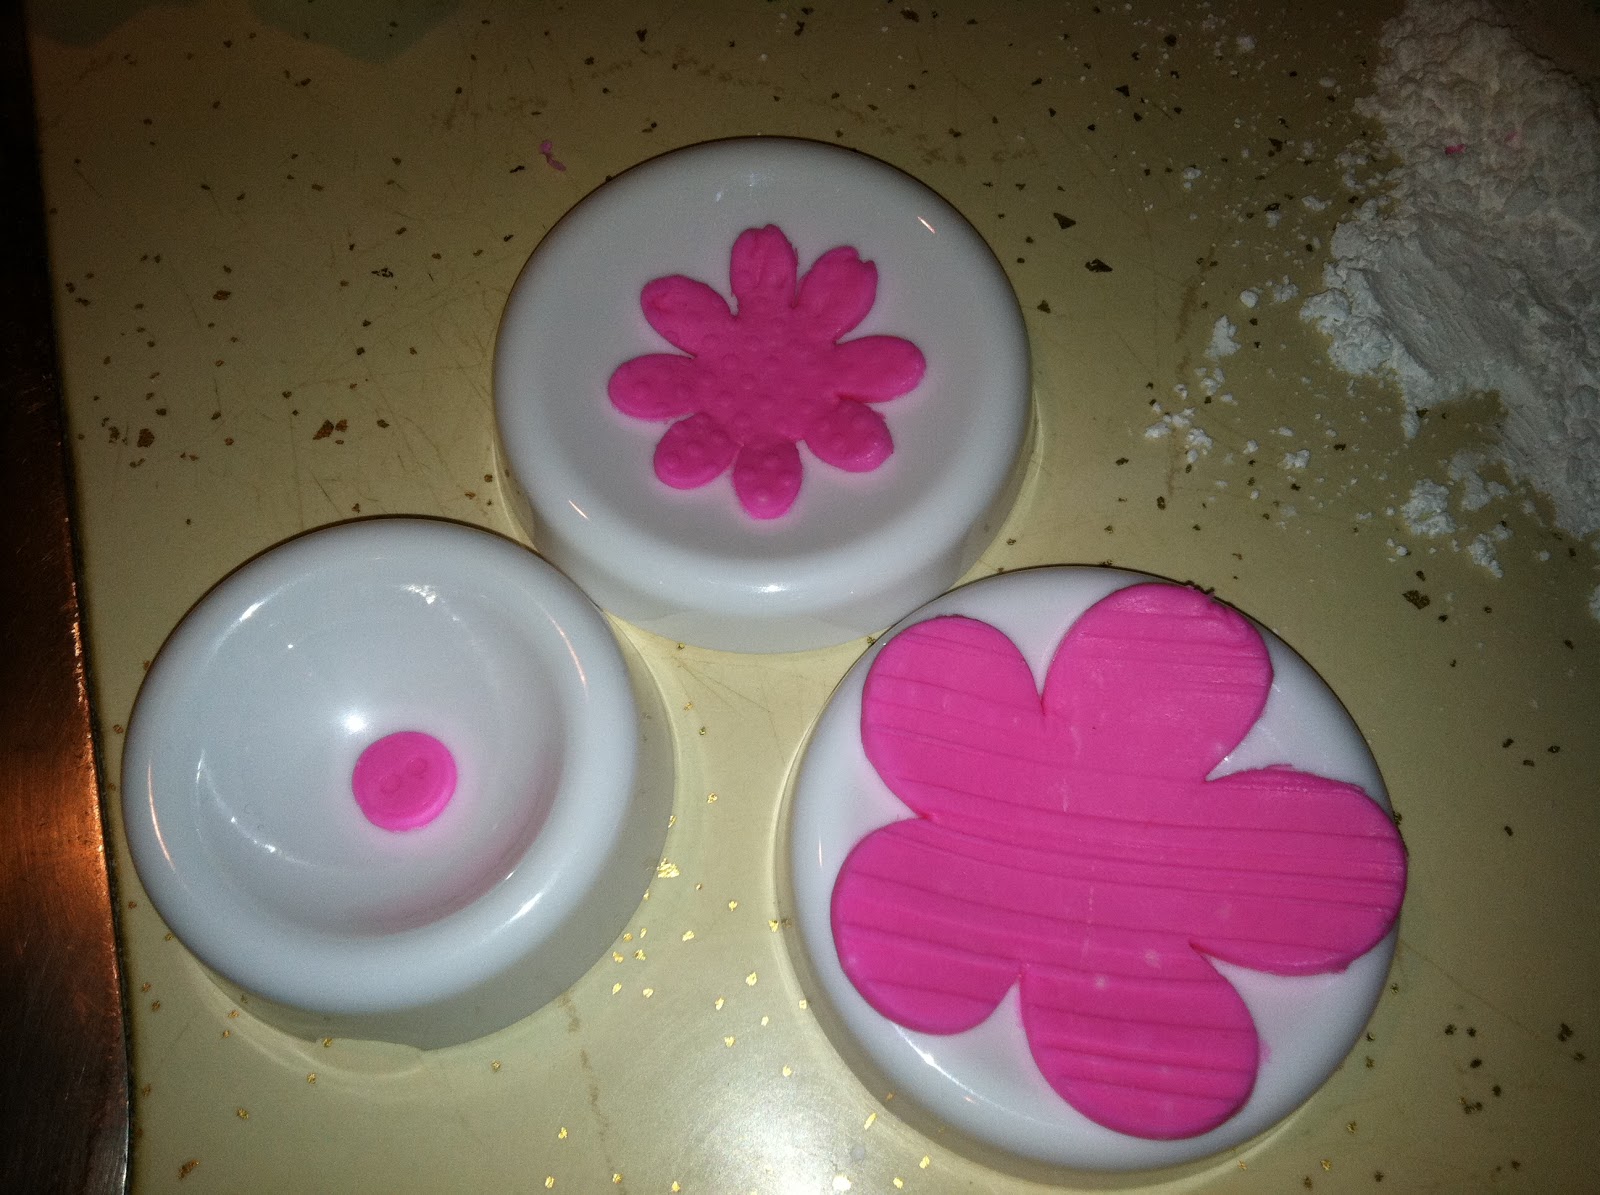
When you peel away the excess, this piece will fit perfectly into the mold:

Wrap all those excess bits in plastic; they'll dry out rapidly. Place the cutout piece over the side of the mold with the indents, close the mold and press down evenly…

…open the mold and here is what you'll have. Remove the excess from the side on the left and add it to the other scraps wrapped in plastic.

Attempt to loosen the flowers around the edges a little with the aid of any type of skewer-like tool (don't remove them yet). This pointy blue plastic tool came with the gum paste flowers kit. It can even be used as a tiny rolling pin!

Before you remove the flowers and the little round button center, close the mold one more time and press firmly; this step imprints the pattern more thoroughly. I had a really hard time getting the first set of flowers (pink) out of the mold; apparently the mold needed to be "seasoned." The pink flowers looked a little ragged by the time I pried them out with that tool, but they were usable. By the time I did the second set of flowers, I more or less had the process down. Here's a shot of all the little divots I had to make to talk those purple flowers out of the mold (you can see the edges are starting to loosen, though):


Once the pieces are free, they need to dry into a concave shape on flower forming cups. I'm sure any tiny bowls or dishes would suffice:
Reach for that gum paste adhesive and start dabbing away…

…and assemble the flowers like this:

I let them dry overnight but by the morning the undersides of the flowers were still quite soft (the leaves were totally dry; they're only one layer). I flipped those formers upside down and finished drying the flowers backside up.

I think the end result turned out OK; I mostly wanted to have something to bring in to my next class to show my teacher that I'm not completely inept. Hopefully I'll start getting the hang of gum paste flowers; there's probably as many varieties of them as there are of the real things!

Great post Denise. I have yet to take the gumpaste flowers class, but probably should.
ReplyDeleteGlad you liked the post, Matt! So far, so good with the class. I'll try to post about the other flower we learned in the first session soon; it was a lot more realistic.
ReplyDeleteThey may be a lot of work, but they sure are cute!
ReplyDeleteAnd they're versatile! I saw a photo of a cake where they'd made these flowers in two shades of green; they'd be great for St. Patrick's Day!
ReplyDelete