Showing posts with label sunflower. Show all posts

Thursday, June 21, 2012

Royal Icing Sunflower

I think the sunflower is one of the easiest yet boldest flowers you can pipe. It's larger than most royal icing flowers; just one would cover an entire cupcake! You'll need larger parchment squares (about 3") and a larger flower nail, a Styrofoam block to rest the nail in, a glue stick, a dusting pouch filled with a 50/50 mix of cornstarch and powdered sugar, stiff consistency royal icing in yellow and brown, round tip #3, and a curved ribbon tip (I used #79 by Magic Tip).
 Start by sticking a parchment square to the nail with a dab from the glue stick.
 Make a dot of icing in the middle of the square to keep your flower centered.
 Hold the tip just above the surface at a 45 degree angle. Pipe two petals opposite each other. Start from the center and radiate out to just inside the edge, at which point you should stop pressure and pull the tip away.
 Touch your fingertips to the dusting pouch, and pinch the ends of the petals into a point.
 Repeat the process…
 …again and again…
 …and again. Don't worry if you don't wind up with exactly 16 petals.
 Touch a fingertip to the dusting pouch again and tap it against the center to flatten out all those raw ends.
 Allow the flower to firm up for about 15 minutes. Pipe a cluster of #3 short stand-up dots. Hold the tip against the center of the flower, squeeze briefly while drawing the tip upwards for about 2 millimeters, stop pressure and pull the tip away. If any of the dots are especially taller than the others, touch a finger to the dusting pouch and tap them down. Allow this flower ample time to harden; the drying time can be sped up by placing it under a desk lamp. This is a great flower for decorating cakes all the way from summer through fall!

Monday, April 9, 2012

Leaves for Sunflowers & Gerbera Daisies

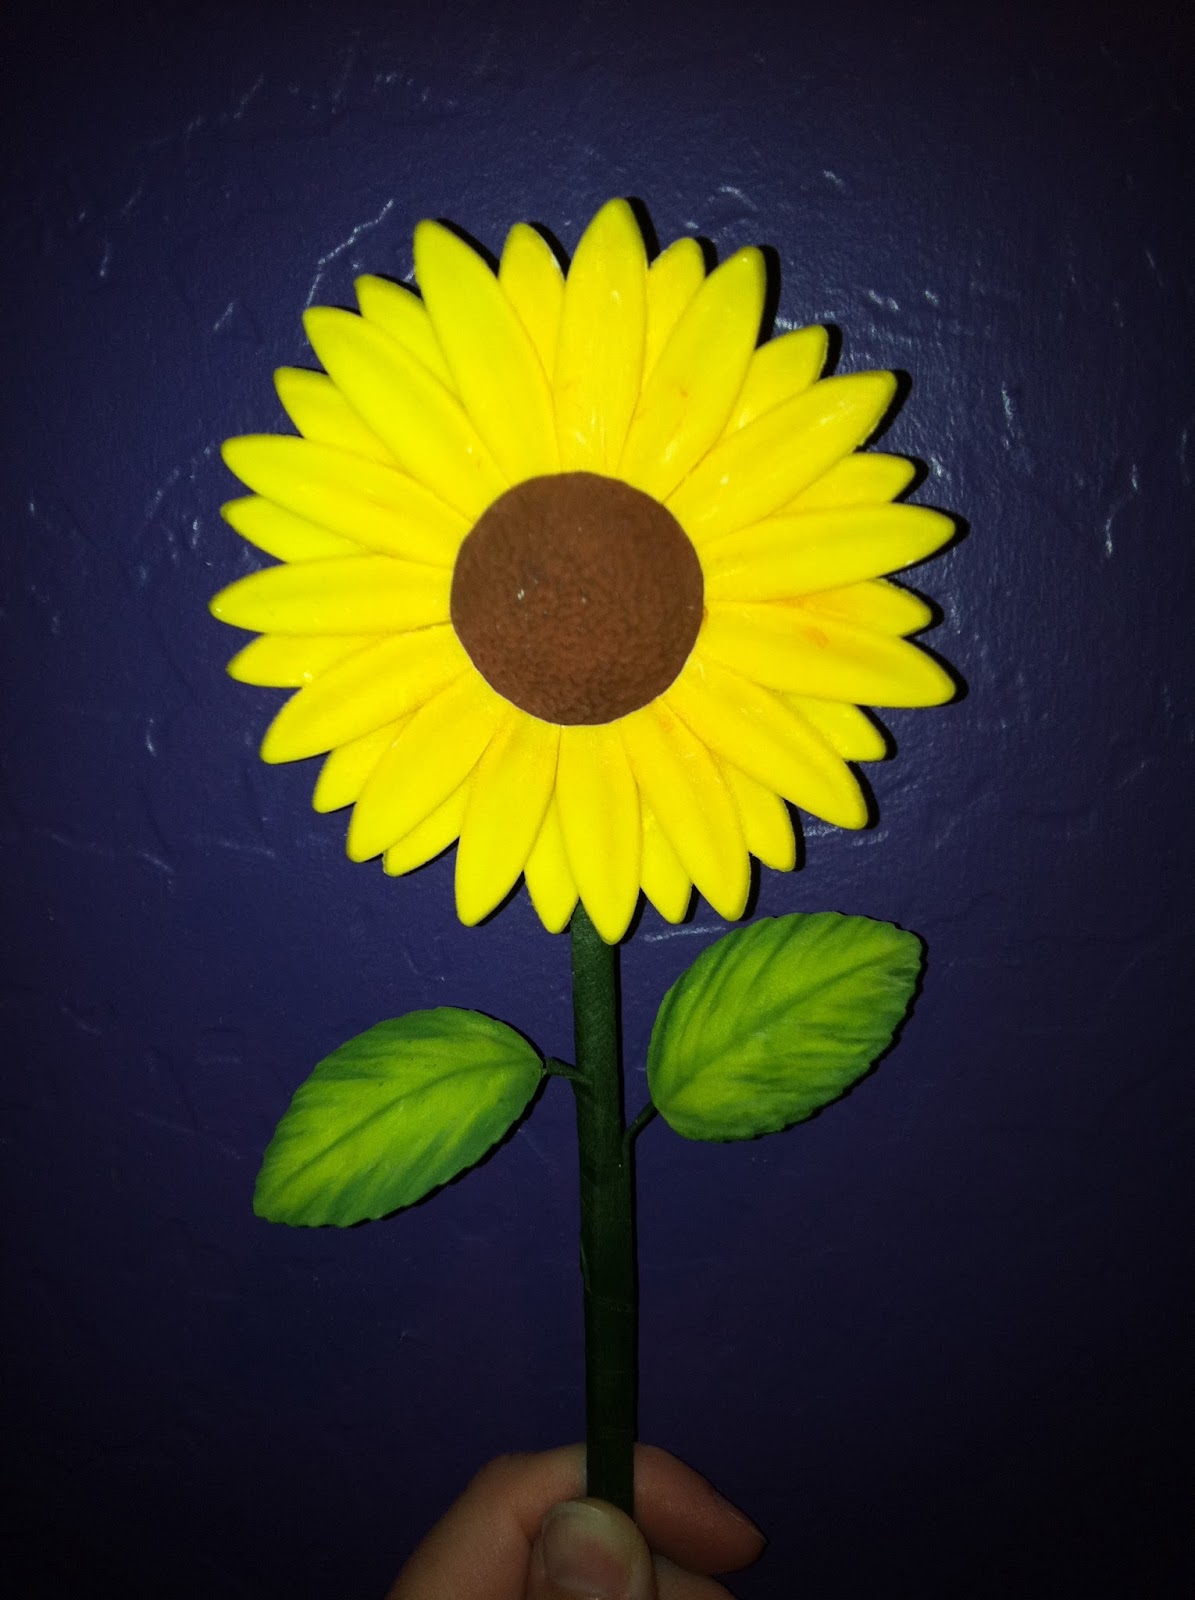
Now that you know how to put large flowers like sunflowers and gerbera daisies on stems, you'll probably want to dress them up with some leaves. Here's all you'll need: a 9” fondant roller, 6" pieces of 26-gauge green florist’s wire, a dusting pouch filled with a 50/50 mix of cornstarch and powdered sugar, green gum paste, florist’s tape, the ball tool from Wilton’s 10-piece Fondant and Gum Paste Tool Set, a container of gum glue adhesive (a pinch of gum paste dissolved in a tablespoon of water), Crisco (to knead into the gum paste if it starts to dry out), thin pink and purple shaping foam, the leaf impression mat from Wilton’s Flower Impression Mat set, and a large rose leaf cutter; I used the one from Wilton’s Gum Paste Flower Cutter Set. You'll also need a wave flower former.
 Start by dusting the groove on the back side of the impression mat.
 Form a log of green gum paste, and place it over the groove.
 Roll out the gum paste with the roller, pressing firmly over the part over the groove to ensure the gum paste is pressed into it.
 Peel up the gum paste, and make a cutout with the rose leaf cutter over the ridge formed by the groove (there should be about half an inch between the end of the ridge and the tip of the leaf).

 Dip the end of one of the wires into the gum glue…
 …and lay it alongside the ridge.
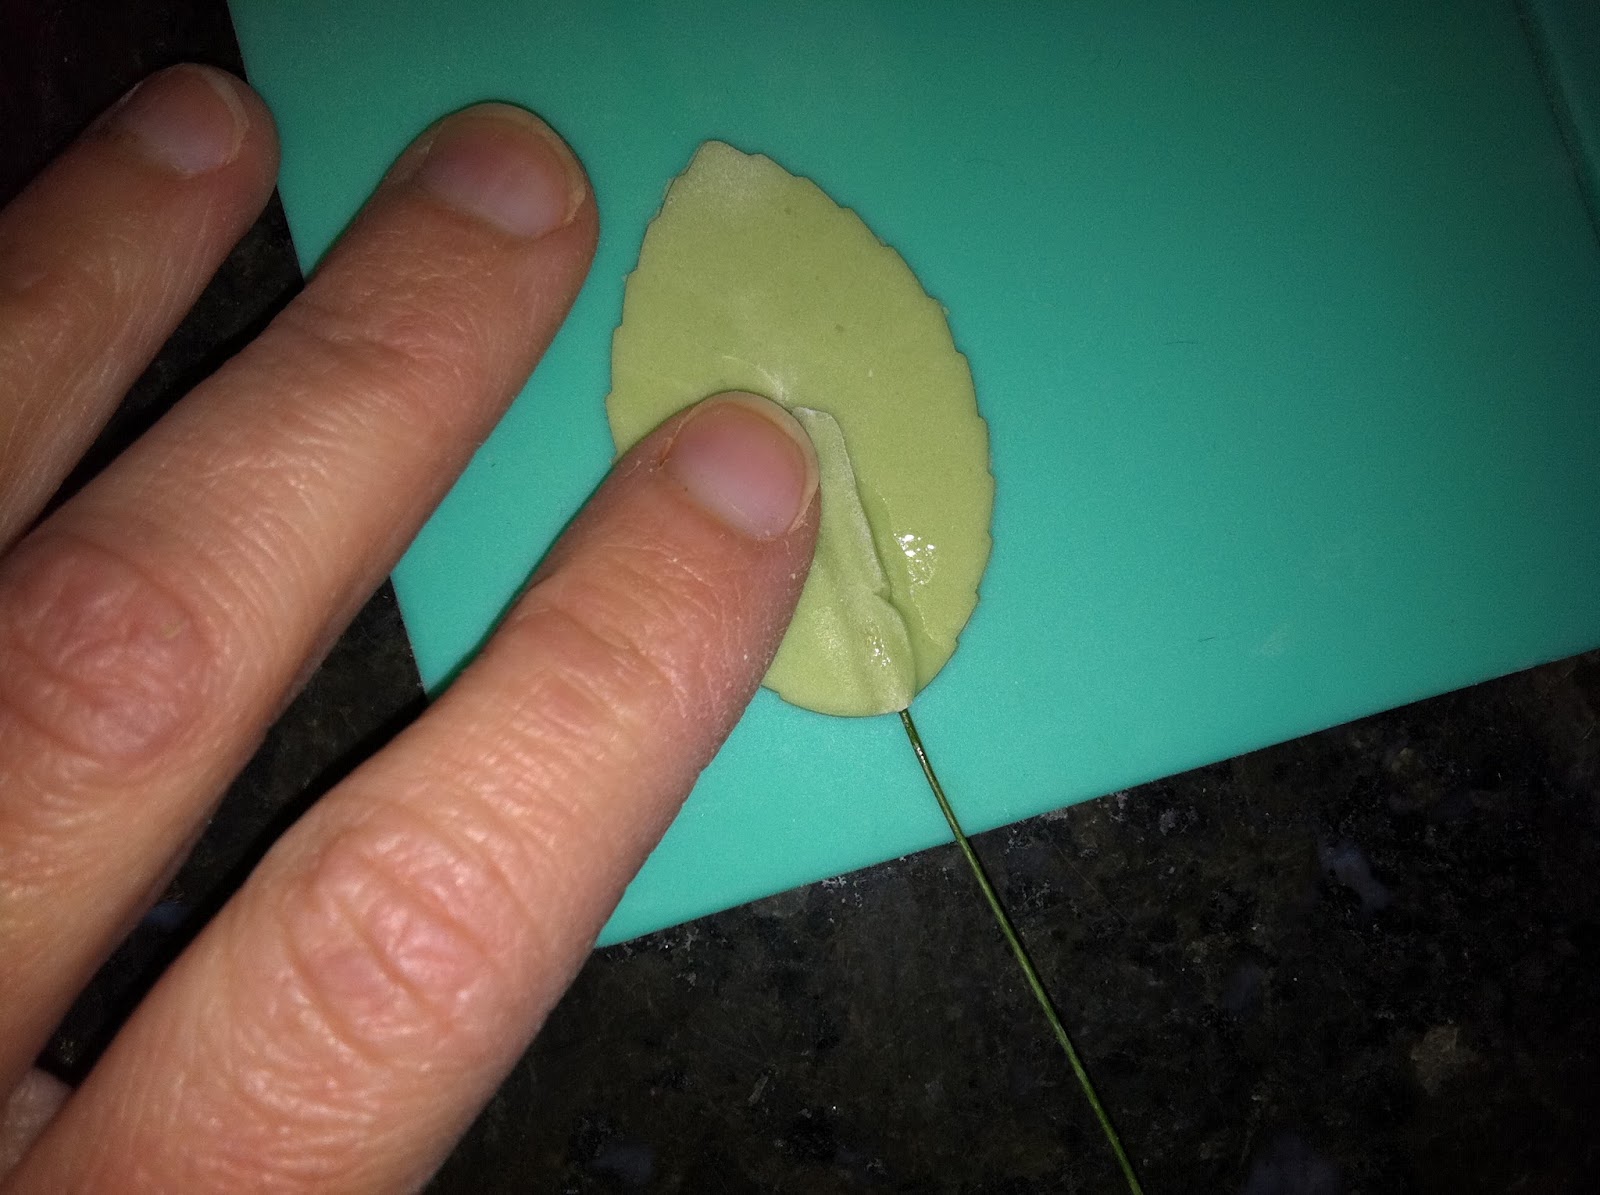
 Fold the ridge over the wire, pressing down gently but firmly.
 Dust the upper portion of the leaf impression on the mat.
 Place the leaf on it, wire side up.
 Place the thin pink foam over the leaf and press down to imprint the leaf impression.

 Place the leaf on the thin purple foam and run the large end of the ball tool around the edges to thin them.
 Gently bend the wire inside the leaf, and place it on the convex portion of a wave former to dry. Bend the bare wire stem in any way necessary to ensure the leaf dries properly.
 When the leaves are dry, you'll want to color them (which also enhances the detail from the impression mat). I used Color Dust in Lime Green and Spruce Green. I started by dusting the entire front side of the leaf with Lime Green, using a larger brush:
 Using an angled brush, I added Spruce Green to the edges in short, diagonal strokes. I also lowlighted the center line, and colored the entire back side with Spruce Green.
 The final step is to attach the leaves to the stem with florist's tape.
 Spool off several inches of tape. Stretch an inch or so at one end; when the adhesive is activated, the tape's color is lighter:
 An inch or two below the leaf on the stem, start wrapping the tape tightly at a diagonal angle, until it starts sticking to itself.
 Then, slide it up snug against the base of the leaf. Continue wrapping to the end of the wire.
 Each leaf must be wrapped to the flower's stem individually; this will aid in positioning the leaves later.
 Here's the sunflower, finally with a stem and leaves!

Sunday, April 8, 2012

Stems for Sunflowers & Gerbera Daisies

Gum paste sunflowers and gerbera daisies are among the easiest flowers to make, but if you don't add a stem to them…they pretty much just lie there. Here's what you'll need to take your flowers to new heights:
Gum paste in the same color as the flower, florist's tape, a bamboo dowel, a small brush, a container of gum glue adhesive (a pinch of gum paste dissolved in a tablespoon of water), and, of course, a gerbera daisy or sunflower. Start by peeling off enough florist's tape to wrap the length of the dowel. Stretch about an inch of the tape at one end; when the adhesive is activated, the tape's color lightens. 
 Wrap the entire dowel. I wrapped it all the way to the end and then back up to the top to get a deeper green color. If you're planning to stick the dowel directly into a cake, you could stop wrapping a few inches before you reach the end (or wrap the whole thing and stick it into a very large straw or some other plastic food-safe tube inserted into the cake).
 Roll out some gum paste a little thinner than 1/8" thick, and cut it into a rectangle. It shouldn't be so large that it's visible from the front side of the flower. Paint one side of it with gum glue adhesive…
 …and wrap it around the end of the dowel. Use a knife or spatula to make it neat and tidy.

 Paint the gum paste with some gum glue on one side, and press it against the back side of the flower.
 Cut another similarly-sized rectangle, and paint it on one side with gum glue.
 Lie it over the gum paste-wrapped dowel, and firmly press it into place.
 Allow it to dry overnight, and in the morning here's what you'll have. I'm making some leaves to add to it, and will post about them as soon as they've dried!

Friday, April 6, 2012

Gum Paste Sunflower

I'm always amused to see the number of page views the post about gerbera daisies gets; I think it's got to be one of the most popular flowers of all time! It's also one of the easiest to make from gum paste. The sunflower is nothing more than a variation of it; if you can make one, you can make the other. You'll need 4" flower forming cups (one for each flower), brown gum paste and yellow gum paste stored under plastic cups to keep them from drying out, Color Dusts in Goldenrod and Brown, a dusting pouch filled with a 50/50 blend of cornstarch and powdered sugar, a 9" fondant roller fitted with 1/8" pink rings, the large daisy cutter from either the Wilton Course 4 Student Kit or the Gum Paste Cutter Set, thin purple shaping foam, Crisco (to knead into the gum paste to revive it if need be), a gum paste storage board, a container of gum glue adhesive (a pinch of gum paste dissolved in a tablespoon of water), small brushes, the ball tool and veining tool from the Wilton 10-piece Fondant and Gum Paste Tool Set, and the impression mat featuring the sunflower center. 
Start by dusting the back side of the storage board to use as your work surface. 
 Roll out the yellow gum paste to 1/8" thick.
 Cut out two shapes with the large daisy cutter. You might want to press down on the back of the cutter with the fondant roller to be thorough.
Tear away the slack and put it back under the cup. If you've cut out both shapes at once, keep one under a flap on the storage board. 
 Neaten the edges by flipping the cutter over and running your finger along them, from the center to the tip.
 The cut-out should just fall out of the cutter easily; if it doesn't, it can be prompted with the large modeling stick from the gum paste tool kit.
 Widen the petals slightly by running the large end of the ball tool from each petal's tip to the base.

 Then, indent each petal slightly by running the large end of the veining tool, heel side down, from the tip to the base.
 Dust the flower forming cup…
 …and place the cut-out in it. Repeat the steps with the ball tool and the veining tool on the other cut-out. Apply some gum glue adhesive to the center of the cut-out in the flower forming cup…
 …and place the other cut-out on top of it. Offset the petals so all are visible; don't stack them directly on top of each other.
 Using one of your larger brushes, dust the whole flower with the Goldenrod Color Dust.
 Dust the sunflower center portion of the impression mat with the dusting pouch.
 Make a ball about 3/4" round out of the brown gum paste and press it in (you may need to pinch some away and re-roll the ball to get it to fit exactly; it should be level, not convex or concave).
 Pop it out of the impression mat, and dust it with the brown Color Dust.
 Dab some gum glue adhesive in the center of the flower…
 …and place the brown center over it.
 It might not be the most complex flower of all time, but it certainly is one of the happiest!