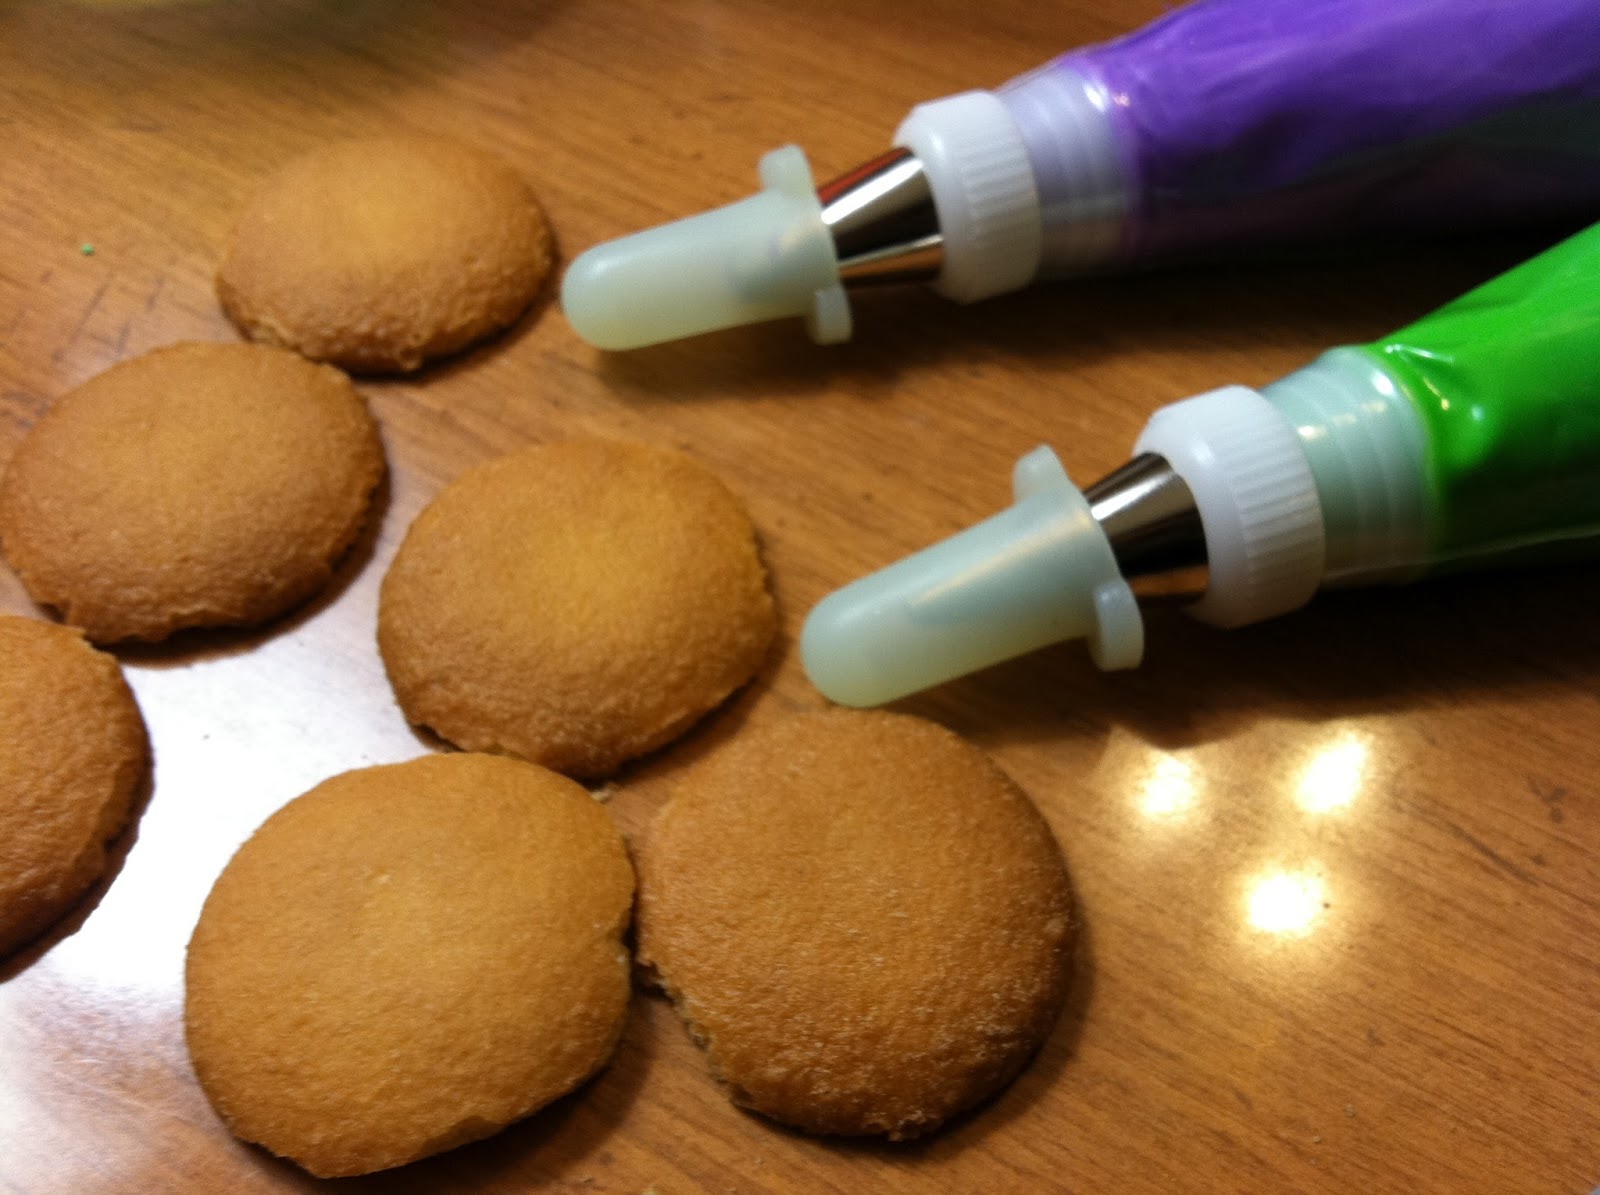
I've been hesitant to post about the rosebud, because so much of it relies on motion; it really would be more conducive to a video! But some petit fours bearing them today inspired me to pipe them on Nilla Wafers, so I'm going to attempt to explain the process. All you need to jack up the value of store-bought cookies is a pastry bag filled with stiff consistency royal icing in any color and fitted with a #104 rose tip, and a pastry bag filled with green royal icing that's been thinned with a dab of piping gel and fitted with a #3 round tip. For smaller rosebuds, use a #101 rose tip and a #2 round tip.

For the first petal, start with the tip to the right of the cookie's center (if you start in the exact center, the rosebud will probably wind up on the left). Lie the side of the tip flat on the cookie, with the narrow end slightly above the surface. As you squeeze and the icing fans out to form the base petal, you'll only move the wide end of the tip along the surface for about 1/4", first toward the center of the petal, then back to its original position at the V-shaped bottom; this motion forms that trough in the middle of the petal.
The base petal should stand up on its own like this; it's almost like a disc.
Here's another view of it.
The next step will involve lining up the tip with the right edge of the base petal, with the wide end of the rose tip aligned with the "V" of the base. Tuck the tip underneath the petal just slightly, and squeeze firmly. As the icing comes out, it will catch on the right edge of the base petal, and curl the petal over itself…
…which forms the front petal of the rosebud. When it looks like this, stop the pressure and slide the bag away toward yourself.
Here's another view of the rosebud from below:
Here's a view from the side where the tip was (you can see the angle from which it was pulled away):
Finally, here's a view of the top of the rosebud; you can see the inner spiral, and how the petal curled over itself:
Cap the purple bag, and reach for the green one to make the sepals and calyx. Hold the tip at the base of the rosebud. Squeeze, and let the icing build up on itself a little bit; then, move the tip up the center of the rosebud for just over 1/4". When you reach a good stopping place, stop the pressure and pull the tip down. This should form what almost looks like a little swan's neck and head.
Repeat twice for a total of three sepals. To finish, place the tip at the base of the center sepal, and squeeze until icing builds up enough to connect all three sepals; this will be the calyx. Draw the tip toward you, reducing and stopping pressure as you go. If this rosebud was being piped directly on a cake, you could continue down into a stem, blending the calyx and stem with a dampened brush. You can also pipe it in buttercream.