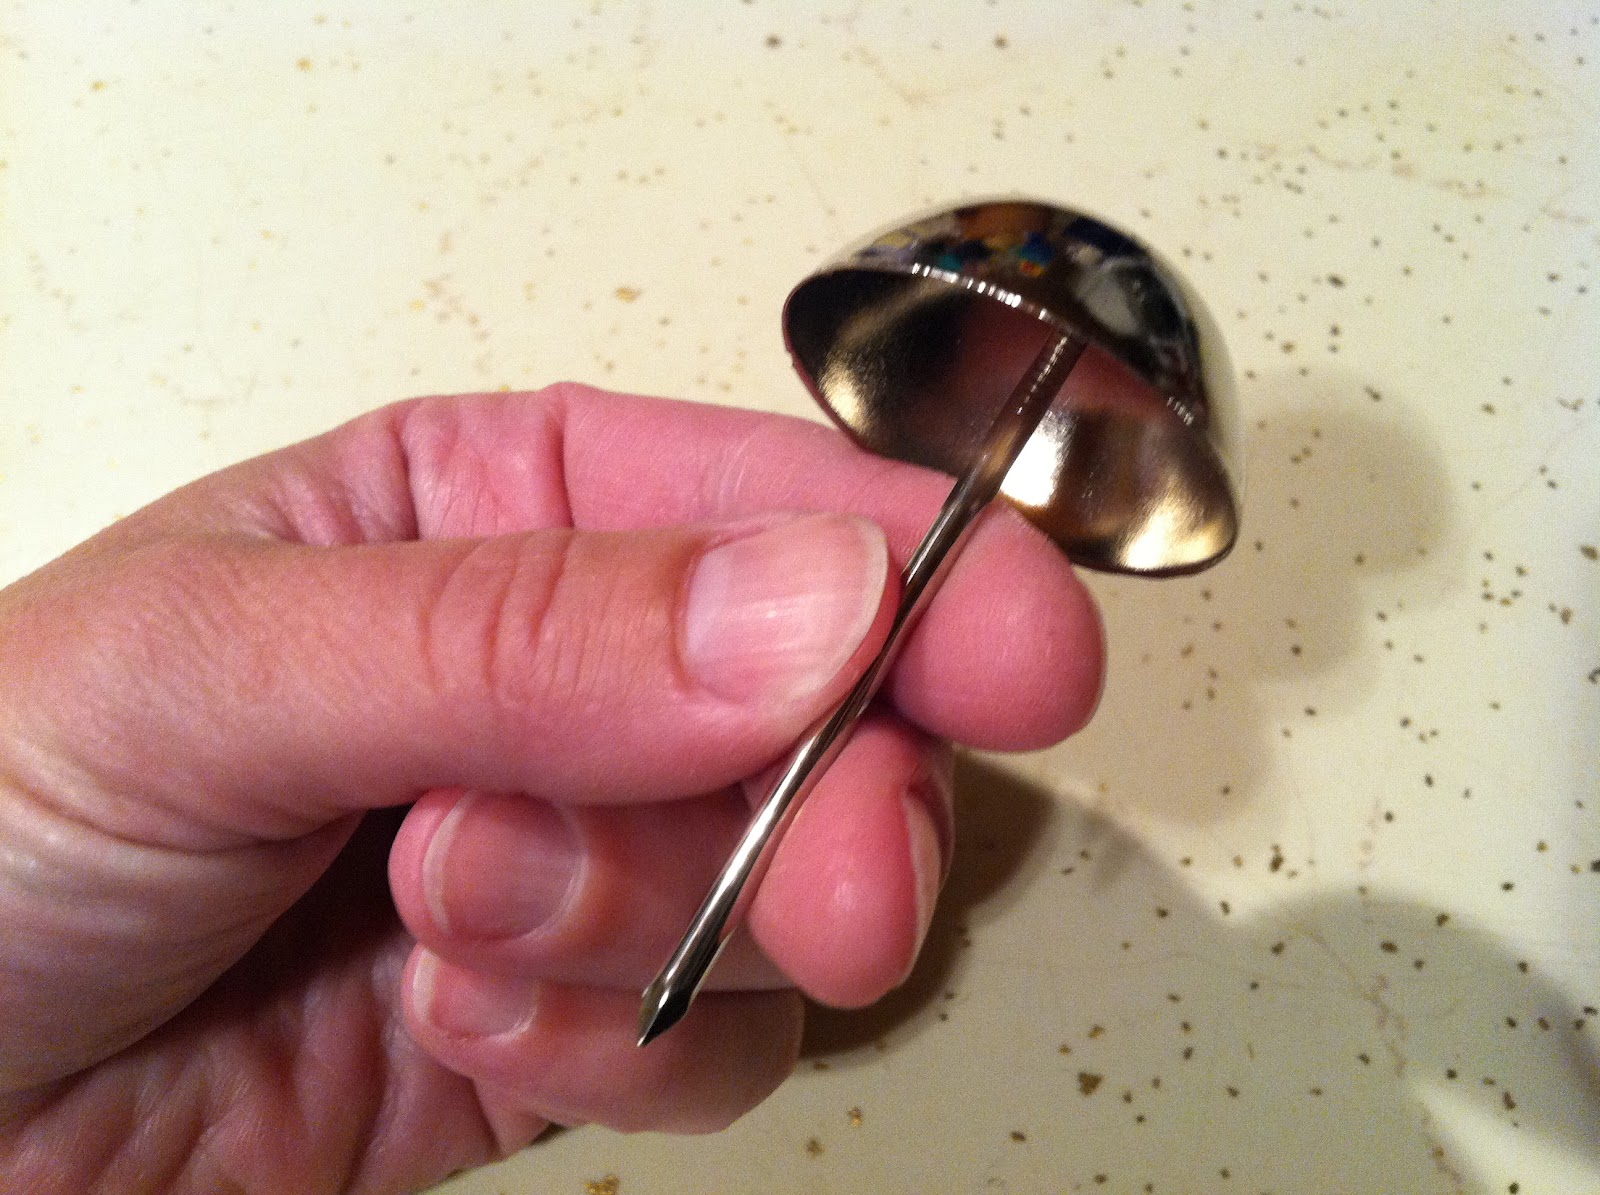
Every so often I'll run across an item in a store that reminds me I've barely scratched the surface on the cake decorating phenomenon. I stupidly thought I knew everything there was to know about flower nails, and then I ran across this bizarre specimen…
…a hollow dome with a #3 on it (no brand stamped in the metal, nothing). After doing some research, I found out this peculiar looking tool is made by Ateco and is known as a "chrysanthemum nail." In the Ateco catalog, it's listed as 903 (there's also a 906; I'm assuming that one is larger, if the standard numbering convention is any indication).
I haven't been successful in finding photos of it in action, but I'm guessing that if it's used to pipe chrysanthemums, this tip will be the right one to reach for. It's an Ateco #80, which I used a few months ago when I piped
chrysanthemums.
The point of using a chrysanthemum nail is to skip over the step of piping a base; the dome IS the base. When the flower is dry, it gets popped off the base, which has been greased with a thin layer of Crisco. The upside is you save a bunch of icing and have a flower that is a lot lighter, the downside is you can only pipe one at a time. Other items needed are stiff consistency royal icing, a dusting pouch filled with a 50/50 mix of cornstarch and powdered sugar to touch your fingertip to if you need to nudge any questionable-looking petals into place, and a Styrofoam block to rest the nail in.
After you've greased the nail lightly with Crisco, pipe the first three stand-up petals. I go a bit more into detail about angle, petal placement, etc. in the original
chrysanthemum post.
Add more petals until the chrysanthemum is the size you want; you could cover the whole nail. It annoys me that I can see the nail through those fluted petals, but it might give the flower a pretty, lacy look if you can see through it to the cake and leaves beneath. Alternately, you could pipe the petals in a much denser pattern.
Set the nail in the Styrofoam until the mum is dry (I gave it five hours; I would recommend overnight). It should pop right off if you gently press your fingertips against opposite sides of the mum while giving the nail a very small twist. If there's any hesitation, it's not ready to come off. I must say, I like the end result, but I definitely prefer piping mums on a standard flower nail.