Williams Sonoma carried a Bundt pan that provides a unique take on the Yule log during the holidays; in no time the price dropped and I snapped one up. The "
Stump de Noel" pan is no longer available on the WS site, but I'm sure you can still find one in the clearance section of the stores and on eBay. I've never made a Yule log of any variety before, but I know they are traditionally accessorized with meringue toadstools (another thing I've never made before). I gave it a try, knowing that they'd at least be delicious, if not aesthetically pleasing.
Toadstools are made with a basic meringue recipe. Let two egg whites reach room temperature, then toss them into a
stand mixer at a medium high speed.
In a matter of minutes the egg whites are dry and hold their shape stiffly like this:
While the beaters are moving, add in 6 tablespoons of sugar, one at a time:
Also add in a 1/4 tsp of cream of tartar. Add 1 tsp of vanilla (or any flavor extract you're partial to) and 2 more tablespoons of sugar. Line one large cookie sheet with parchment paper, and preheat your oven to 250 degrees. Fit a pastry bag with a medium-size round tip like this #12:
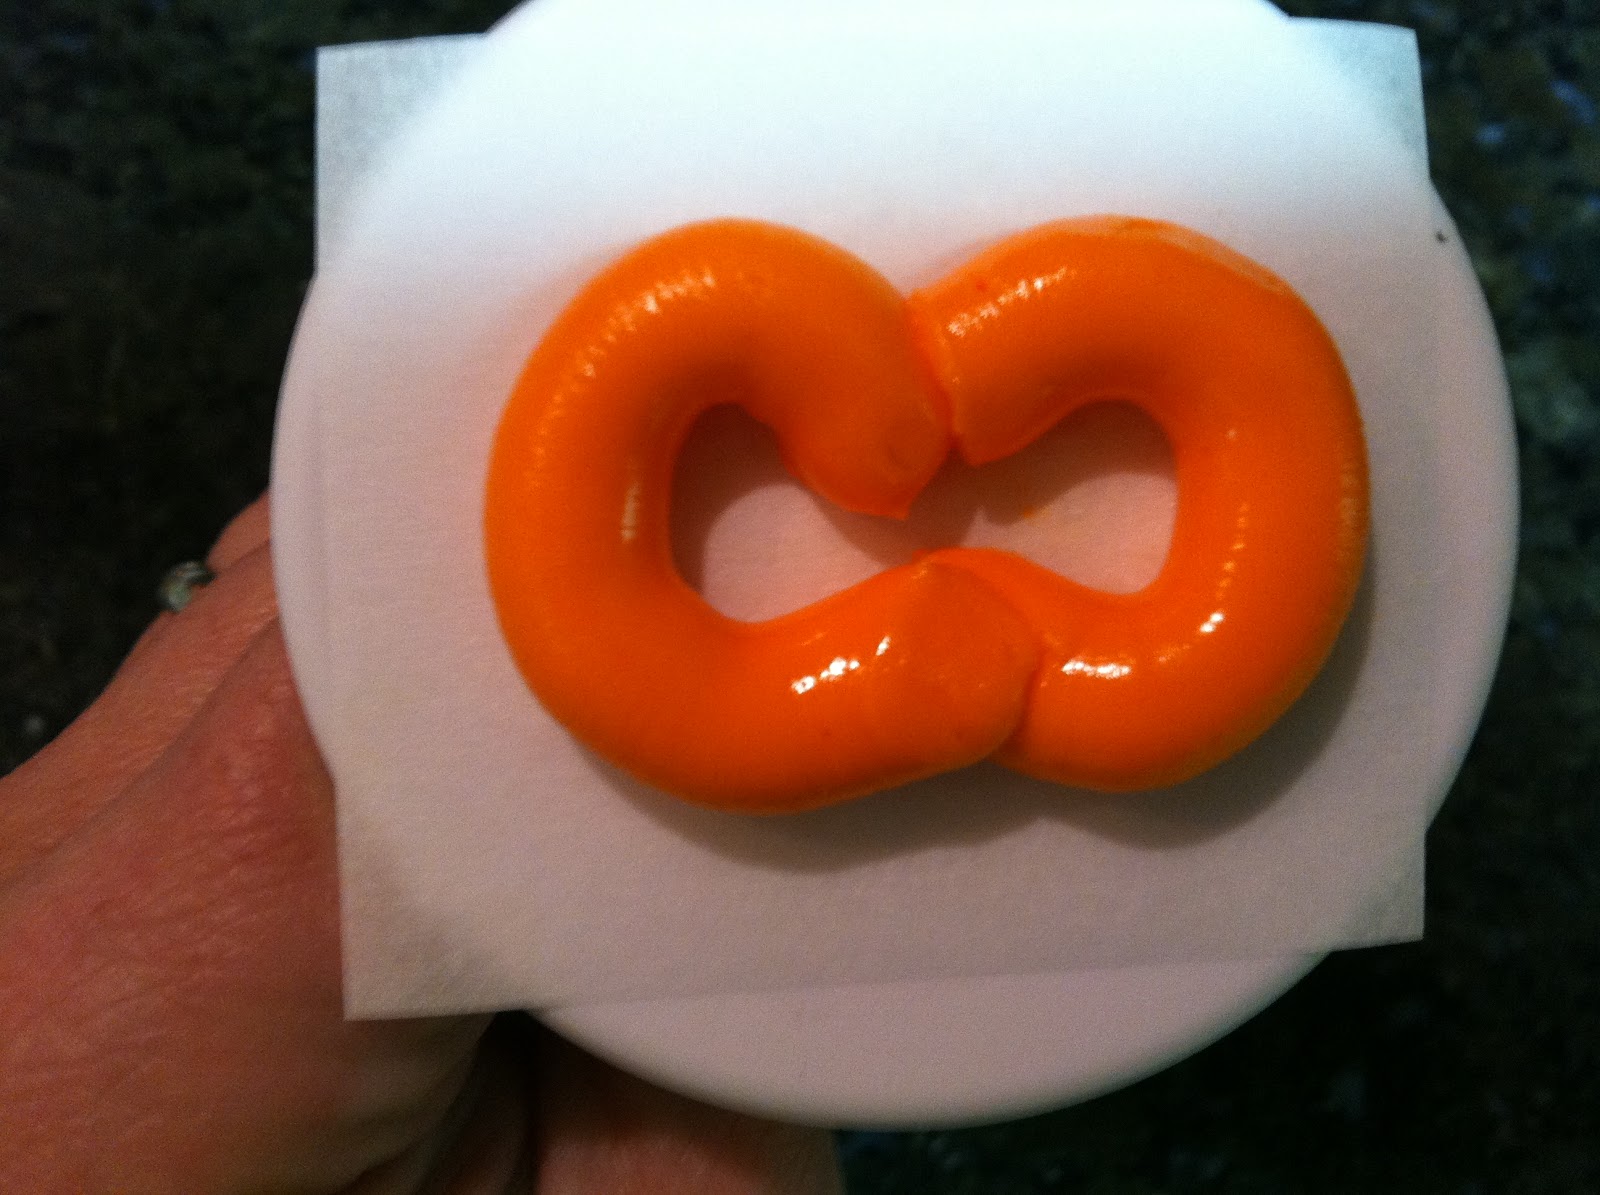
Fill the bag with the meringue mixture. Cuff the bag over your hand:
A long offset spatula is very helpful for getting every last bit of the meringue mixture out of the bowl and into the bag. After I load up the spatula I push it as far into the bag as possible, and then scrape it off against my thumb or fingers on the way out, which does a pretty good job of depositing most of the meringue far down in the bag near the tip:
Now for the fun of piping the toadstools! No two turned out alike, to be sure. Generally, I started with the tip of the bag a pinky's width above the parchment paper. I squeezed the bag constantly and evenly until I had a flattened ball of meringue about 1 1/2 inches across (18 of them, to be precise):
Keep the tip buried the whole time you're squeezing, and you should have a shape like this:
When the ball of meringue reaches the size you want, stop squeezing the bag and remove the tip at a 90 degree angle. Try to "shave" the tip away from the ball so that no peak forms, like this:
Keep a small bowl of water handy. If a peak occurs, dip a finger in it, and smooth out the peak.
I prefer my ring finger for things like this; it's way less "stabby" than the others. Pipe out at least as many toadstool stems as caps; some may break. Hold the tip of the piping bag at a right angle to (and just above) the surface, and start squeezing while you draw the tip upwards. I didn't have the best luck making beautiful stems, but they all turned out usable. I'm totally blaming the damp weather we've been having; rain is not a meringue's best friend (ideal meringue-making conditions are warm, dry days, which we don't know a whole lot about in
Half Moon Bay). Put the meringues in the oven for 50 minutes, rotating the pan once halfway through so they'll brown evenly:
At the end of the 50 minutes, turn off the heat but leave the pan in the oven and allow the meringues to cool and firm. They should just slide off the parchment paper. If they stick, try gently wiping the reverse side of the paper with a piece of barely-damp paper towel.
Now it's time to make some edible paint to add "gills" to the underside of the toadstool caps. In a small bowl, pour a tiny amount of vanilla extract and add a few drops of brown paste food color from a toothpick. Mix up your "paint" and have a narrow, angled brush at the ready.
Start by painting 4 lines at 12, 3, 6, and 9 from the outer edge and in toward the center.
Try to paint all your lines so they radiate relatively evenly from the center point. I prefer to work from the outer edges inward:
When the "paint" is dry, take the tip of a small offset spatula and carve a small divot in the center.
This is the hole the stem will be stuck into. If it doesn't fit perfectly, no worries. Pipe a small amount of
royal icing into the hole (I used a #1 tip):
Insert the end of the stem you think is the closest match; you can scrape away excess royal icing with the tip of that small offset spatula:
Now it's time to dust the tops with cocoa for a finishing touch of forest floor realism. This is a
dusting pouch, which up until now I've only ever used to dust work areas for fondant with cornstarch or powdered sugar:
Spread open the pouch and place a teaspoon or so of cocoa in the center. I love Hershey's Special Dark Cocoa; soon I'll post a recipe for chocolate fondant that uses it:
Pull the string to draw the pouch closed. Gently shake over the tops of the meringue toadstools:
And then patiently wait for tired elves and fairies looking for someplace to sit to show up. Or just make a lovely pot of tea and eat them straight.
Watch for future steps in the construction of the "stump cake," featuring meringue toadstools (if I don't eat them all first)!