Saturday, June 30, 2012

Royal Icing Wooden Shoes

OK; I know this project doesn't look a whole lot like what it's supposed to be, but I really wanted to pipe some approximation of wooden shoes to accompany yesterday's tulip. And can you believe there aren't a whole lot of hits when you do a Google image search for "royal icing wooden shoes"? ;) So, here's what I came up with. All you'll need are parchment paper squares, brown stiff consistency royal icing, round tips #12 and #3, and a dusting pouch filled with a 50/50 mix of cornstarch and powdered sugar. You'll have an easier time of piping them the same size if they're next to each other on the same parchment square. Start by holding the #12 tip at a 45 degree angle and just above the surface. Pipe a 1/2" long strip, then stop pressure and pull the tip up and away to form a peak. Touch a fingertip to the dusting pouch and use it to refine the peak, if need be. 
 Next, pipe the "insoles." Hold the tip just above the surface and directly behind the shapes you just piped, squeeze a small amount of icing out, and pull the tip away. Tap this part flat with a fingertip.
 Switch to the #3 tip, and pipe a line around the insoles to connect them to the front of the shoes. Touch your fingertip to the dusting pouch and use it to blend the tips of the line to the front.
 Pipe one more line with the #3 tip to give the shoes a more defined "heel."
 It occurs to me now that on the subject of footwear, I should stick to piping what I know…which would be 4" platforms from Hot Topic. Another post for another day! Until then, tot ziens! (Dutch for "See you later")


Friday, June 29, 2012

Royal Icing Tulip

Getting this project "right" is still a work in progress; the notion of piping a tulip came to me after a fairly exhaustive online search that turned up nothing (nothing 3D, that is). I started by piping a bunch of loose petals with stiff consistency royal icing on a parchment paper square with a tip #97 (the tip with the "S" shaped cut used to pipe the Victorian Rose). Hold the tip almost flat against the surface, and while squeezing move the tip in a small upside-down "U" formation with an end that tapers to a point. I used 5 of these 7 petals; it's always good to make a few extra for breakage/rejects/snacking. 
 Pipe a base for each tulip. Switch the tip to a round #12, hold it just above the surface of a parchment square, and squeeze until the icing is the size of a dime. Continue to squeeze and pull upwards at a 90 degree angle. Stop the pressure and pull the tip away after about 1/2". It should look like a tall Hershey's Kiss.
 Allow the petals and bases to dry for at least an hour. You can start assembling the tulips when the petals peel off the paper easily.
 Switch the tip to a small round tip, like a #2 or #3. Squeeze a small amount on the backside of a petal at the wide end…
 …and stick it to the base, point up. Repeat with more petals, overlapping, until the base is covered.
 Allow the tulip to dry completely, until the paper can be peeled away easily from the base. These would be especially cute if piped with a striped edge.
 Don't worry; I'll get started on wooden shoes soon!

Thursday, June 28, 2012

Royal Icing Pineapple

I've been thinking a lot about those half-pumpkins that you see around Halloween (they're a cousin to candy corn; one of my perennial favorites). I'm planning to pipe an icing version of those, of course, but I thought I'd better hold off and work on something more seasonal: a pineapple. All you need to pipe a little half-pineapple that would look darling on a cupcake or any small dessert are royal icing in green and yellow (or a more realistic color), a dusting pouch filled with a 50/50 mix of powdered sugar and cornstarch, parchment paper squares, round tips #12 and #5, and oval tip #55 by Ateco. 
Start by piping a shape reminiscent of a Hershey's Kiss in the middle of a parchment square. Hold the #12 tip just above the surface, squeeze until the base is about the size of a dime, then draw the tip slowly upward while maintaining even pressure. Stop pressure and pull away the tip when the shape is about 3/4" high. Touch a fingertip to the dusting pouch and tap the peak into the rounded shape you see here:
 Allow it to firm up for about half an hour. Switch to the #5 tip and cover the shape in tiny little adjacent dots. Hold the tip almost against the surface, squeeze just until you see icing, then pull away to form peaks.
 Cover the entire shape except for the top.
 Use the oval #55 tip to pipe the leaves. Hold the tip just above the surface at a 90 degree angle, squeeze, and pull up. After about 1/3", stop pressure and pull the tip away. If any fall over, you can usually touch a fingertip to the dusting pouch and nudge them back into place.
 These would be especially cute on luau or SpongeBob SquarePants-themed cupcakes; anyplace a little tropical accent is appropriate.

Wednesday, June 27, 2012

Royal Icing Lollipops

I'm a big fan of lollipops, except for the stick; what a waste of space! So, I thought it would be cute to pipe totally edible lollipop decorations for cupcakes, cookies, etc. All that's needed are stiff consistency royal icing in any color you like (including white for the stick, if you're a traditionalist), round tips #8 and #4, a dusting pouch filled with a 50/50 blend of powdered sugar and cornstarch, and a cookie sheet with a piece of parchment paper taped to it, like this:
 Pipe a #8 line about 3" long, holding the tip just above the surface and the bag almost flat:
 You can square off the ends of the "stick" by touching a fingertip to the dusting pouch and tapping them flat, or you can dust an offset spatula and push it in between the tip and the icing to make a clean cut:
 Pipe a stick for each lollipop and allow them to dry.
 Pipe a spiral of icing using the #8 tip. Hold the bag at a 90 degree angle with the tip just above the surface. Start piping the spiral to the left of the stick, and about half an inch down its length to make a good connection. Spiral in toward the center, stop the pressure, and pull the tip away. If a peak remains, tap it down with a powdered fingertip.
 Let it dry for a while, until it can support the weight of a #4 spiral. Allow the finished lollipops to dry overnight, then slide them off the parchment with the assistance of an offset spatula. You could pipe these in any color to coordinate any holiday or occasion!


Tuesday, June 26, 2012

Royal Icing Octopus

At the risk of being biologically inaccurate, today I piped a hot pink octopus. This little critter would be perfect on top of an ocean-themed cupcake. All you need to pipe octopi are round tips #10, #4 and #2, royal icing in white for the eyes and hot pink (or whatever color you like) for the body and legs, a dusting pouch filled with a 50/50 blend of cornstarch and powdered sugar, a flower nail, parchment squares, a Styrofoam block to rest the nail in, a glue stick, and a black Gourmet Writer by AmeriColor
 Stick a parchment square to the flower nail with a dab from the glue stick.
 Using the round #4 tip, hold the tip perpendicular to the surface and pipe a curlicue for a leg (this one is basically a backwards, upside down "?", sans dot).
 Repeat 7 times; make them all different!
 Allow the legs to firm up for about 10 minutes. Switch to the #10 tip and pipe a ball in the center for the body. If a peak forms when you pull the tip away, touch a fingertip to the dusting pouch and tap the peak down.
 Allow the body to dry for 10 minutes or so, then pipe two tiny #2 or #1 dots for eyes.
When the eyes are dry, add "pupils" to them with the Gourmet Writer. When the octopus is completely dry, peel away the parchment paper, and set him (her?) to swim on an ocean of blue icing. I'll try to pipe more aquatic friends for the octopus soon! 

Monday, June 25, 2012

Piping Roses with Tip #101s

Yesterday's blog post was about the largest flower I've ever piped: the gerbera daisy. Just to shake things up, today I piped the smallest flower I've ever piped (with the exception of drop flowers): a rose with petal tip #101s. More common tips for piping roses are the #101 and #104, and I really felt the difference with this smaller tip; you could place one of these roses on a dime with room to spare! Here's the tiny #1 nail I piped it on…
…and here it is, side by side with the nail #914 from yesterday:
Also, here's the #101s tip to the right of the largest petal tip I own, the #126. 
In addition to the #1 nail and the #101s tip, you'll need a Styrofoam brick to set the nail in, a #8 tip, a glue stick, parchment squares (very tiny ones! I cut some 3" ones into fourths), royal icing in any color you like, and a dusting pouch filled with a 50/50 mix of cornstarch and powdered sugar. 
 Stick a parchment square to the nail with a dab from the glue stick.
 Pipe a rose base with the #8 tip. Make it look like a tiny Hershey's kiss. Hold the tip just above and perpendicular to the surface, squeeze out a small amount and draw the tip up. You may need to touch a fingertip to the dusting pouch and then to the base to perfect the shape.
 Pipe all of your bases at the same time, one for each rose. Allow them to firm up, then return one of them to the nail. Switch the tip to the #101s, and pipe a wraparound petal while rotating the nail.
 I had a hard time following traditional rose instructions (like those for the Wilton Rose) because of the tininess of the petals; I just couldn't do the standard rows of 3, 5, and 7 petals! Instead, I piped with the goal of covering the base. Here's the rose with the wraparound petal and one row of petals surrounding it…
 …and here's one more row of petals to finish it off. By the way, to pipe petals, squeeze the bag while moving the tip in an upside down "U" movement. These are great for decorating tiny little cookies, cakes, petits fours, whatever! You could eat an entire bouquet in one bite!

Sunday, June 24, 2012

Royal Icing Gerbera Daisy

When I first started writing this blog six months ago on December 31st, 2011 as a New Year's Resolution, I really had no idea how many people might read it, if any. I never thought I'd reach a page view number in the 5 digits (or if I did it would take years to do). Well, today The Iced Queen had its 30,000th page view, and in honor of this big number, I piped a big flower: a gerbera daisy. To pipe a big flower, you need big parchment paper squares, and a big flower nail; I used an Ateco 914, which is 3" across:
You also need a dusting pouch filled with a 50/50 blend of powdered sugar and cornstarch, stiff consistency royal icing in two bright colors, a glue stick, petal tip #104, and round tip #5.
 Start by sticking a 3" parchment square to the nail with a dab from the glue stick.
 Make a dot in the middle of the square to help keep your petals centered.
 Pipe about 16 petals with the #104 tip that start in the center and radiate outwards, almost to the edge of the nail. Hold the wide end of the tip at the center with the narrow end aimed toward the outer edge. Hold the tip almost flat on the surface, with the narrow end slightly higher.
 As you pipe outward, increase pressure only at the outer edge to build up the curved edge. Decrease pressure as you move the tip back in to the center.
 Rotate the nail and pipe more petals. I like piping them at 12 and 6, then 9 and 3 to keep the flower balanced.
 Pipe 4 more petals in between them…
 …and another petal in between each of these for a total of 16 (or thereabouts).
 Here is a side view; you can see the jaunty upward angle of the petals' edges from here.
 Tap a fingertip to the the center to flatten out the beginnings and ends of the petals. Set the flower aside to firm up before piping the center (it will smooth out a little on its own, too).
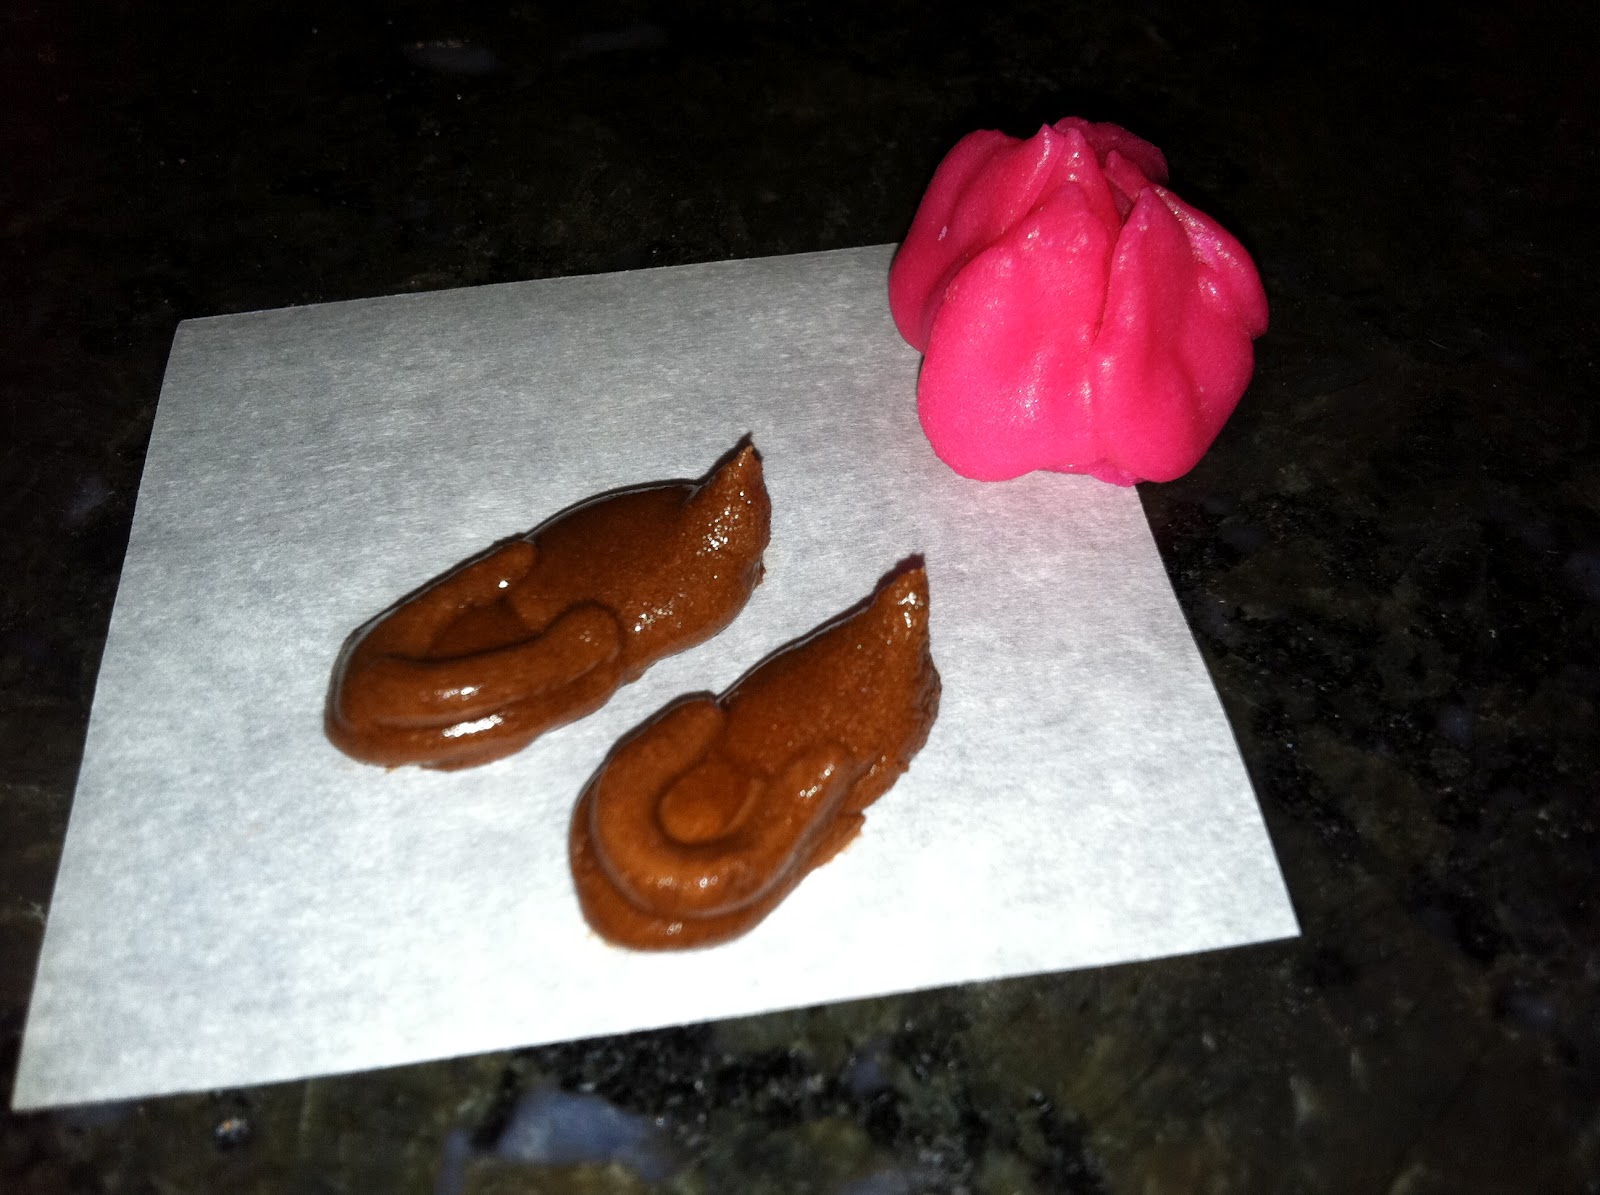
Pipe a cluster of #5 pull-up dots in the center. Hold the tip just above the surface of the flower's center, squeeze, pull the tip up about 2 millimeters, stop pressure, and pull the tip away. If any of the dots are significantly taller than the others, you can touch a fingertip to the dusting pouch and flatten them slightly. Give the parchment a gentle tug to remove the flower from the nail. Allow the gerbera daisy ample time to dry before you peel away the parchment paper; you can speed up the drying time by placing it under a desk lamp. 
Thanks to all of you who have contributed to this blog's 30,000 views thus far; keep piping! 
P.S. That's my shower curtain in the background.