Thursday, April 26, 2012

Rice Krispy Pops

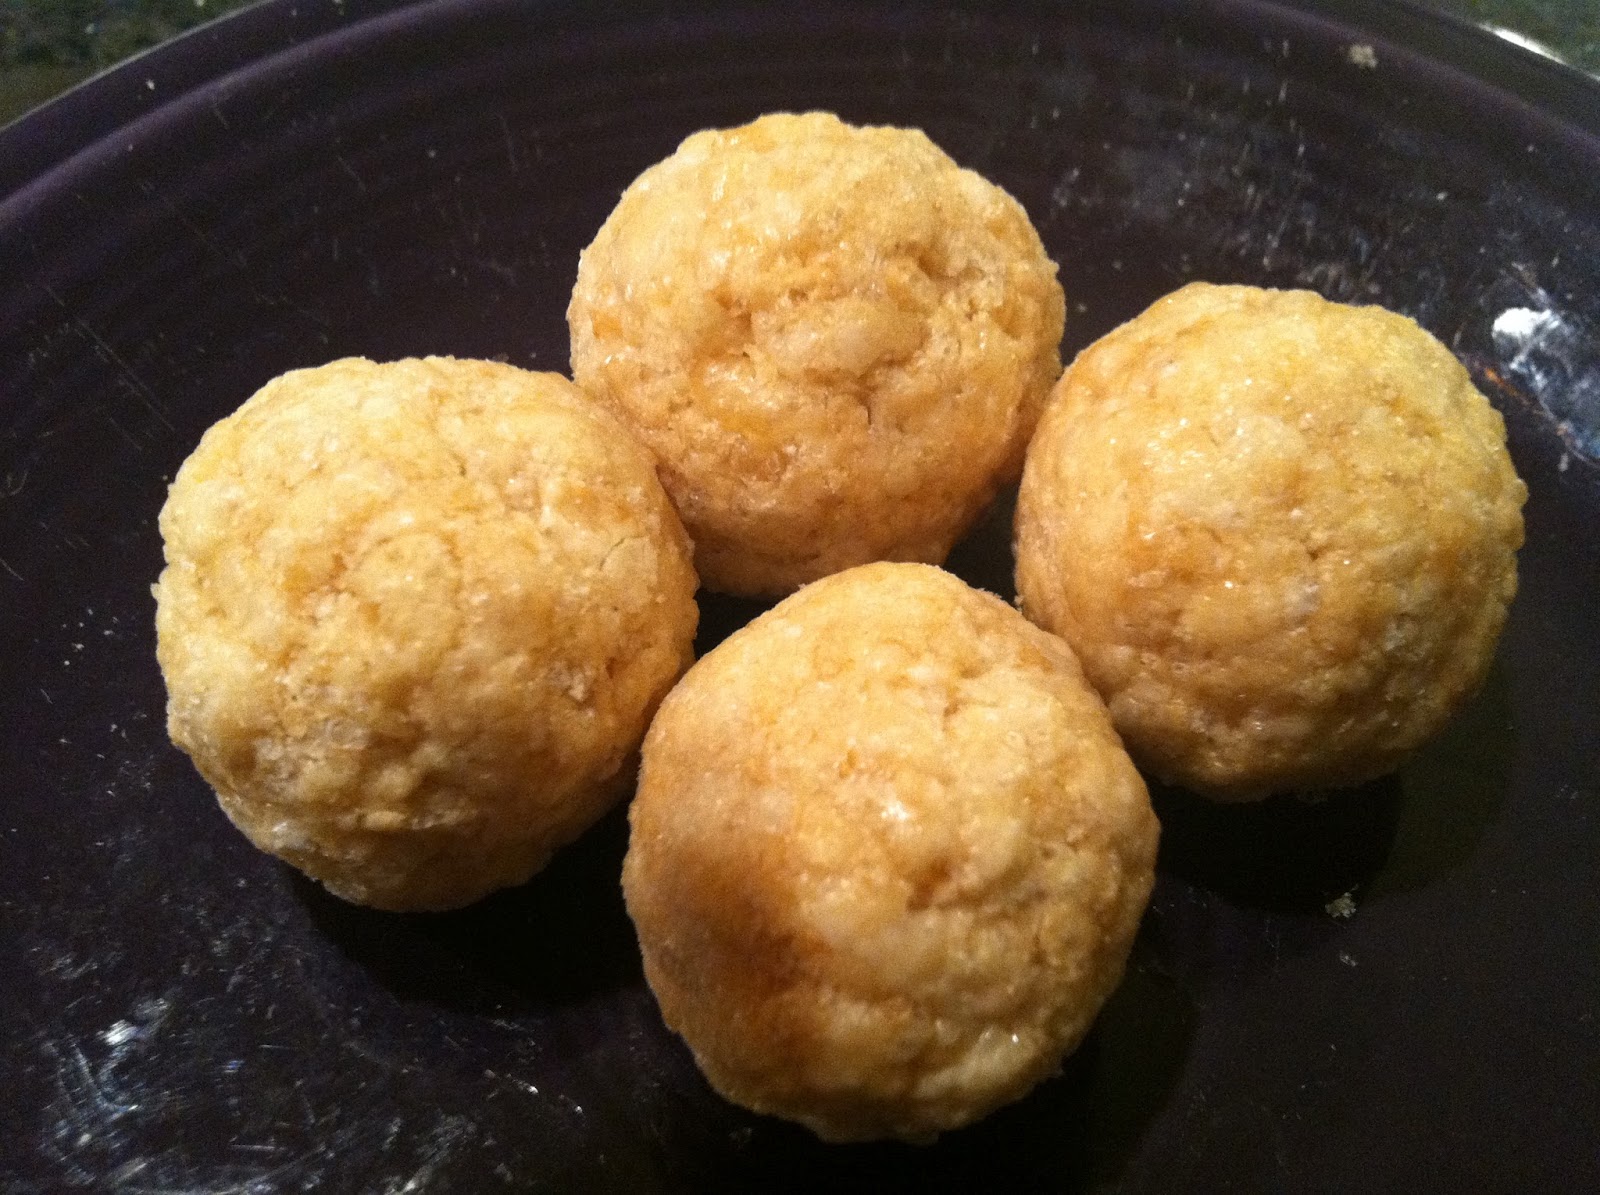
I signed up to take Wilton's Cake Pops class this week. Imagine my surprise when the first project had nothing to do with cake! We made pops using Rice Krispy Treats, and they actually turned out really tasty! You can use pre-made RKTs (as I'm going to refer to them from this point on) or you can make your own. I happen to know a fabulous trick for doctoring up the classic scratch method, so I'll tell it to you: just before you remove the pot containing the melted 4 cups of mini marshmallows and 3 tablespoons of butter from medium heat, add a teaspoon of the best vanilla you can find. Stir it up, remove from heat, then add the six cups of Rice Krispies, stir until evenly coated, then press it into a greased 11x17" pan using your greased fingers. That vanilla makes all the difference, and your end result will be a more golden color. In addition to RKTs, you'll need 4" lollipop sticks, a Styrofoam block, a Pyrex cup, something to decorate the pops with (I used jumbo-sized nonpareils), and a bag of chocolate pieces made specifically for melting (do NOT use chocolate chips; they won't melt smoothly); I used dark chocolate Melt n' Mold pieces by Guittard
 Start by breaking up the RKTs into small pieces on a plate or a piece of waxed paper.
 Pluck off a mass of pieces; this one equals somewhere between 2 and 3 tablespoons worth:
 Roll the mass between your hands into a ball. Really pack the RKTs down; you want to hear them snap-crackle-pop as you crush them together.
 Obviously, make sure your hands are immaculately clean before you roll the balls.
 Next, melt some chocolate. I filled the 1 cup measure about halfway, which was more than enough to coat these four balls.
 Melt the chocolate over a double boiler, or in the microwave. Remove from the microwave every :30 and give the chocolate a stir. Don't let it burn.
 Dip the tip of a lollipop stick into the chocolate…
 …then stick it into one of the balls. Push the stick almost all the way to the opposite side, but don't push it through. If you place your finger on the side of the ball where the stick would pop out, you'll be able to feel it coming before it actually does and stop pushing in time.
 Lie the balls on their sides and let the chocolate dry; you'll know it's dry when the surface is no longer shiny.
 Wipe the edge of the Pyrex container clean, then dip one of the pops into the chocolate at an angle. Allow the chocolate to coat a little of the stick, right where it meets the pop; this will help anchor the pop to the stick.
 Remove excess chocolate off of the pop by tapping the stick against the edge of the container. Rotate the pop as you tap.
 Stop when the surface is relatively smooth (but it doesn't need to be perfect).
 Before it hardens, sprinkle the chocolate with nonpareils or whatever toppings you like. It's best to not dunk the pop directly in the toppings; you'll have a cleaner result if you sprinkle them on instead.
 Push the pop by the stick into the Styrofoam block, and place in the refrigerator to firm up for about 15 minutes.
 You can wrap them up with little cellophane lollipop sleeves found on the candy aisle, or serve them up immediately. If there are kids within a mile of this project being made, it'll probably be the latter.

Wednesday, April 25, 2012

Royal Icing Half Rose

About a week ago I posted about the rosebud, which is perfect for piping directly on cookies, petits fours, etc. The half rose is basically the rosebud with an extra petal on either side to bulk it up; in fact, you can make it as large as you want by adding extra petals to the sides. You'll need a Styrofoam block, a flower nail, a parchment paper square for each half rose (these should be cut a little larger, about 2x2"), a non-toxic glue stick, a dusting pouch filled with a 50/50 mix of powdered sugar and cornstarch (you may need to touch your finger to the dusting pouch to tap out any mistakes), a piping bag filled with green icing and fitted with a round #3 tip, and a bag filled with any color icing you like, fitted with a #104 petal tip.
 Start by sticking a parchment paper square to the flower nail with a dab from the glue stick.
 Holding the petal tip almost flat on the nail, pipe the first petal (I go into further detail on this petal and the next in the rosebud tutorial; there are lots of photos taken from every angle there, too).
 Tuck the petal tip against the side of the first petal and pipe the second petal; it should catch on the edge and spiral over:
 To pipe the first petal that will differentiate the half rose from the rosebud, place the petal tip against the left side of the rosebud with the wide end of the tip against the bottom of the rosebud. Pipe a petal as you move the tip up, across, and down to the opposite side of the rosebud, decreasing and eventually stopping pressure as you reach the other side.
Here's a view from the underside, looking up:
Then, pipe a similar petal from the right side. Start with the tip against the right side of the rosebud, with the wide side of the tip against the bud's base. Pipe a petal up, across, and down to the center of the rosebud. I'm not sure exactly what angle I was holding the tip that caused the right petal to curl over at this extreme angle. It was unintentional, but I kind of like it! Hopefully it's one of those things that can be recreated through practice.
 Finally, you'll want to pipe the sepals and calyx; the directions are the same as for the rosebud. I used a round #3 tip, and piped three sepals, starting with the middle one, then piping one on either side (only the left one is visible here), then joined them together with a calyx that tapers down into a stem. Allow the half rose to dry for a while until it slides easily off the parchment paper (you can speed up the drying time by placing it under a desk lamp). Not only would the half rose be sweet on a petit four, it would look good decorating the side of a cake as part of a border.

Tuesday, April 24, 2012

Tiny Royal Icing Teacup

I've been trying to think of things I could pipe (other than flowers) that would make a good decoration for small cookies or petits fours. A tiny little teacup is the first thing that came to mind. While a flower nail isn't mandatory, I like using one whenever possible (as well as a Styrofoam block so I'll have someplace to set the nail down). Additionally, here's what you'll need…
…royal icing in any color in a piping bag fitted with a round tip #3, a parchment square for each teacup, a non-toxic glue stick. If you want to paint a gold edge, you'll want a small brush and a product like AmeriColor's Gold Sheen Airbrush Color (no need for an airbrush; you can paint it straight out of the container). Start by sticking a parchment paper square to the flower nail with a dab from the glue stick:
Pipe a coil of icing, about 3 times around the center point. Don't stop like I did here…
…continue piping the coil until the cup is as high as you'd like it. 
While it's drying, pipe a few handles that are the height of the cup; use the one you like best. Attach it to the cup with a dot of icing at each end of the handle. 
Using one of the smallest brushes you have, give the edge of the cup a gilt edge (and do any other decorating you'd like).
 For reference, here's the cup next to a dime. Imagine the size of the tea bag!


Monday, April 23, 2012

Fantasy Flowers

"Fantasy Flowers" are mentioned in Wilton's book Tiered Cakes in the "Special Techniques" section. I say "mentioned" because the project is accompanied by a scant 3 photographs and a few sentences of text. I think these fancy flowers are a lot of fun (not to mention relatively easy and totally open to personalization), and could definitely benefit from a more thorough set of photos and directions. You'll need a gum paste storage board, large and small heart-shaped cutters, thin purple shaping foam, a container of gum glue adhesive (a pinch of gum paste dissolved in a tablespoon of water), a dusting pouch filled with a 50/50 mix of powdered sugar and cornstarch, small brushes, the ball tool from Wilton's 10-piece Fondant and Gum Paste Tool Set, a 9" fondant roller, stiff consistency royal icing of any color in a bag fitted with a round #3 tip, edible glitter, and gum paste in any color you like (remember, the point of this flower isn't to be botanically accurate!). 
Dust the work surface…
 …and roll out some gum paste, less than 1/16" thick.
 Cut out 5 shapes with the large cutter…
 …and place the pieces under a flap on the gum paste storage board.
 Repeat with the small cutter; 5 cutouts for a small flower.
 To make the small flower, dust a small flower forming cup (I wasn't sure what I was going to use for formers until I got to work).
 Place one of the small heart-shaped cutouts on the foam. Run the small end of the ball tool around the curved edges (avoid the point at the bottom of the heart). Ruffle the edges by moving the ball back and forth, half on and half off the edge onto the foam.
 Layer and overlap the five petals, dampening the base and the edges with a brush dipped in gum glue adhesive as you go.
 The large flower is made similarly. Use the large end of the ball tool to ruffle the edges…
 …dampen the bottom and the edges with gum glue adhesive…
 …and layer/overlap the cutouts in a larger round bowl (or anything you find that gives your flower the right concave shape).

Eventually, the small flower can be nestled inside the large one (and held in place with a dab of gum glue). Since the large flower is still drying and holding its shape, I'm going to work with the small one first. First I dusted it with some Disco Dust in Baby Violet
 Then I piped pull-up stamens, using the royal icing. Hold the tip just above the flower's surface, squeeze firmly until the icing has formed a sort of anchor with the flower, reduce pressure and move the tip away from the flower at a right angle, then stop pressure and pull the tip away. Repeat until the stamens look right to you.
 Watch for an update; as soon as I can assemble this flower with the larger one, I will!