Sunday, March 25, 2012

A Portrait in Fondant

When I was asked about a week ago if I could do a portrait in fondant (specifically of Cosette from Les Miserables), my initial response was "No"…but only because I'd never thought about how to do such a thing before. The most elaborate branded character I'd ever created in fondant before was the Monster High skull logo, which is like comparing a stick figure with the Mona Lisa. Here's the plan of attack I came up with: First, I did a Google image search for the Les Miserables image of Cosette, and I used InDesign to make it the size I had in mind:
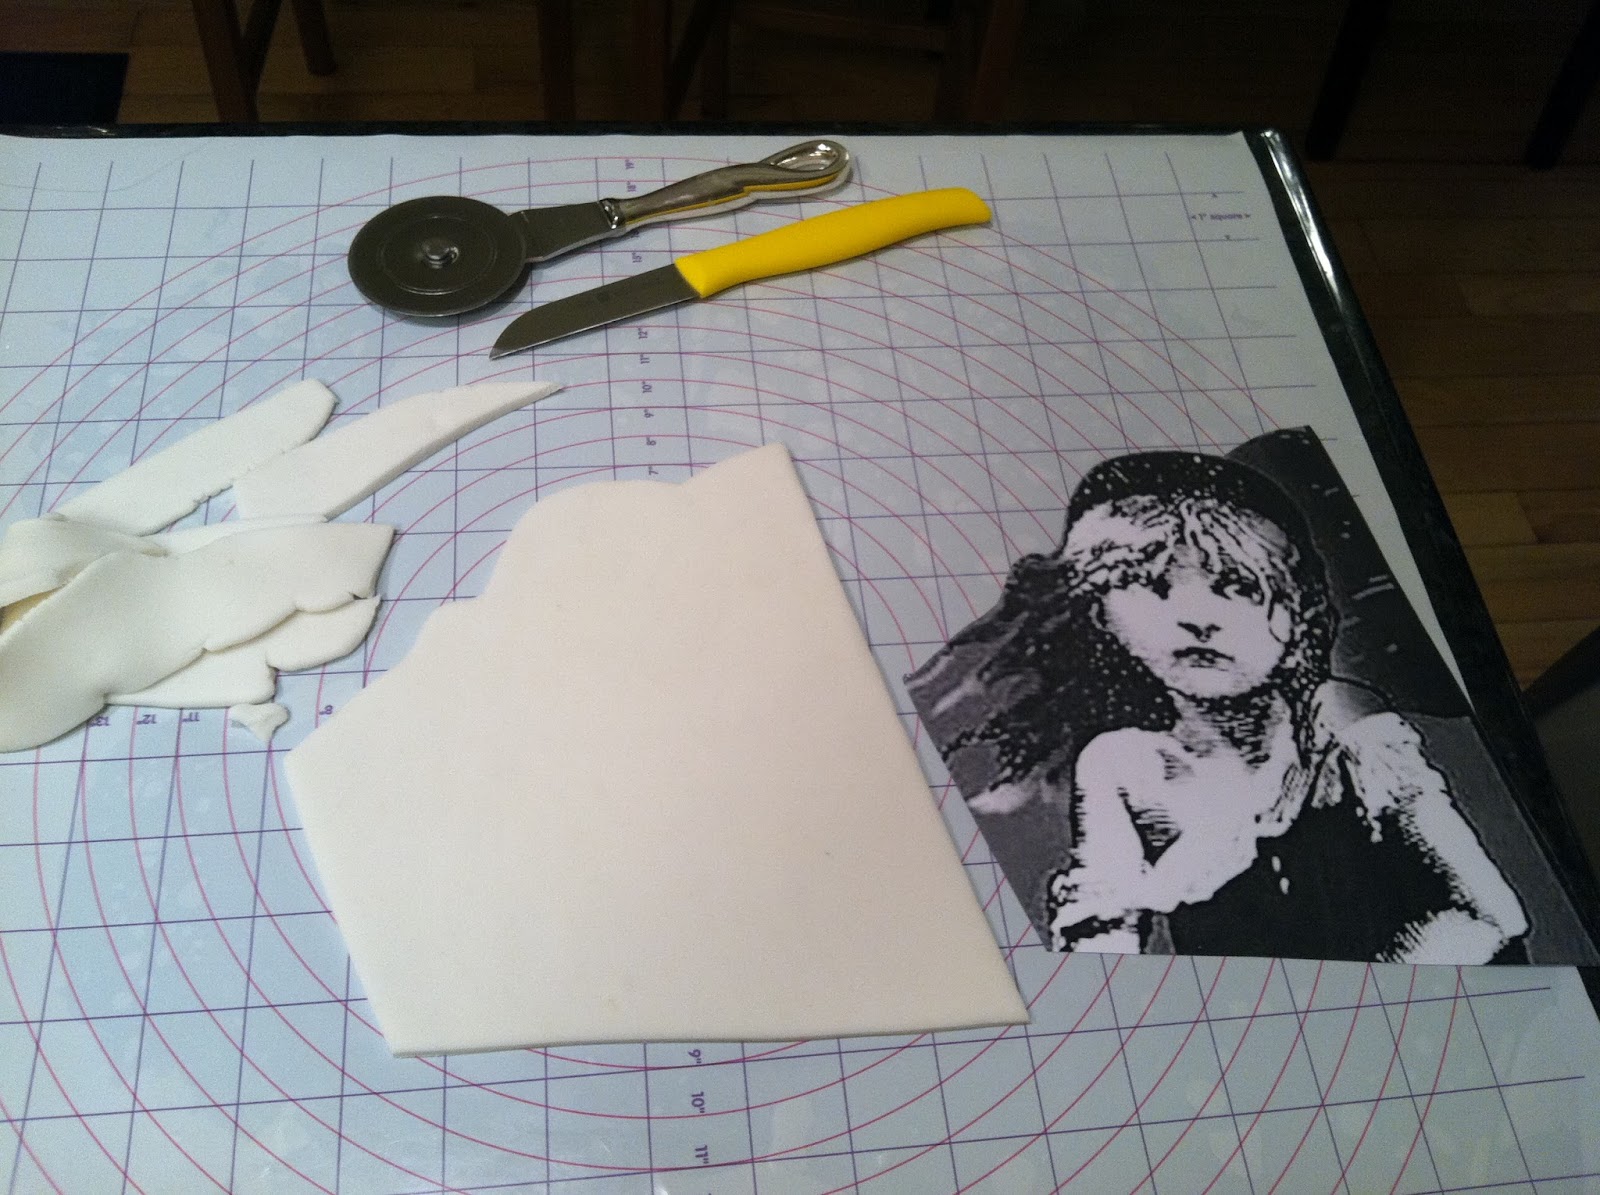
Then, I took it into PhotoShop,elevated the contrast, and printed out a few copies. I cut the image out, making sure to keep the outline fairly minimalist (any small bits would be candidates for breakage). 
 I measured the cutout on a fondant mat and figured out roughly how large of a ball of fondant I'd need.
 I rolled it out to about a quarter inch thick…
 …and used various sharp tools to cut out the fondant around the outline of the printout.
 I taped another printout to a small light table…
 …and laid a piece of parchment paper over it, and the fondant cutout over that.
 When I turned on the light table, this is as much of the original, high-contrast printout that I could see.
 I traced over what I could see of it in shifts, turning off the light table periodically to allow the fondant to cool down. I used a black AmeriColor Gourmet Writer.
 There were many details I couldn't see through the fondant, so I used the original sketch as a guide to finish the fine details freehand.
 This is what I wound up with:
 I left the fondant on a piece of parchment paper on a drying rack for a few days to let it dry thoroughly. I also rolled out a scrap of fondant and allowed it to dry as well. I practiced with different brushes and color dusts on it before coloring the actual drawing.
I did the yellow first, then the red…
 …and finally, the blue.
 After using the Gourmet Writer to make a few more low-lights over the red area, I called it done…
 …until I propped it up against the cake it was made for (with a dab of royal icing behind it to hold it in place). I'm looking forward to doing more of these; possibly even a self-portrait!

Saturday, March 24, 2012

Gum Paste Artichoke

Yes, you read the title of this post correctly. After weeks of lovely flowers, it's time to do something completely unrelated: an artichoke. A friend of mine is producing the play "Artichoke" at Coastal Repertory Theatre in Half Moon Bay, and I wanted to make some sort of custom cupcake topper for the opening night gala. Basically, the artichoke is the mum from Wilton's Course 3: Gum Paste and Fondant, but not in a traditional mum color (I used Avocado by AmeriColor). Besides gum paste (stored under a plastic cup to keep it from drying out), you'll need thick and thin pink shaping foam, a gum paste storage board to use as a work surface, a container of gum glue adhesive (a pinch of gum paste dissolved in a tablespoon of water), a small brush, the large modeling stick from Wilton's 10-piece Fondant and Gum Paste Tool Set, one toothpick for each artichoke, a dusting pouch filled with a 50/50 mix of powdered sugar and cornstarch, a 9" fondant roller with pink 1/16" rings, and the large and small mum cutters from either the Course 3 Student Kit or the Ultimate Decorating Set. You'll also need a second gum paste storage board, a Styrofoam block, small flower forming cups and Styrofoam cups.
 Start by rolling a 1/2" ball of gum paste to make the base.
 Dip a toothpick into the gum glue…
 …and insert it into the ball. Allow it to firm up a bit (or overnight).
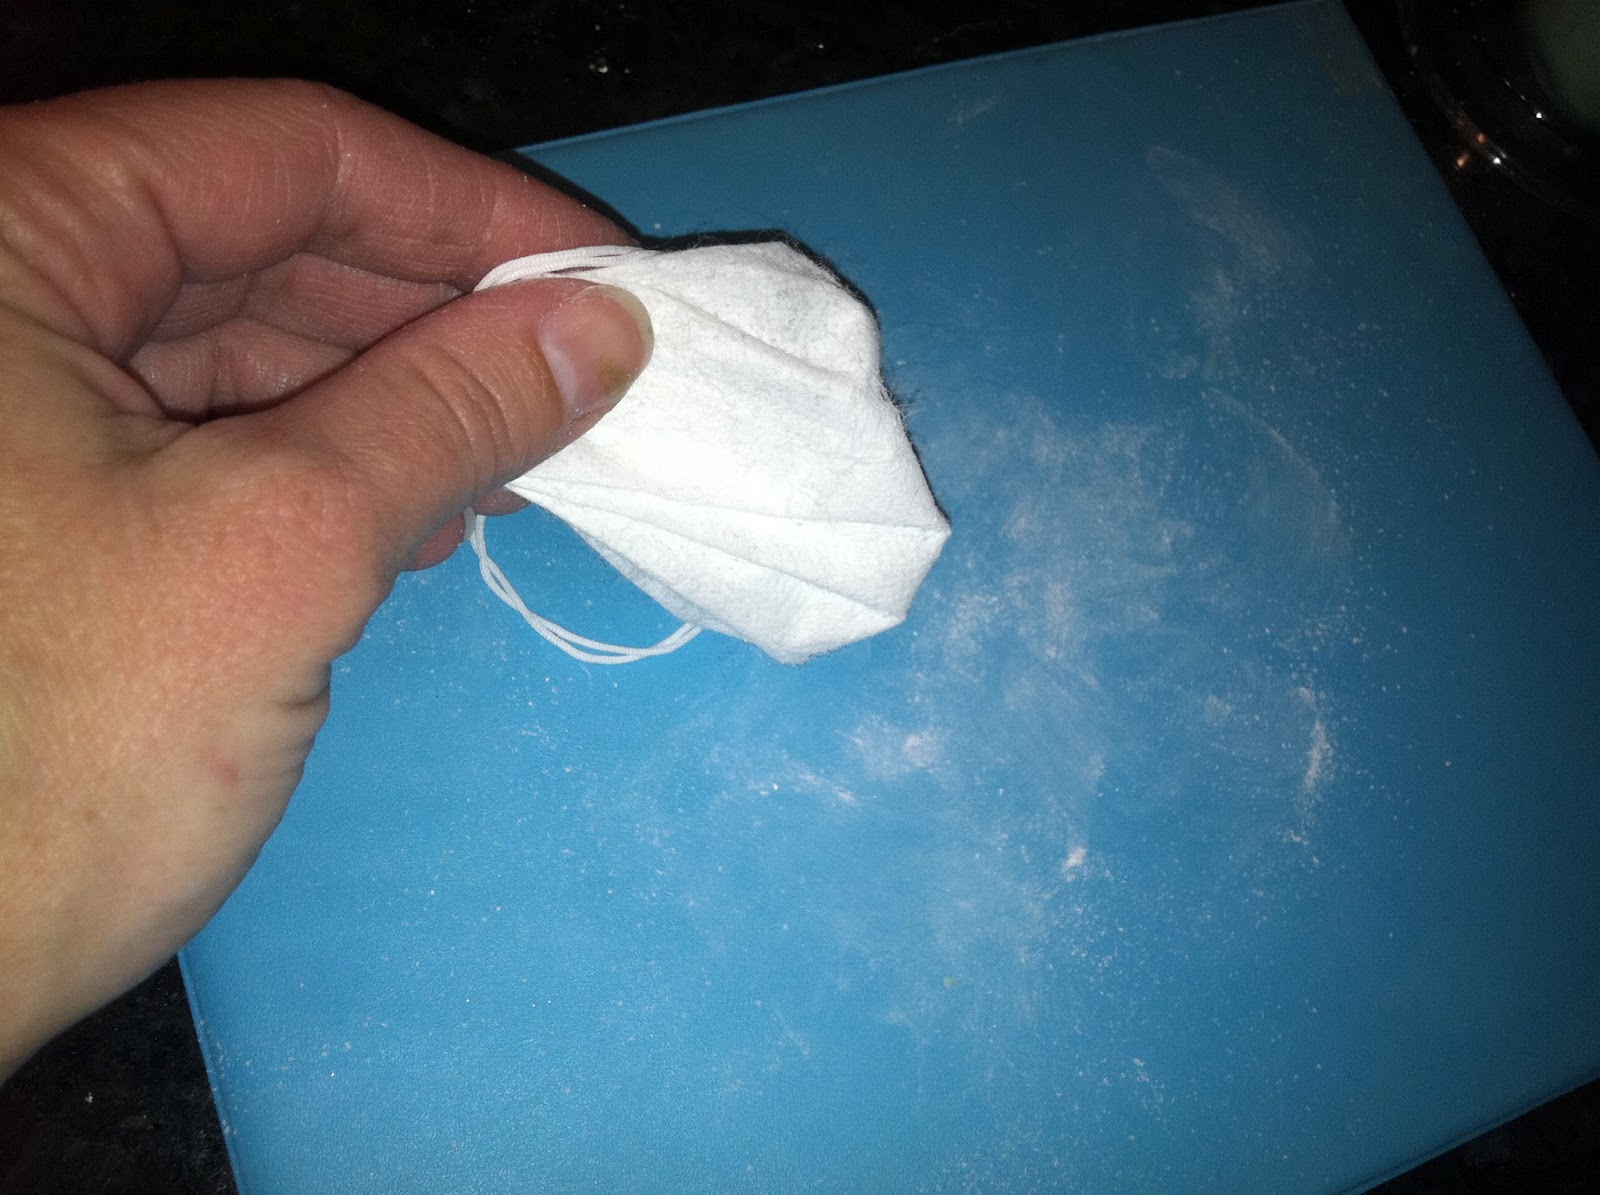
 Dust the work surface…
 …and roll out the gum paste. When it gets to 1/16", slide off the rings and roll it out a little thinner.
 Cut out three large and three small shapes with the mum cutters. You may need to press down on the cutters with the roller.
 Tear away the slack from the cutter…
 …and neaten the edges by running a fingertip from the end of the petal to the base on the underside of the cutter while the cutout is still in it.
 Place all but the one you're working on under the flap on the other storage board.
 Move one of the small cutouts to the thin pink foam, and using the round end of the modeling tool draw the tool from the tip to the base of each petal to make them curl up.
 Paint some gum glue adhesive on the base.
 Stick the toothpick in the center of the small cutout and slide it up to the base.
 Wrap all the petals around the base; it's OK if they overlap.
 Paint the lower half with gum glue adhesive and repeat the process with the remaining two small cutouts…
 …which will look like this when you're finished (and you could stop here for a very small artichoke).
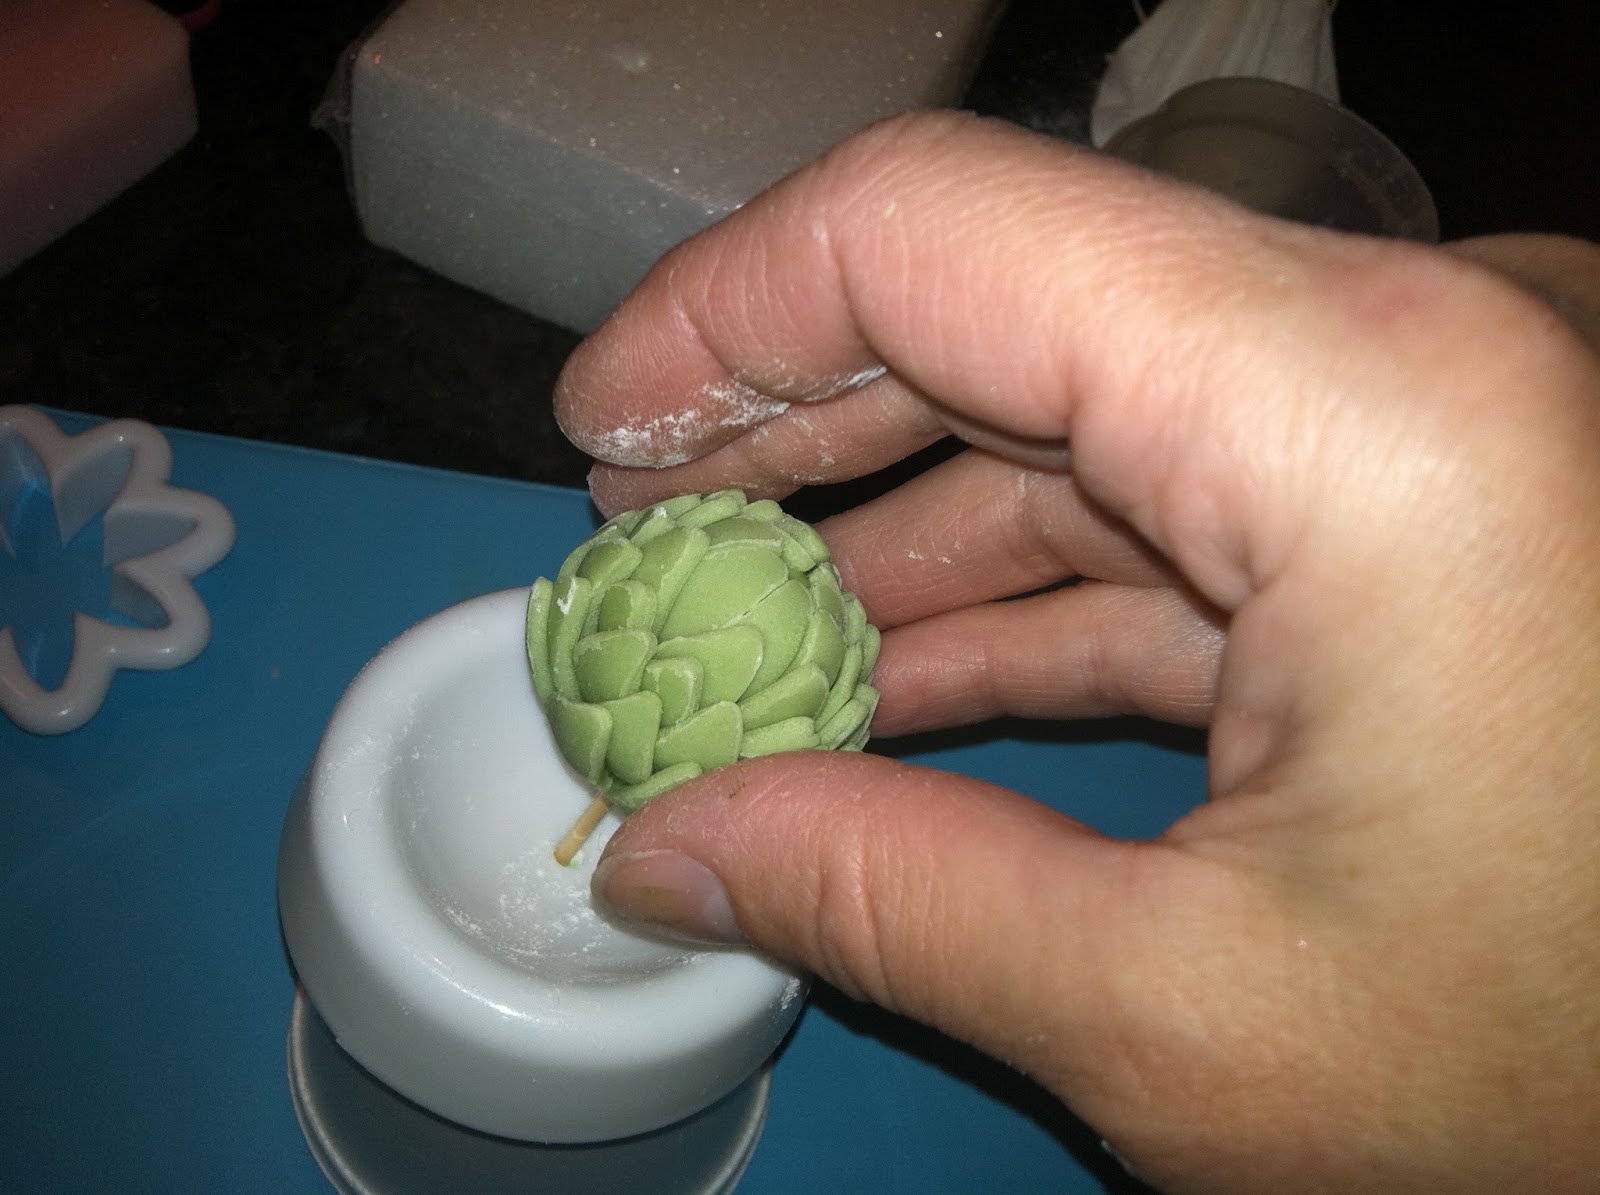
Alternately, keep going with the remaining three large cutouts. To dry, dust the inside of a flower forming cup, place it on an upside-down Styrofoam cup with a hole in the center of the bottom, and stick the toothpick through both holes. 
 And here it is! Bring on the Hollandaise sauce! 
Friday, March 23, 2012

Gum Paste Calla Lily

The calla lily is taught in Wilton Course 3: Gum Paste and Fondant, and is also covered in the book that comes with the Gum Paste Flower Cutter Set. By borrowing elements of each set of instructions, a pretty convincing lily can be produced. You’ll need white and yellow gum paste (under plastic cups to keep them from drying out), purple shaping foam, thin pink shaping foam, a 9” fondant roller, a Styrofoam block, a container of gum glue adhesive (a pinch of gum paste dissolved in a tablespoon of water), small brushes, yellow sugar (or cornmeal), a 6” piece of 20-gauge florist’s wire, florist’s tape, a dusting pouch filled with a 50/50 mix of cornstarch and powdered sugar, Crisco (in case you need to knead some into your gum paste to revive it), the petal and leaf impression mat, a large lily cutter, a lily former, a gum paste storage board to use as a work surface, Color Dust in Goldenrod and Lime Green, White Pearl Dust, and the veining tool and ball tool from the Wilton 10-piece Fondant and Gum Paste Tool Set

 Start by rolling a ½” ball of yellow gum paste.
 Roll it into a log shape, elongating one end so the whole length is 1 ¼”.
 Dip an end of the wire into the gum glue.
 Insert the wire into the wide end of the shape; push it in about 2/3 of the way.
 Paint about ¾ of the shape with gum glue, starting from the tip.
 Dip it into the yellow sugar (if you’re going for a more realistic look, use cornmeal).
 Insert the wire into the Styrofoam block, and allow it to dry overnight.
 Dust the back side of the gum paste storage board with the dusting pouch.
 Roll out a piece of white gum paste to 1/16” thick. Remove the pink rings from the roller, and roll it out a little thinner.
 Cut out a shape with the lily cutter and tear away the excess.
 Dust the petal section of the impression mat.
 Place the shape on the mat with the pointy tip in one of the four corners, and press down on it with the thin pink foam.
 Move the petal to the purple foam, and with the imprinted side up, soften the edges by running the ball tool from the tip ¾ of the way toward the base. The ball tool should be half on the petal, half on the foam.
 Draw a line from the base to the tip using the narrow end of the veining tool.
 Dust the lily former…
 …and drape the petal around it, tip side down.
 Paint the inside of the outer petal with gum glue and press it into place.
 Paint the base of the yellow center with gum glue and stick it by the wire back into the Styrofoam block.
 Gently curl over the edges of the lily, including the tip.
 Insert the center into the lily, wire end first. Gently press the base of the lily against the center.
Wrap the wire with florist’s tape. Cut off about 6” of tape, and pull an inch or so at one end to activate the adhesive. 

 Start by wrapping the wire about ½” away from the lily.
 When the tape starts to stick to itself, slide it up against the lily…
 …and continue wrapping to the end of the wire.
 Dust the lily with White Pearl Dust.
 Dust the inside around the center with Goldenrod Color Dust…
 …and the base with Lime Green Color Dust.
 Here is the finished calla lily. Definitely appropriate atop any spring cake!